Yosemite Wagon
|
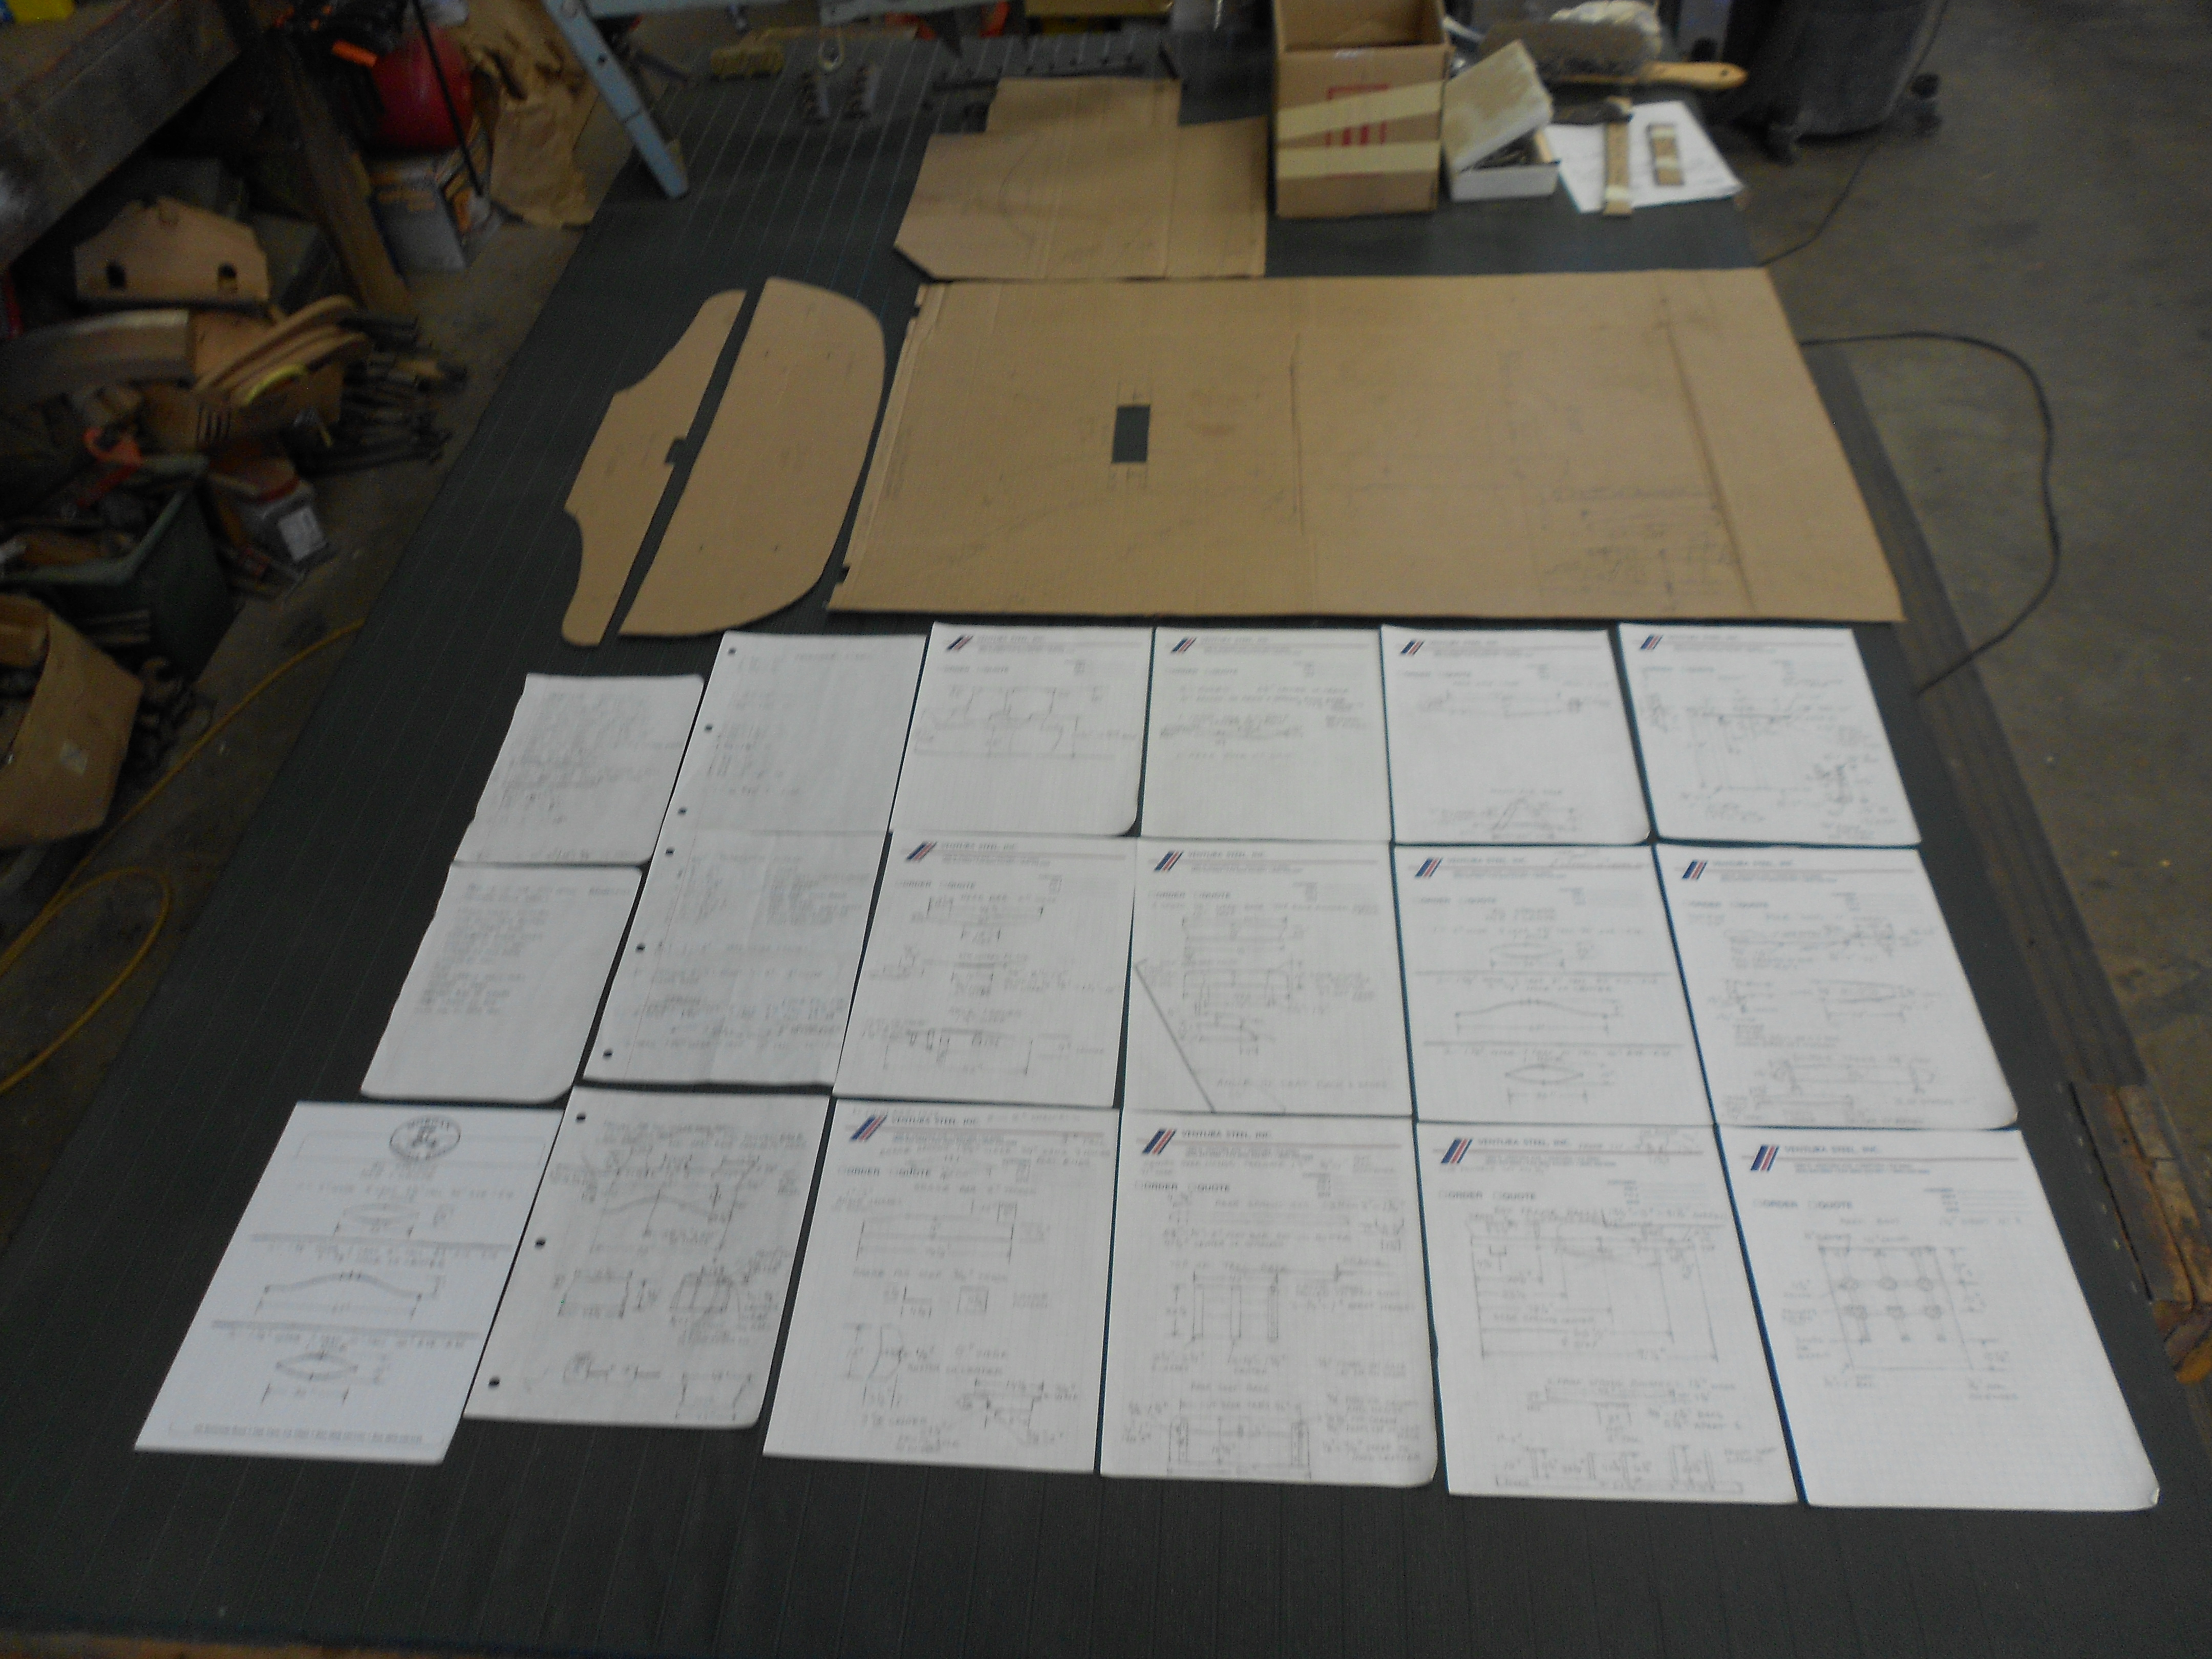
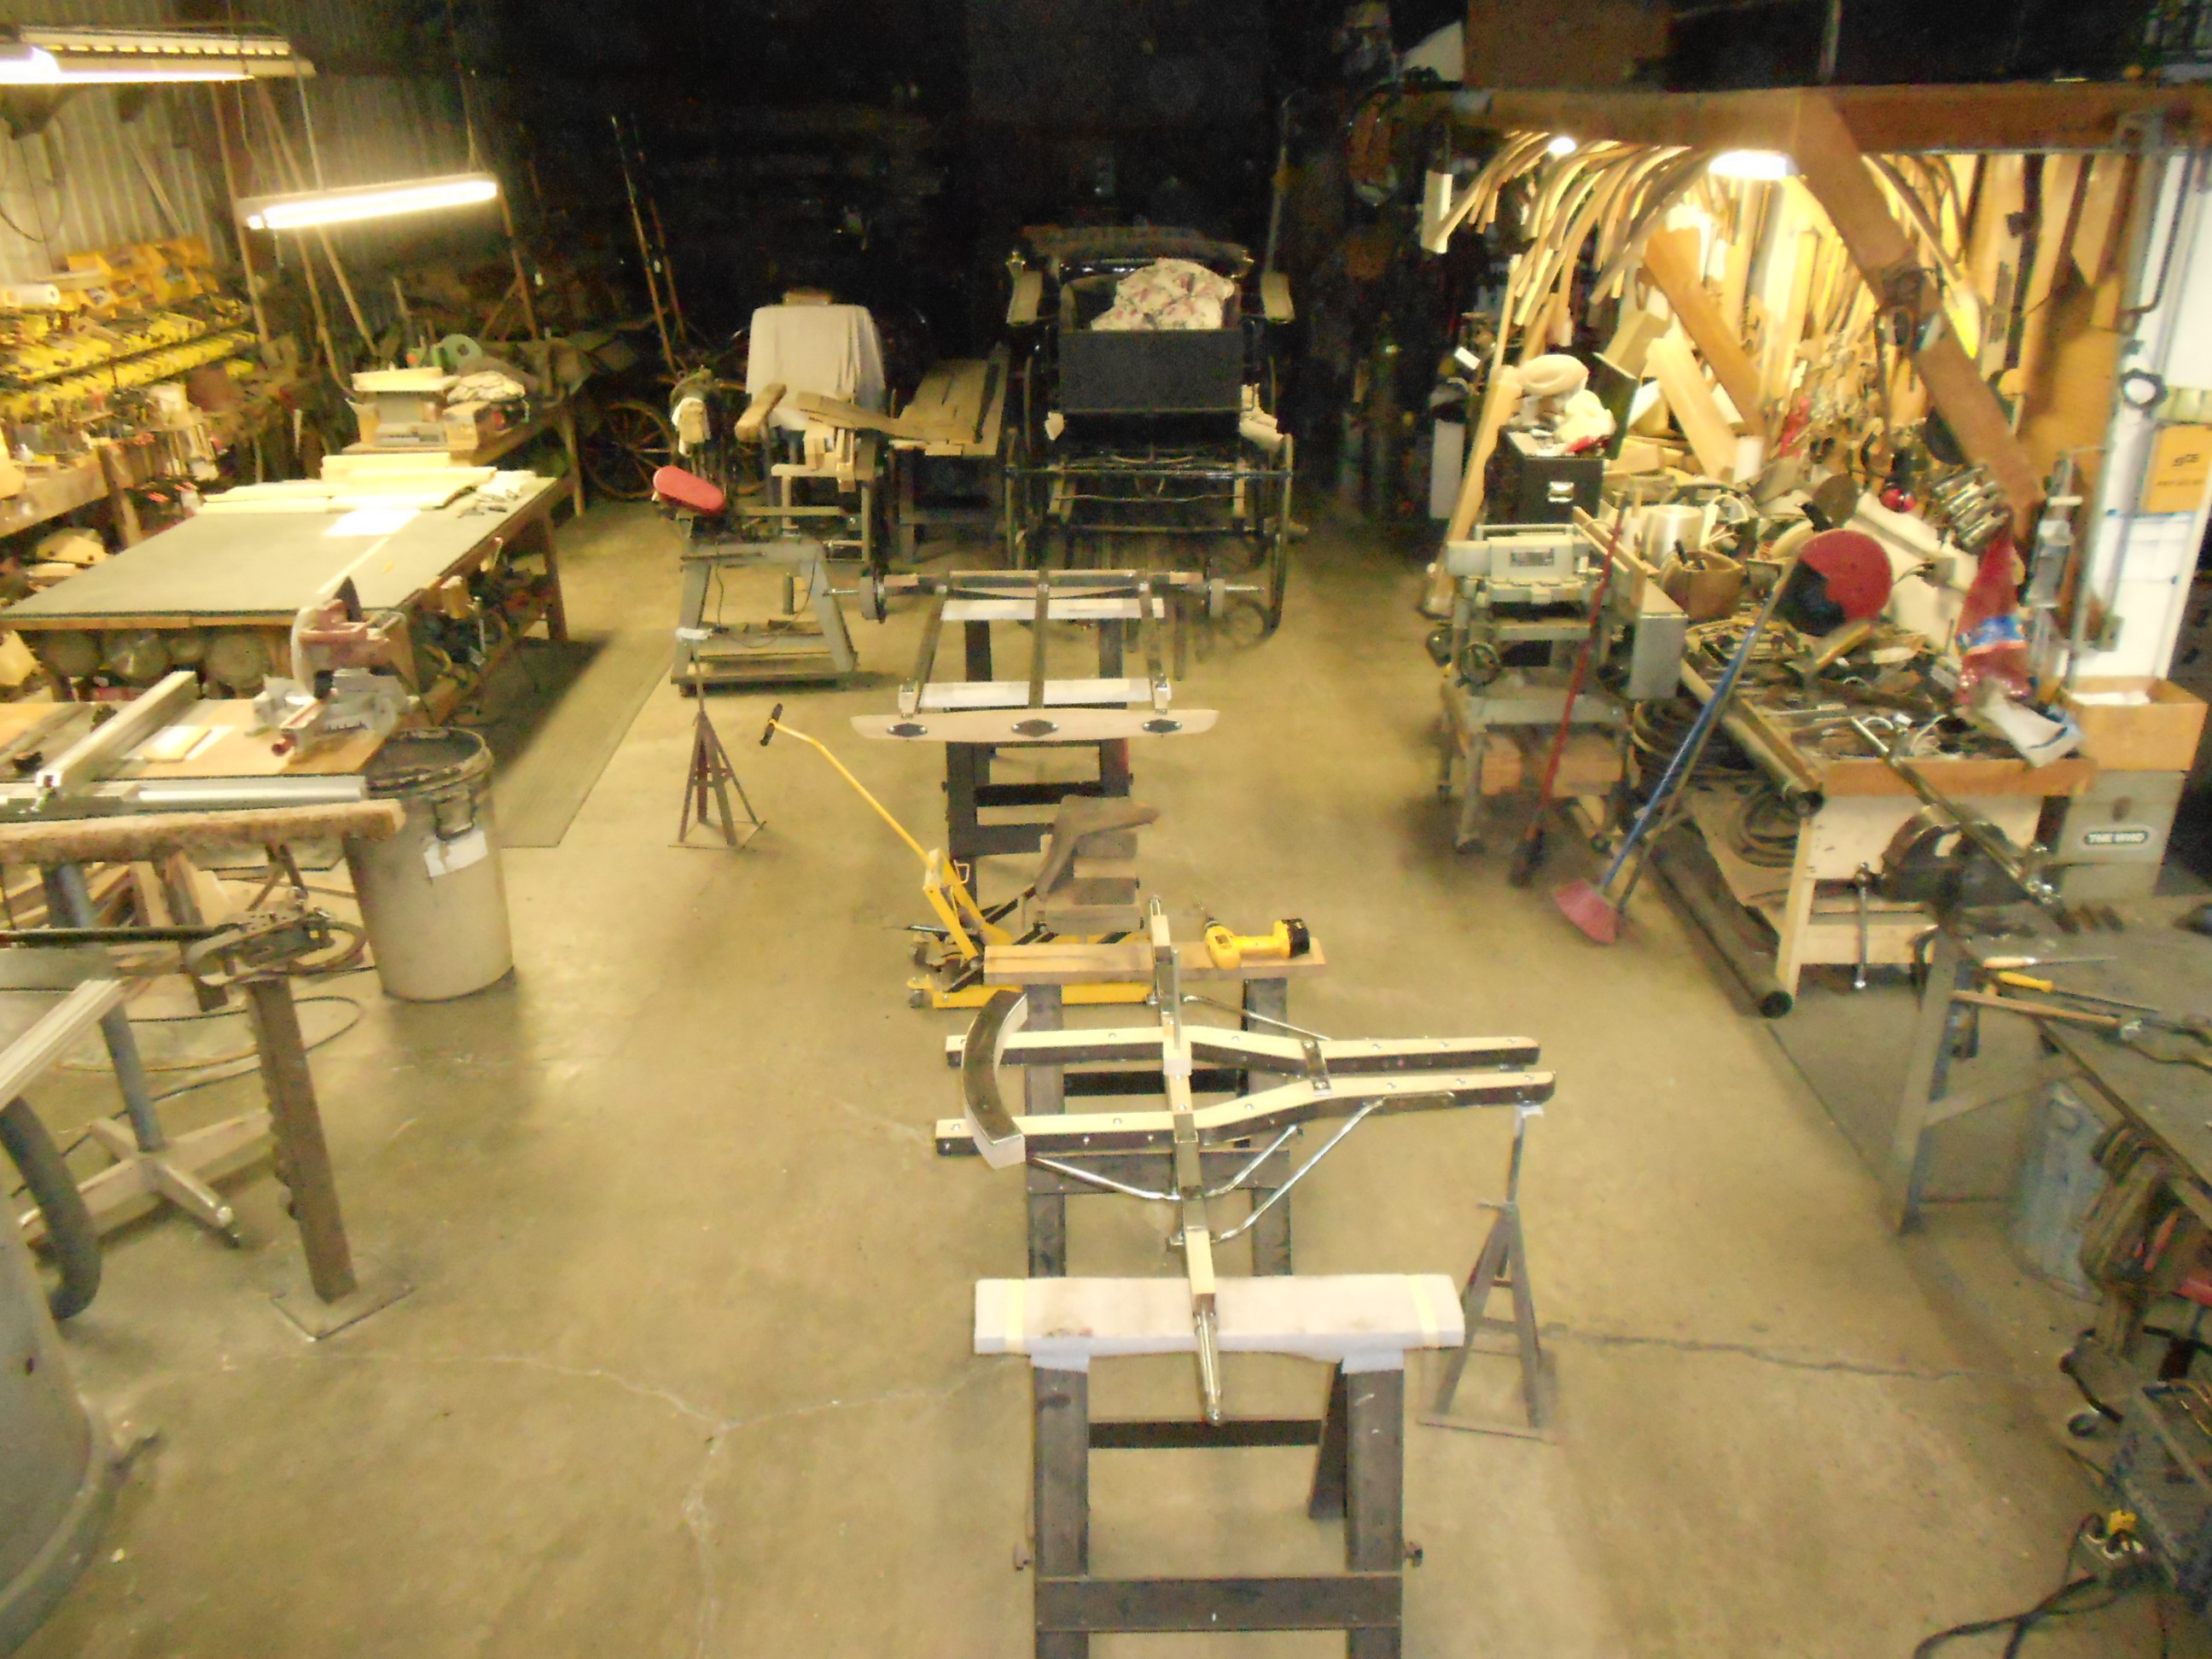
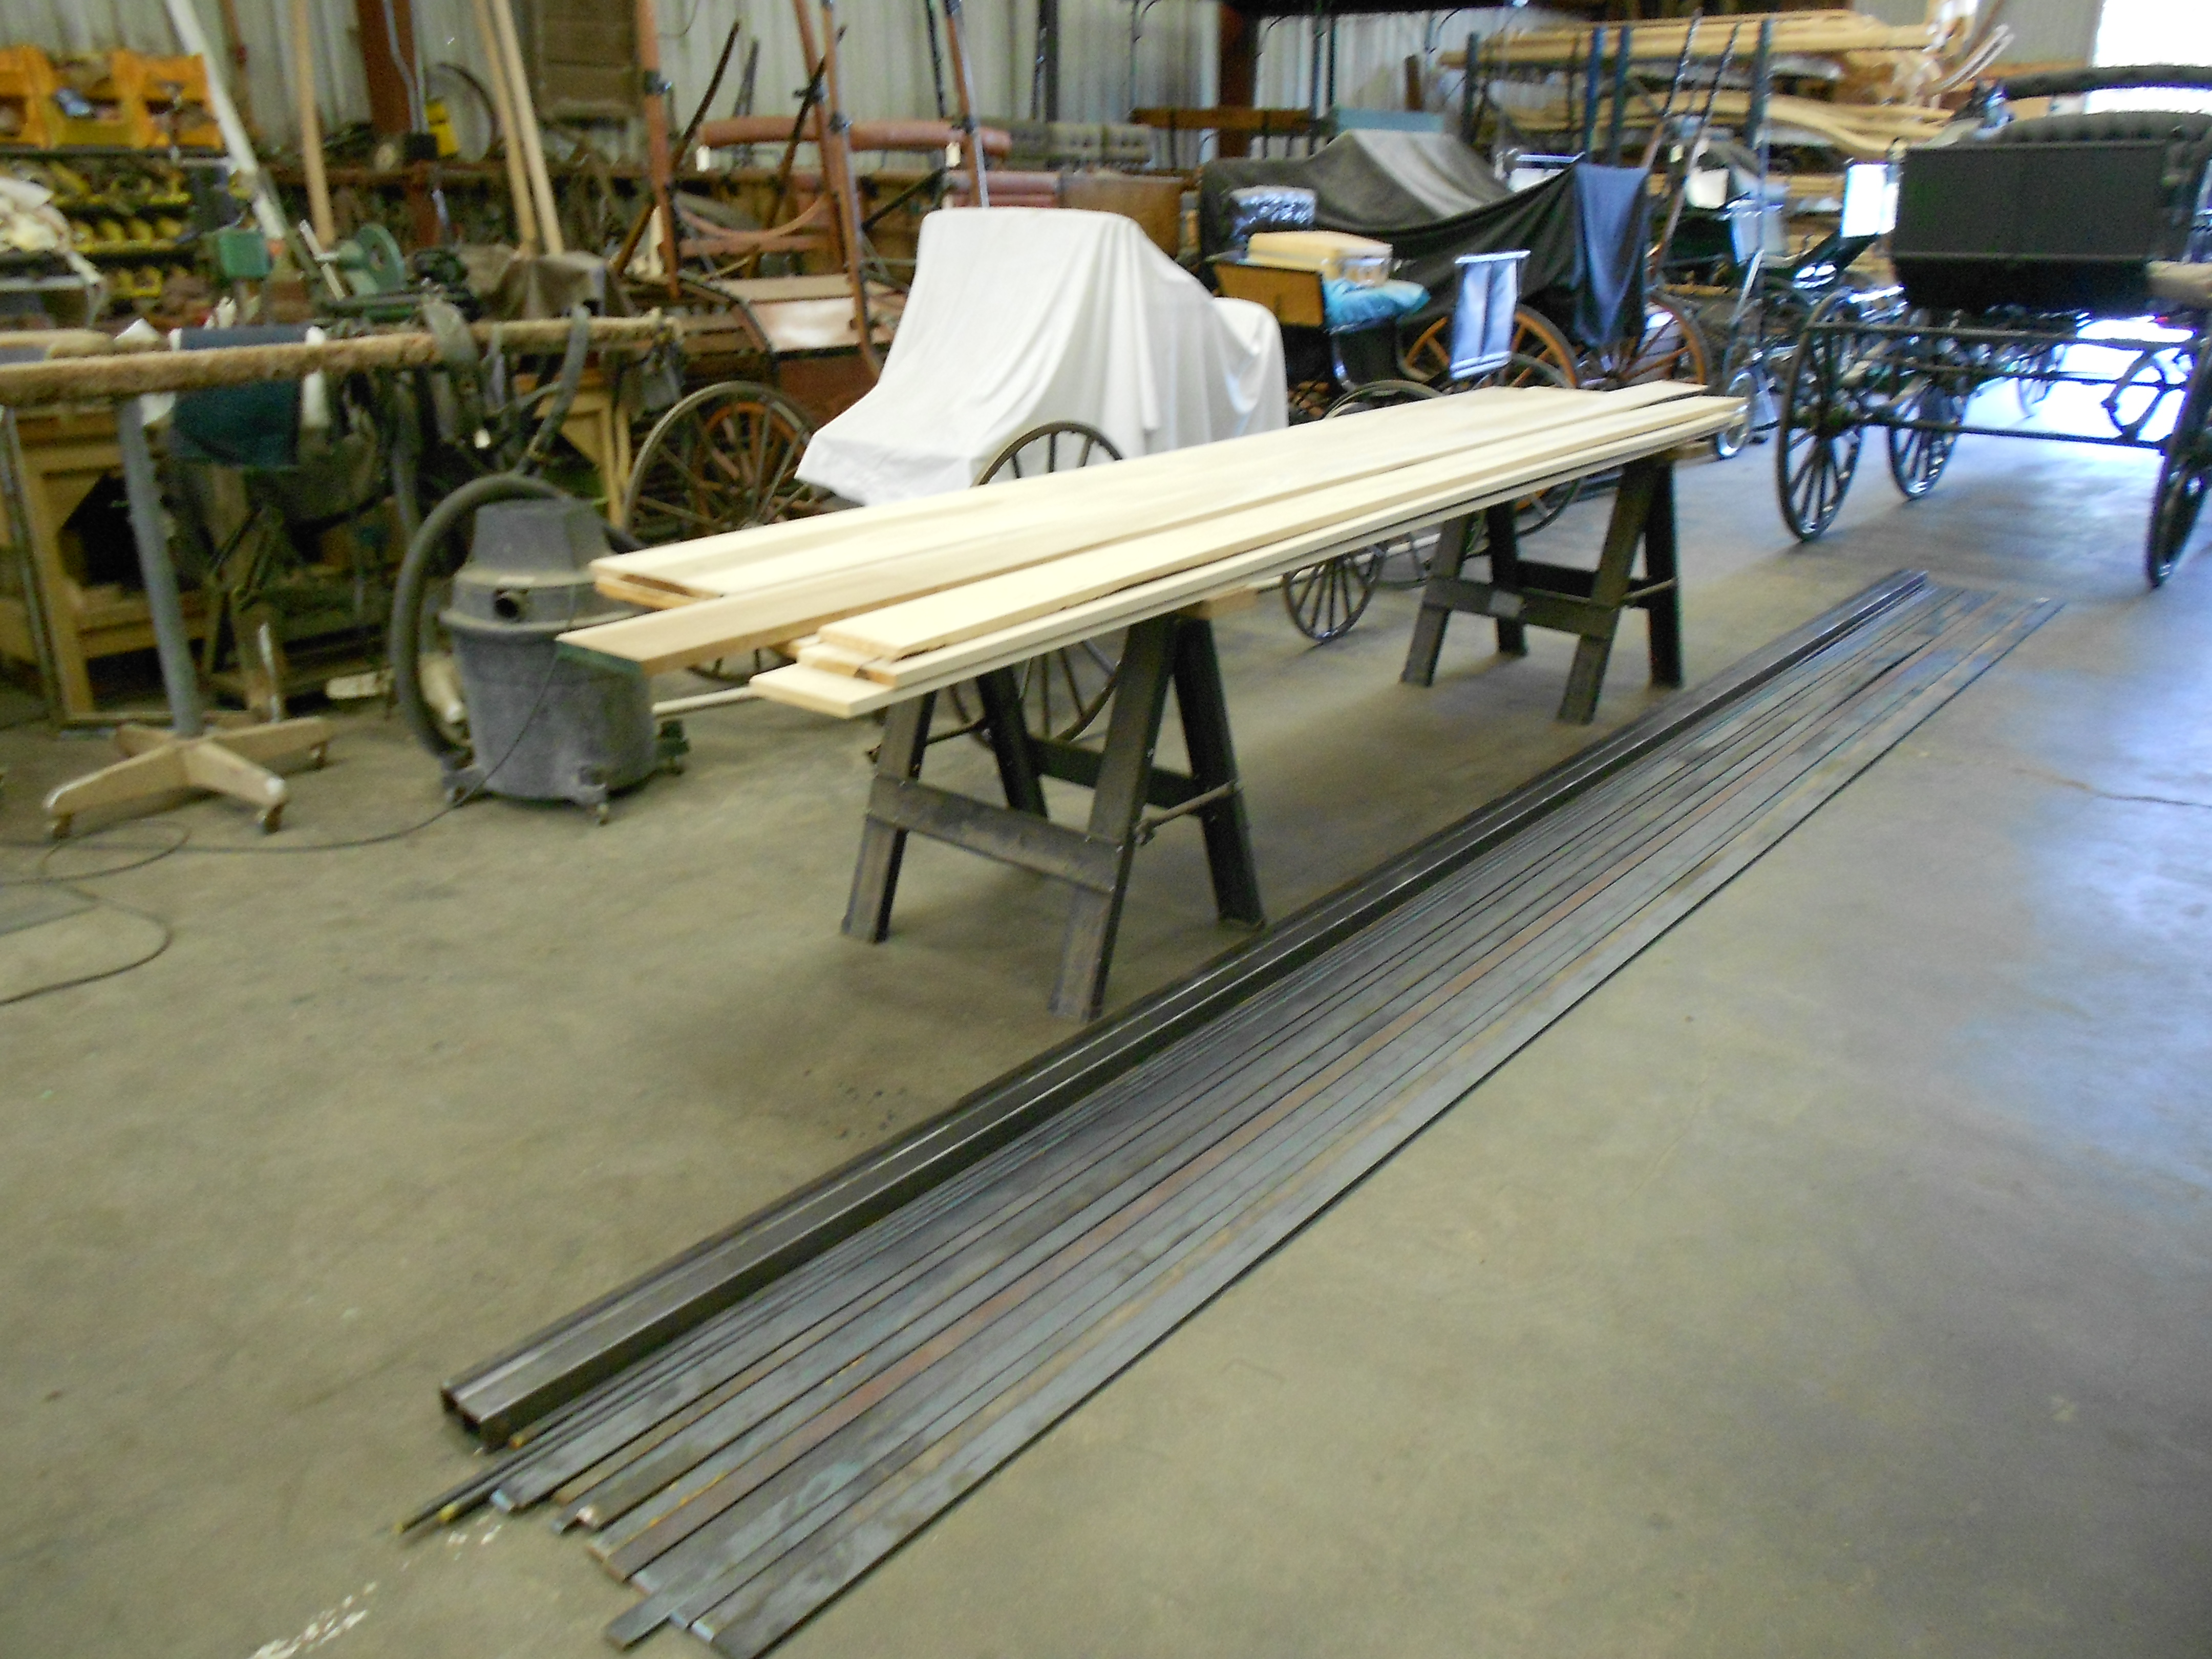
We of course began with some raw materials and a lot of planning |
|
|
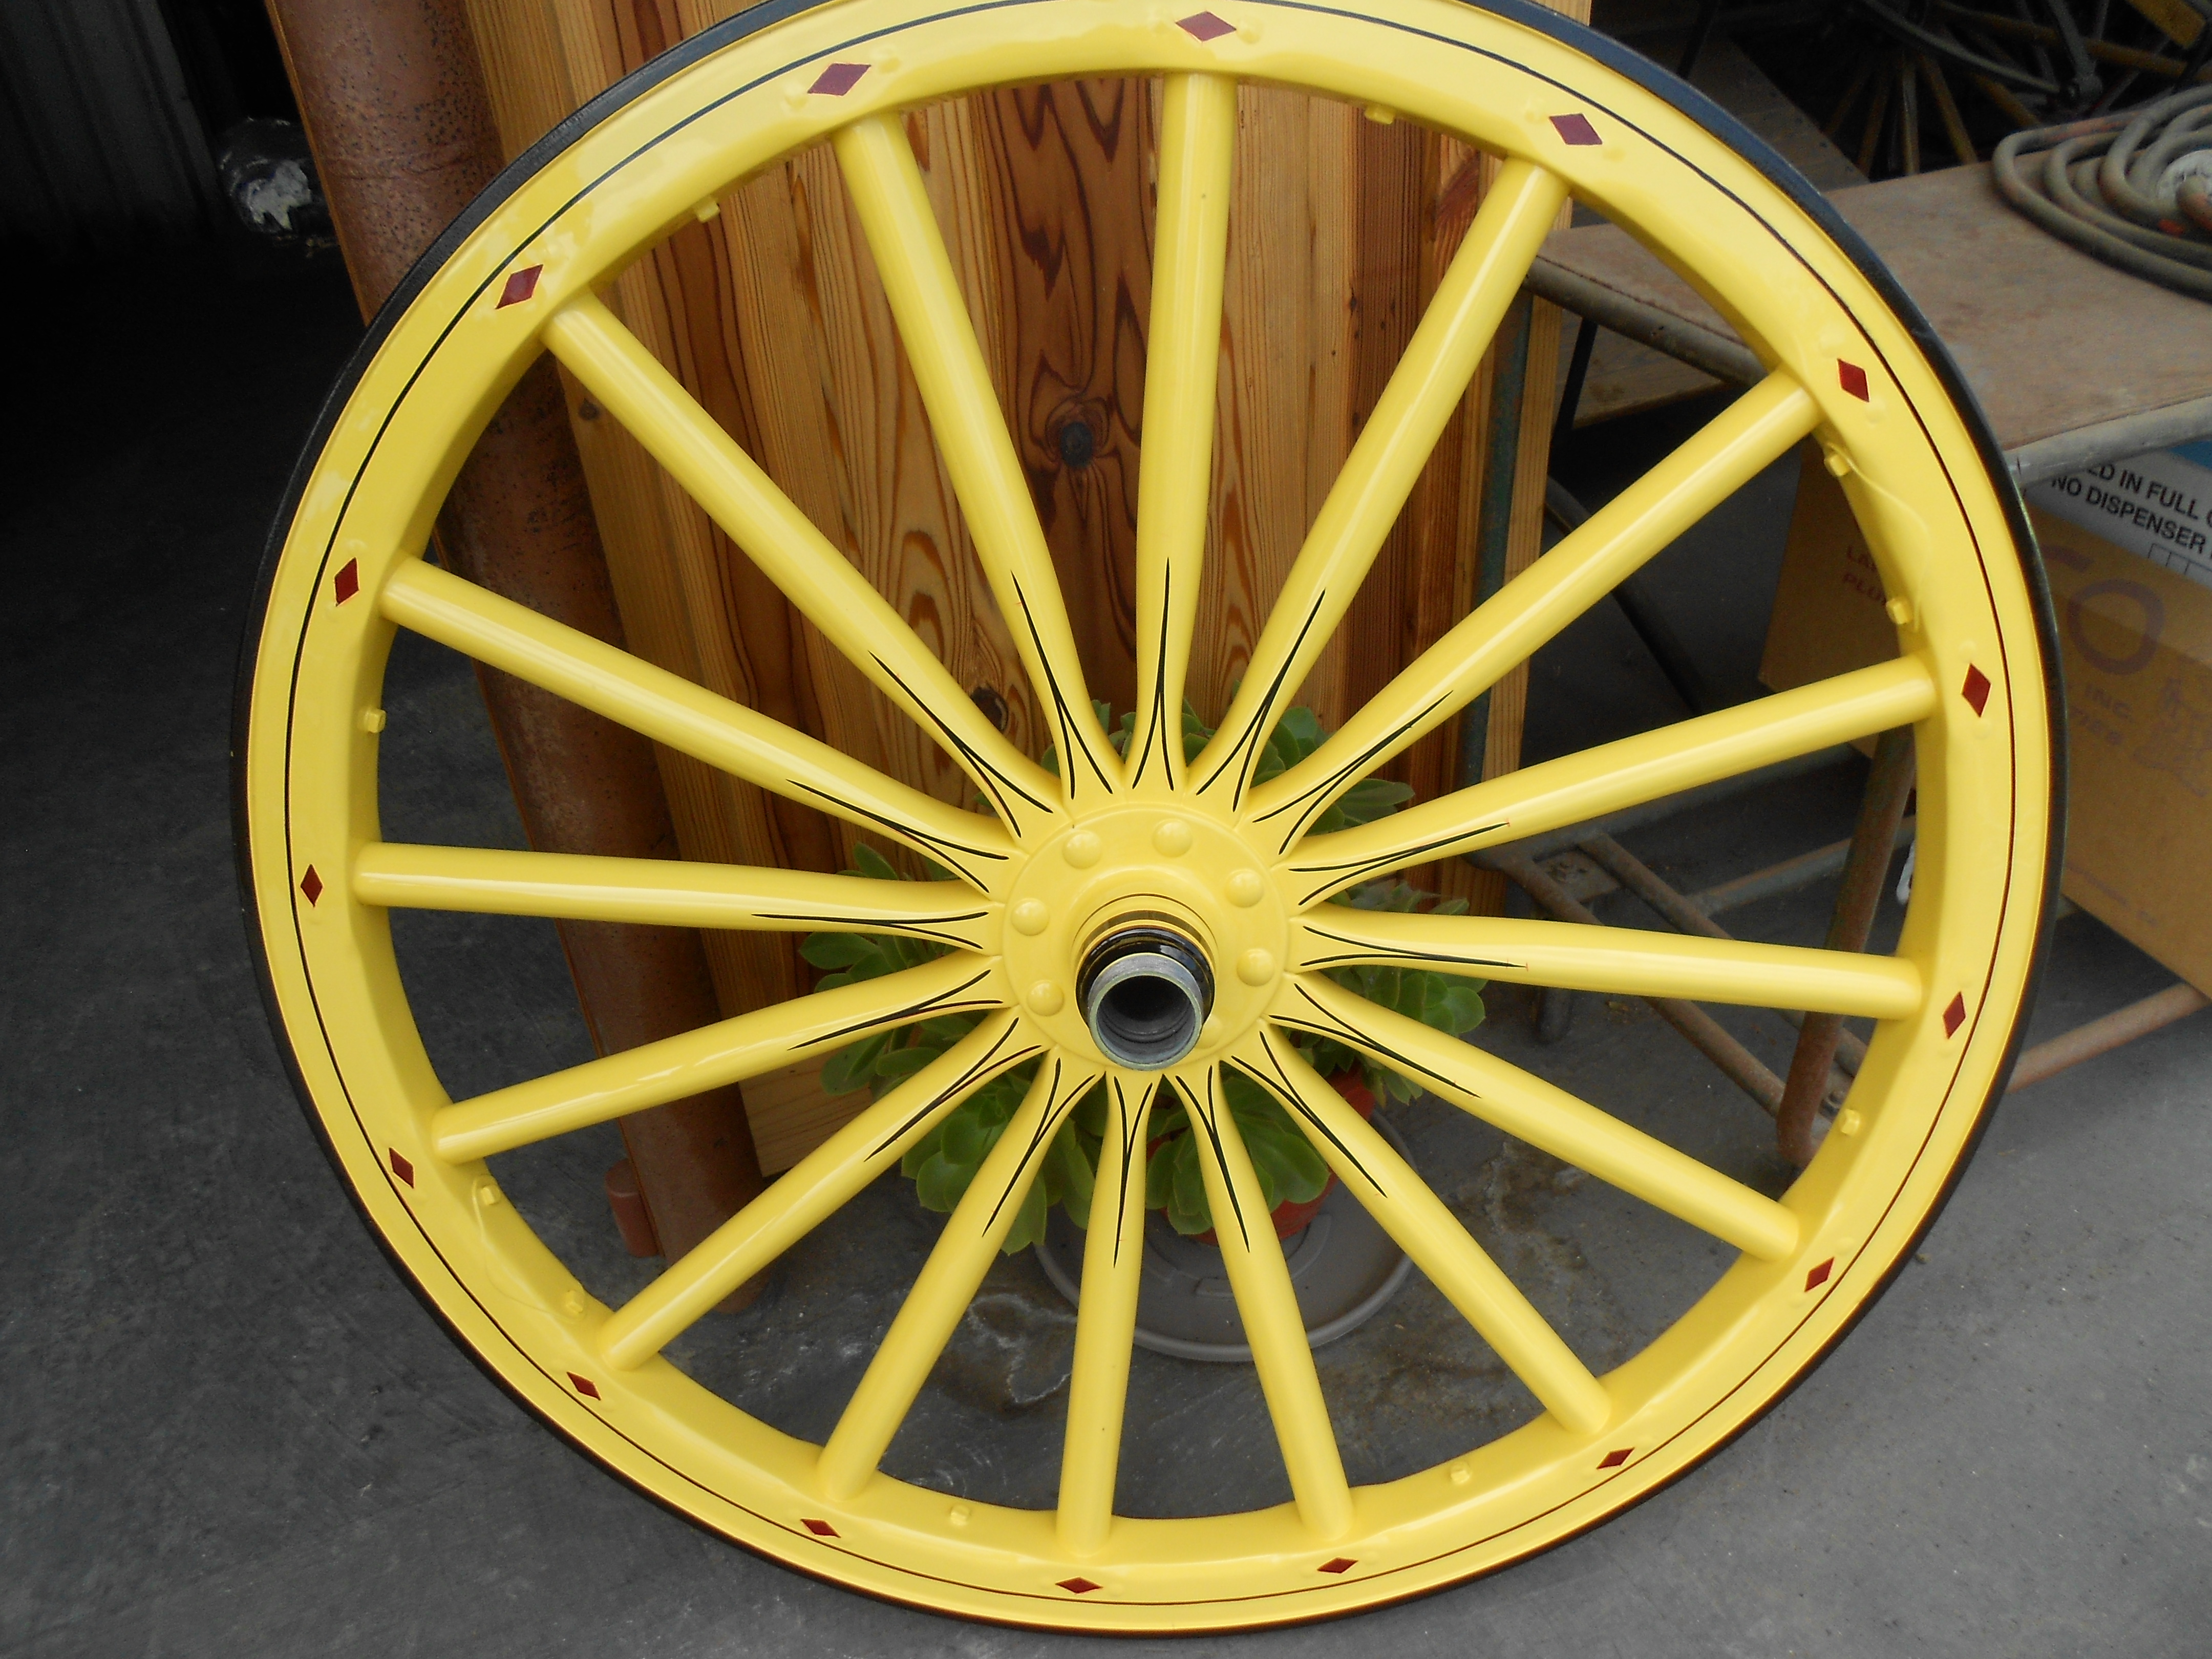
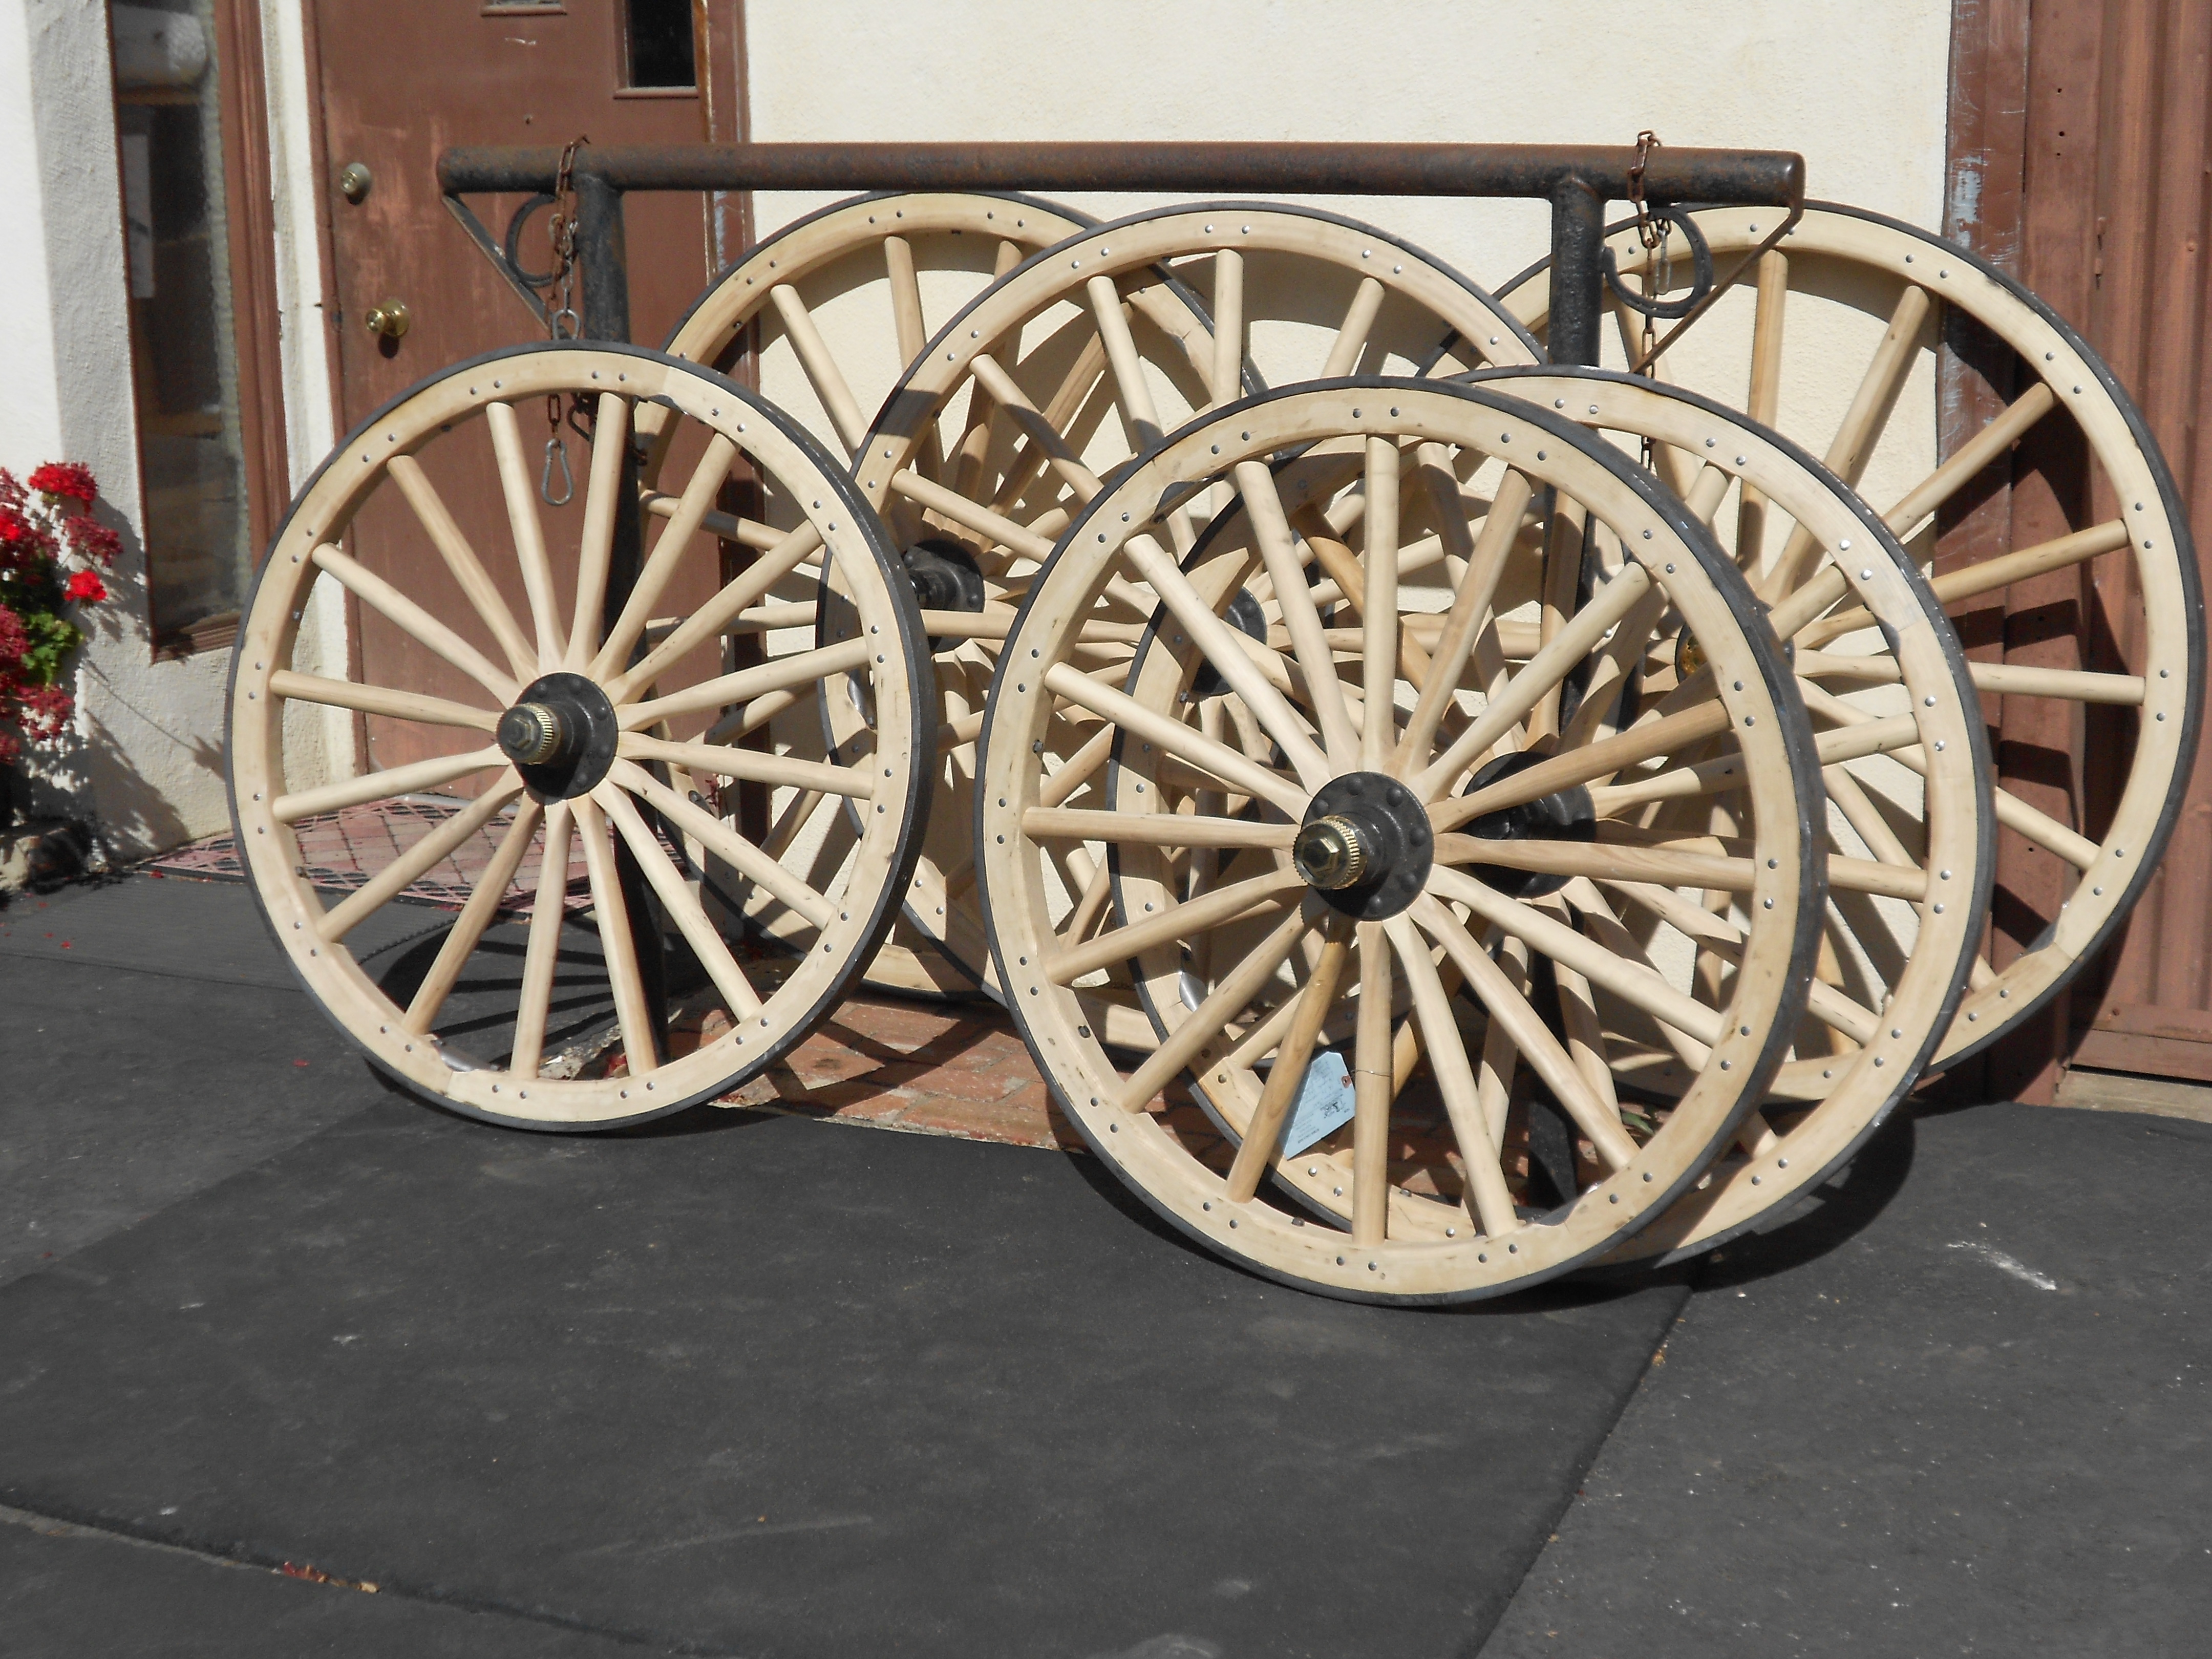
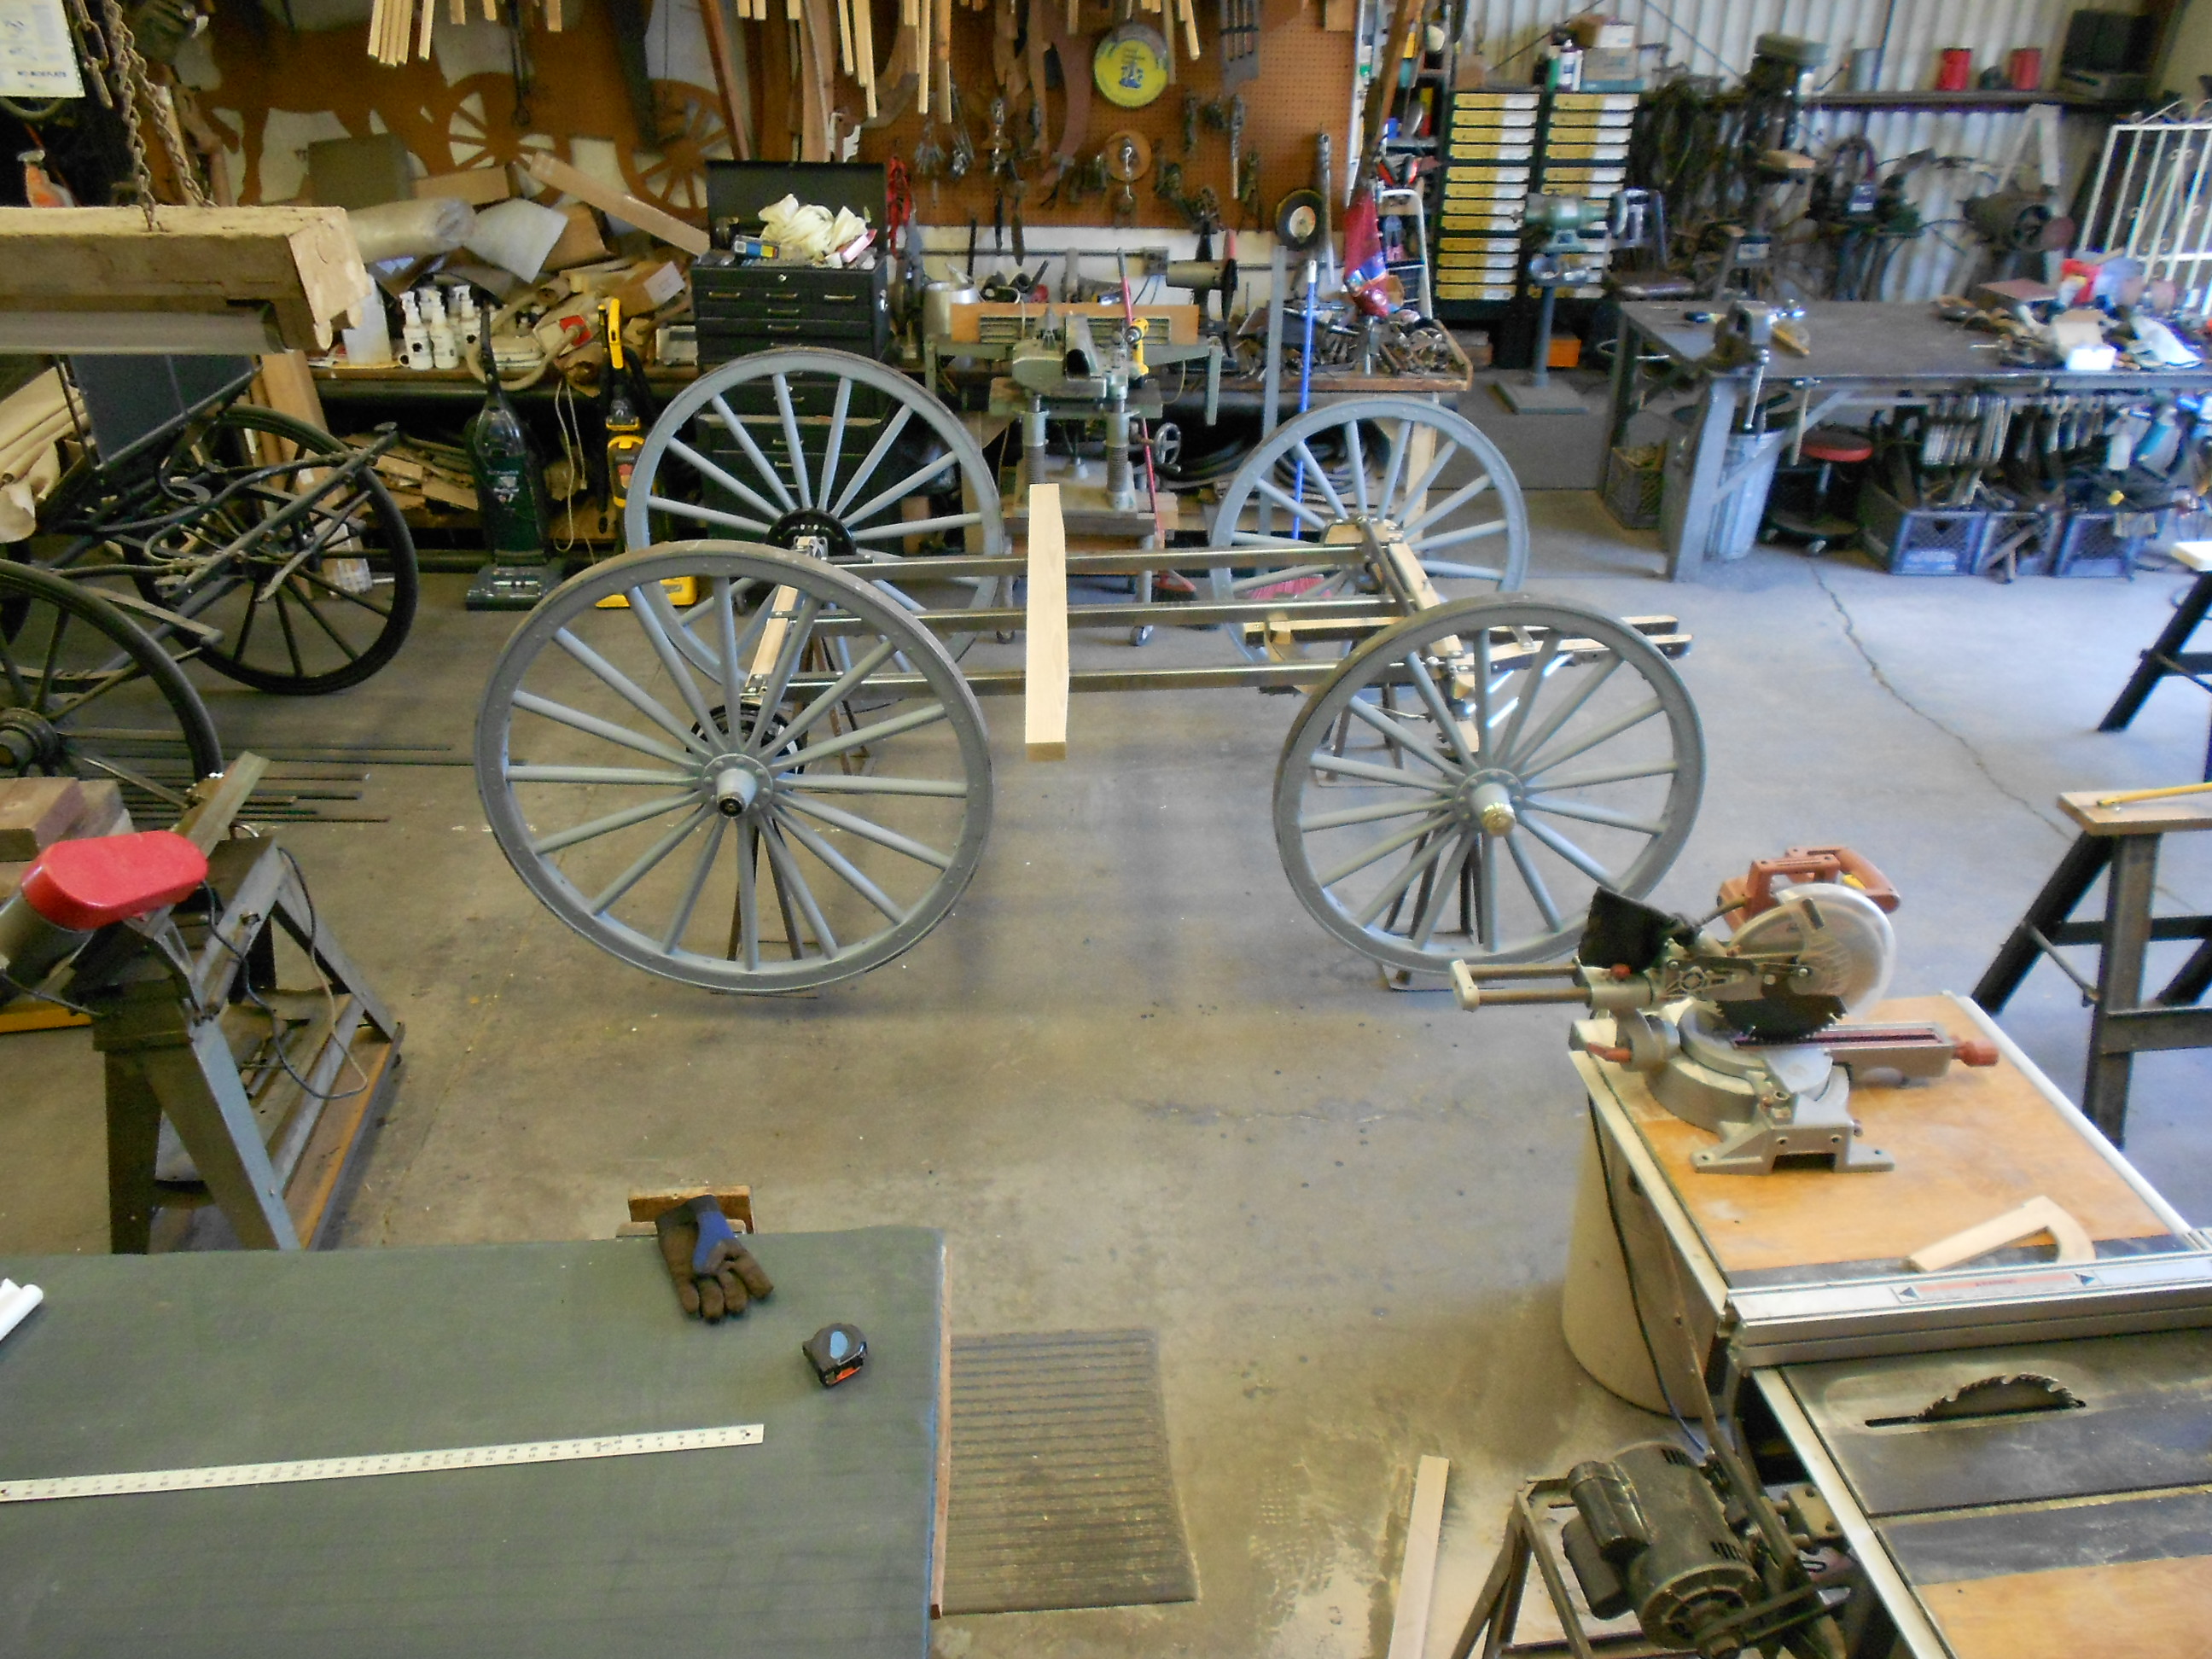
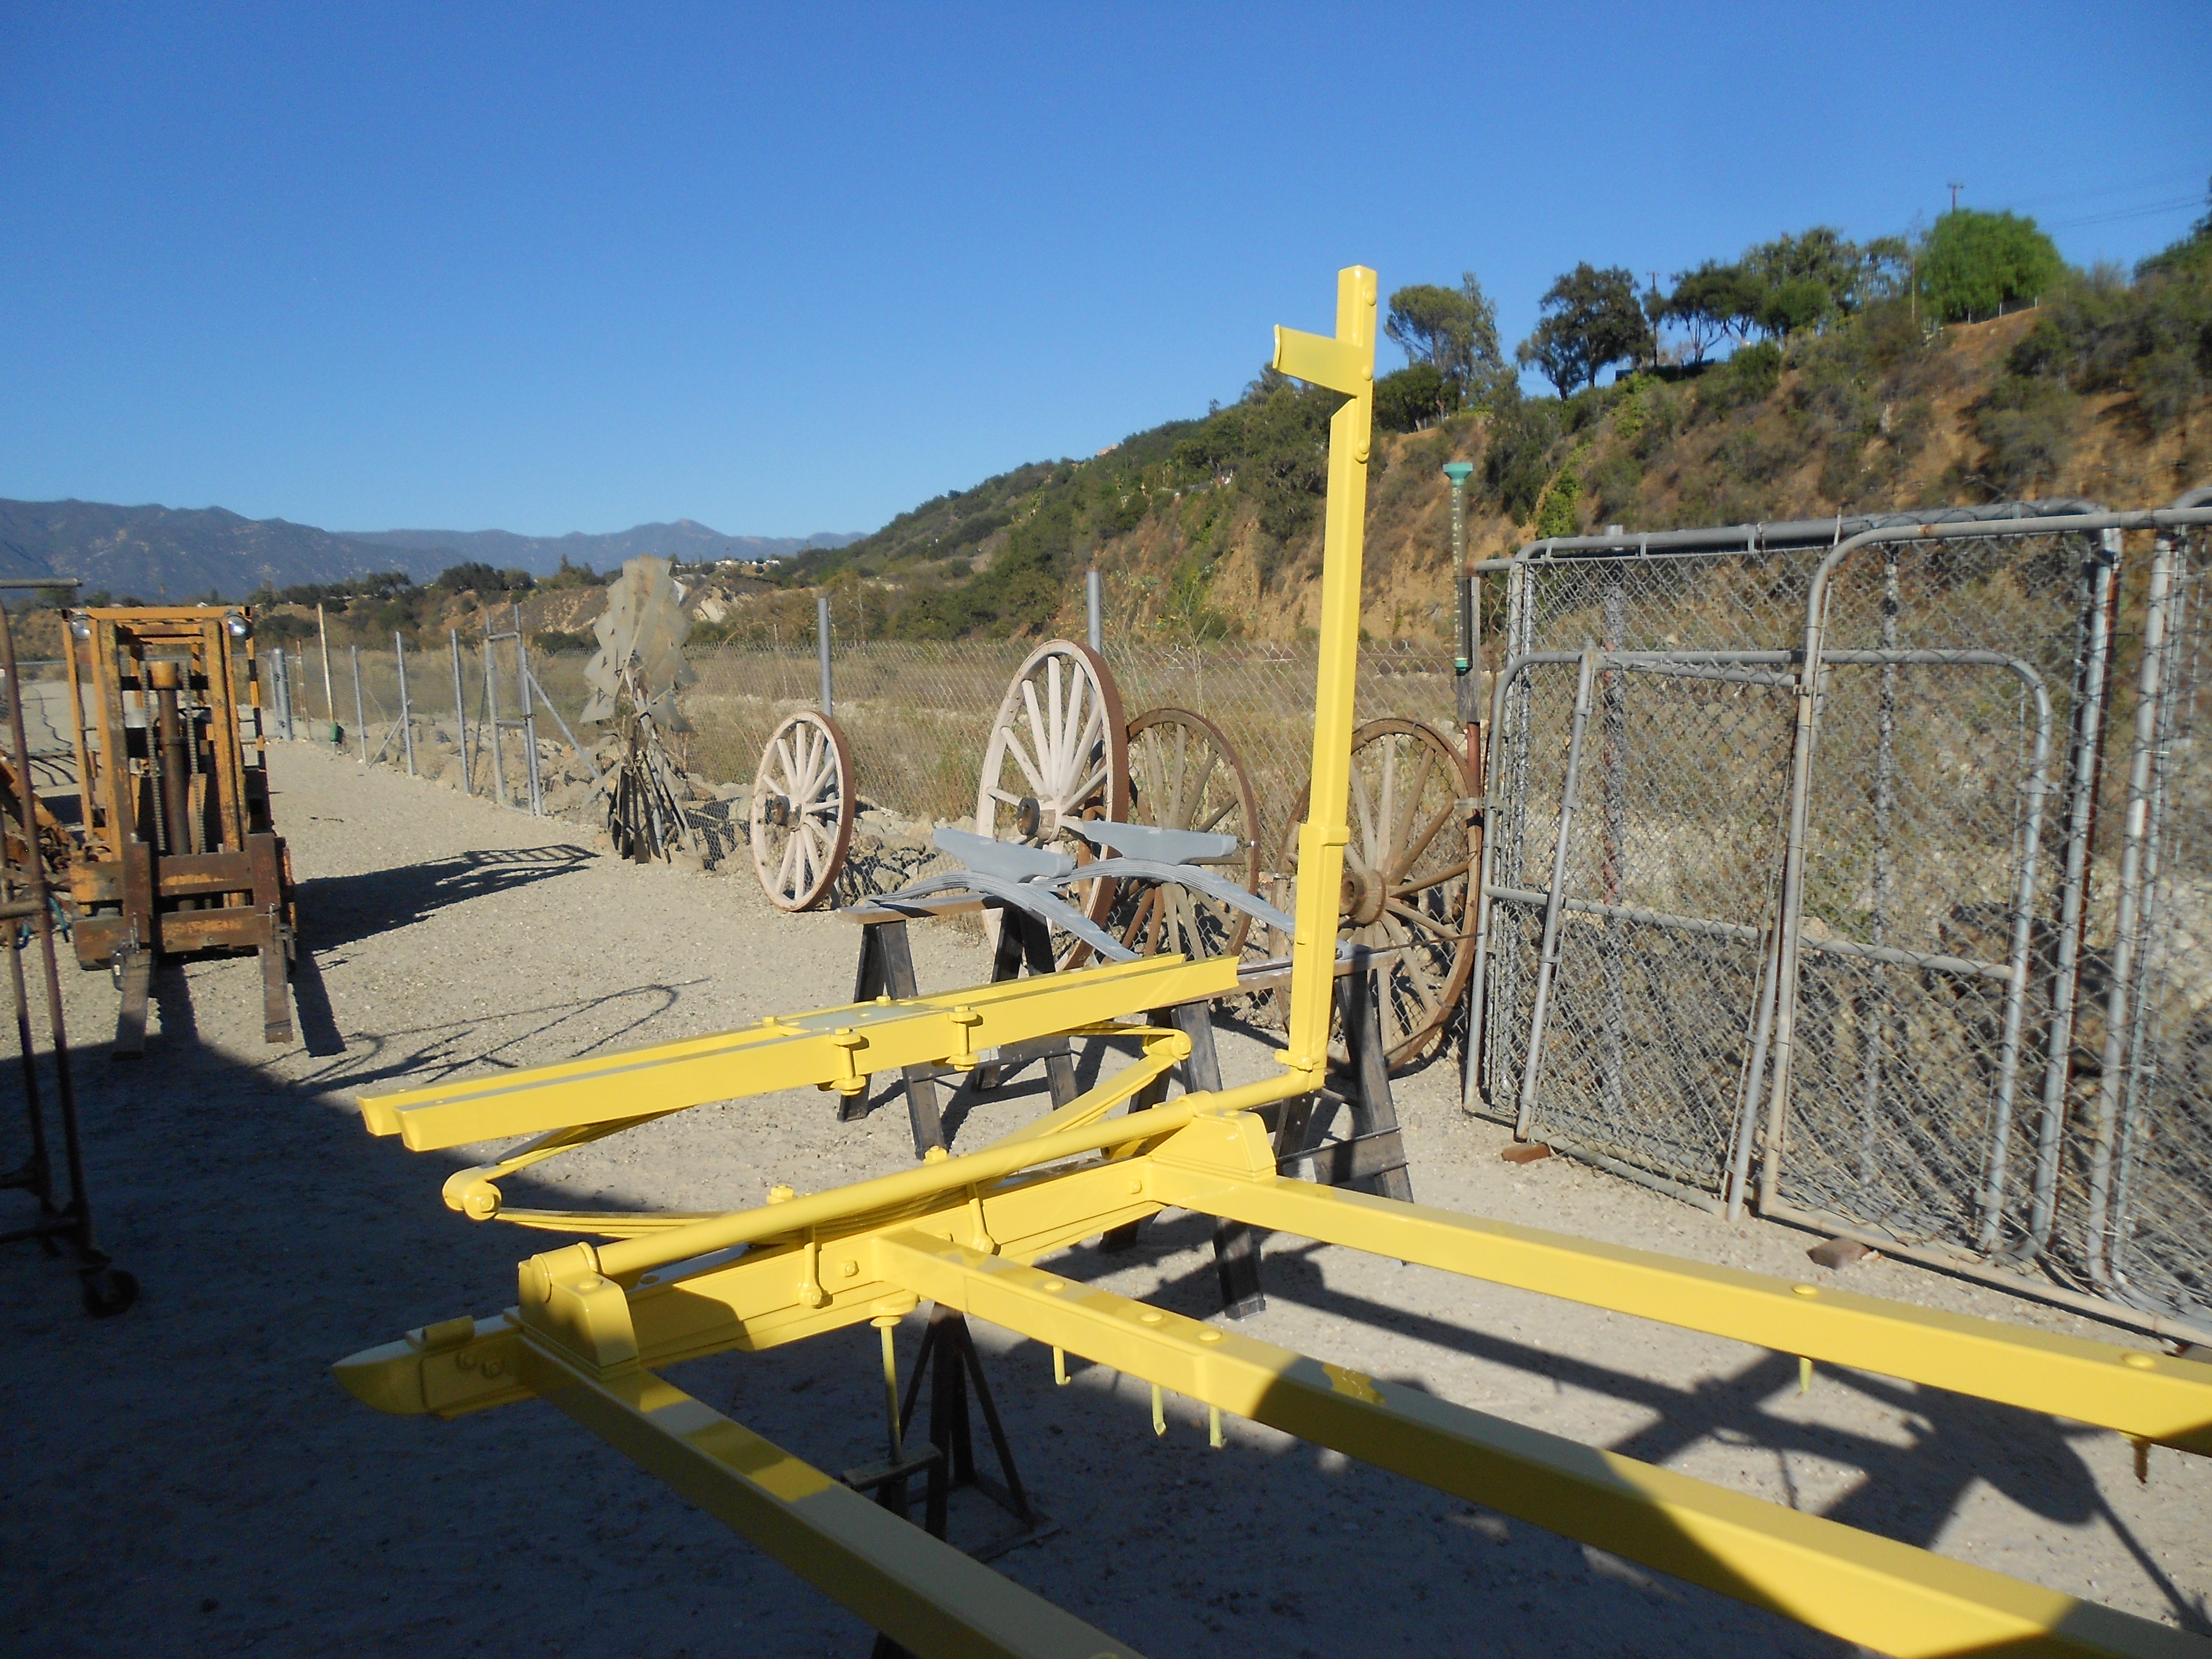
We ordered custom-built wheels from the Amish in Pennsylvania, pictured here with the spares from the original wagon which we sent them for reference. |
|
|
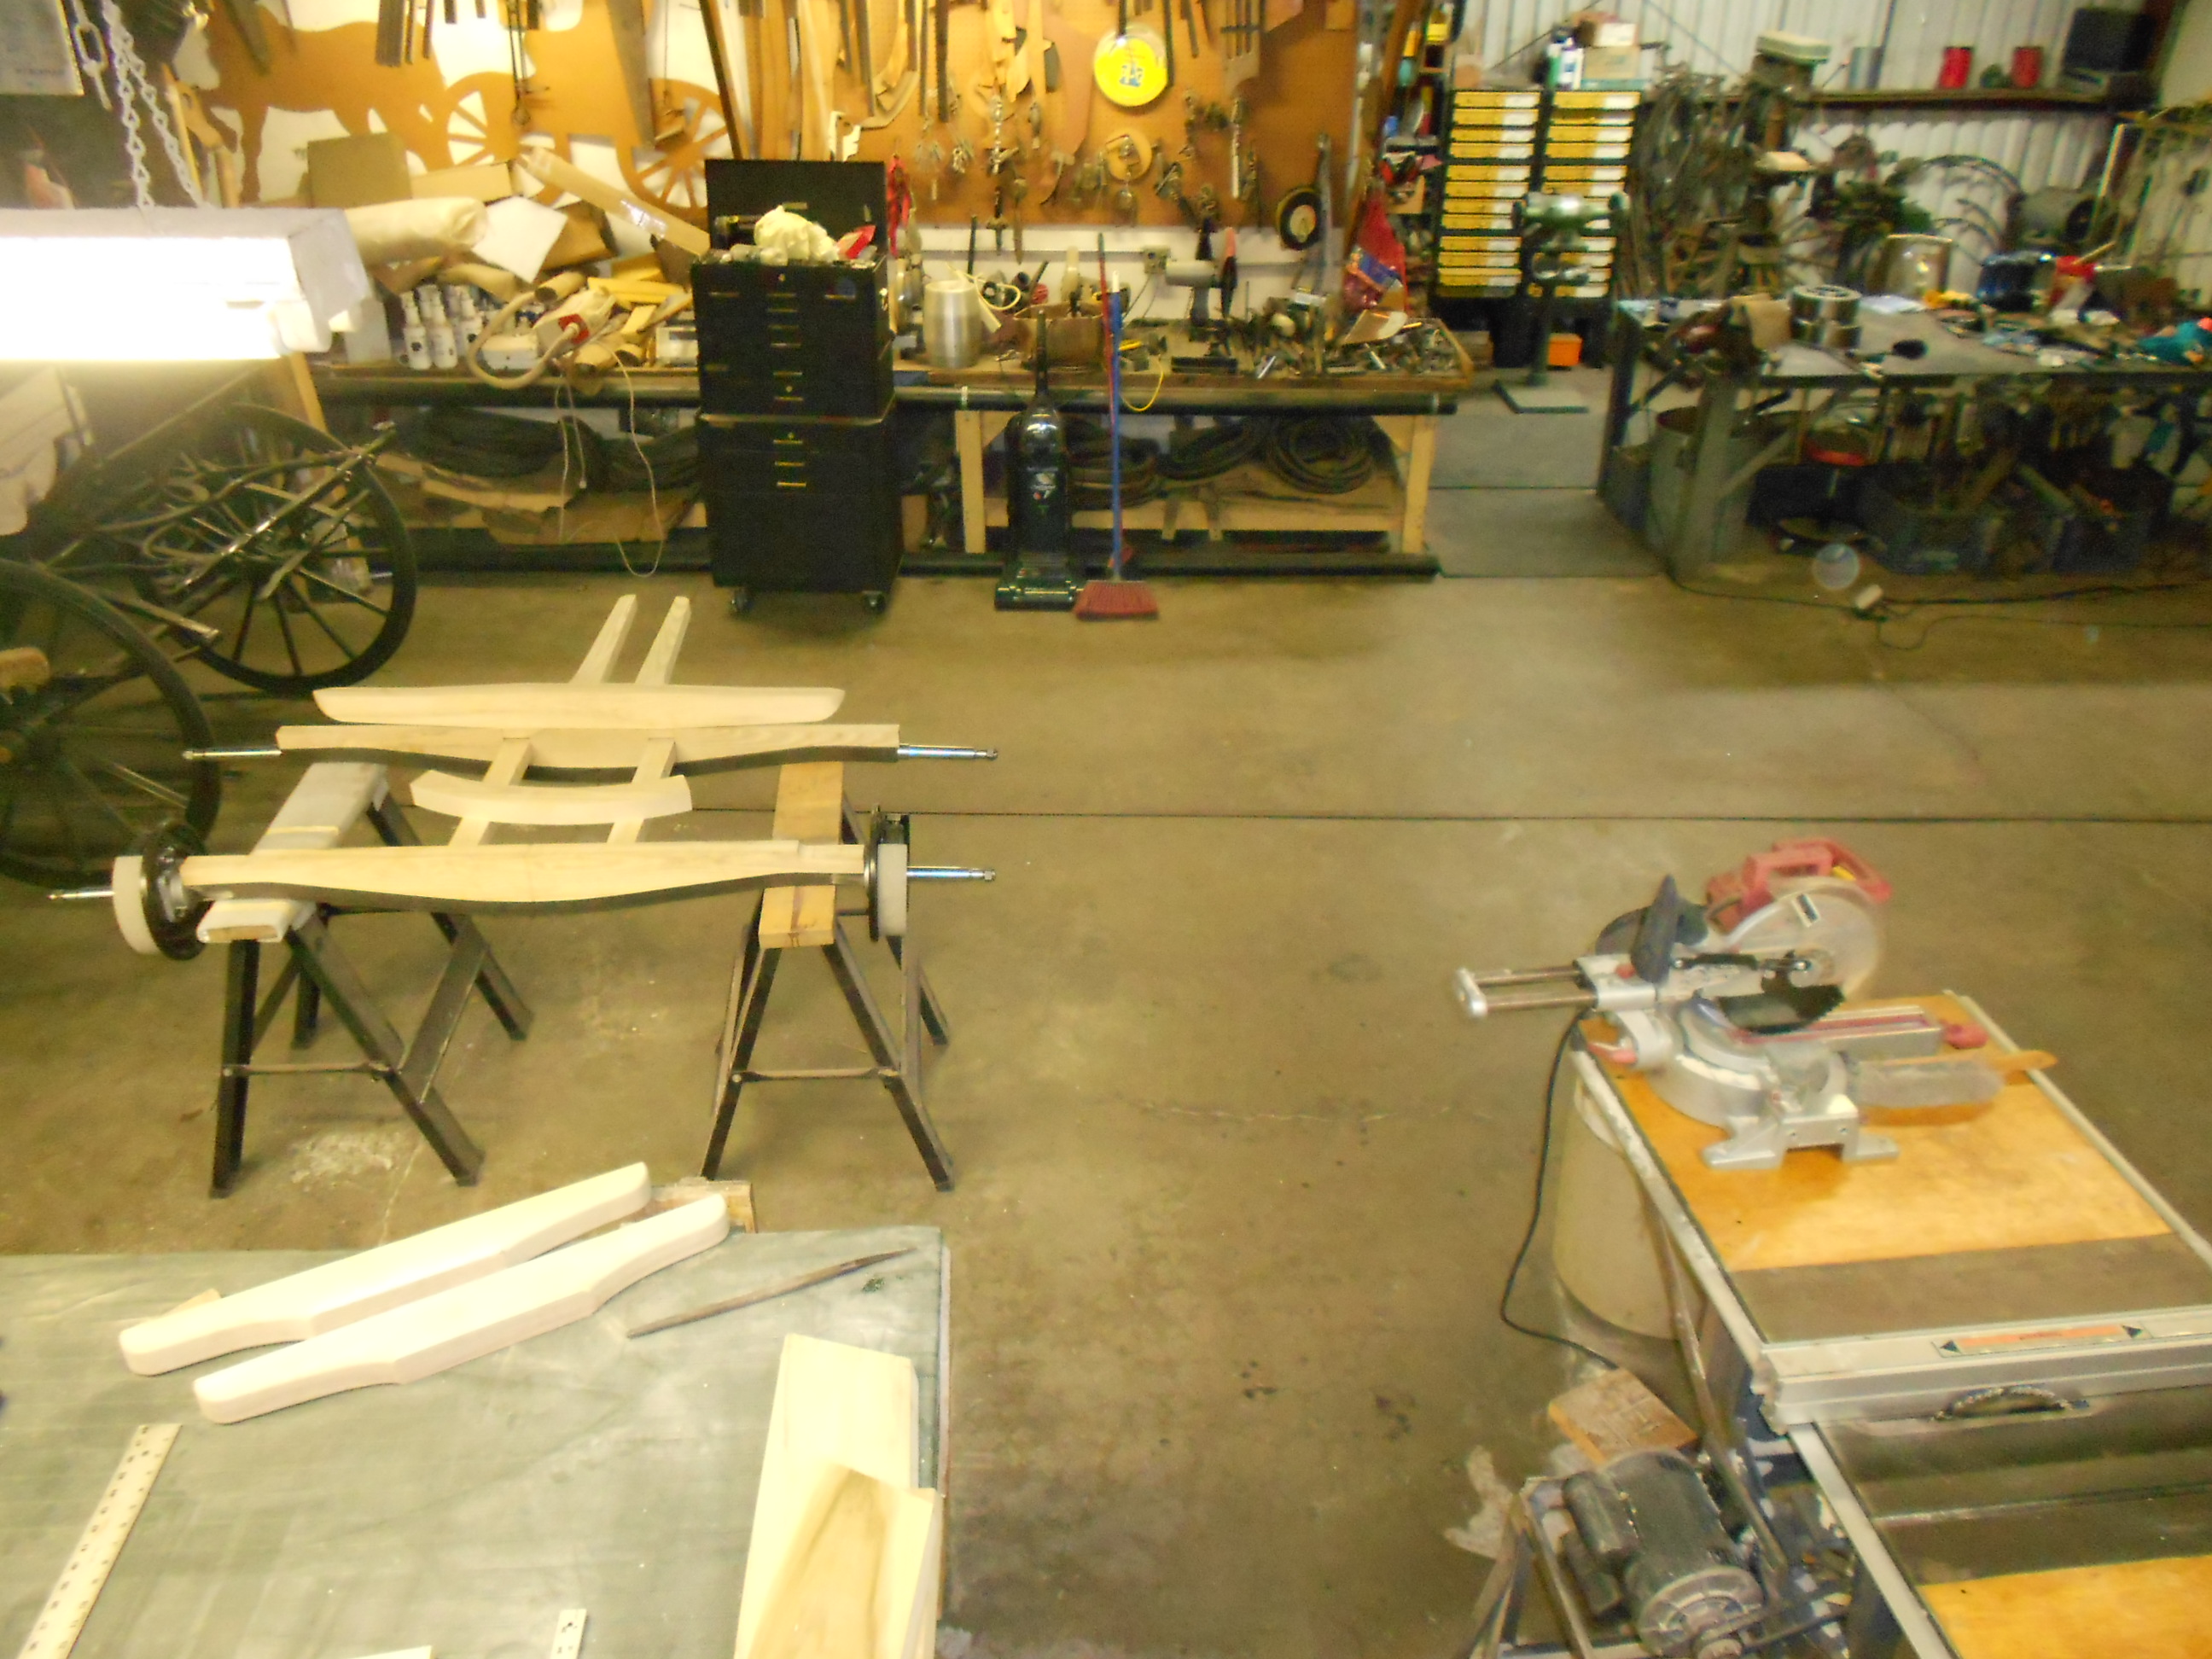
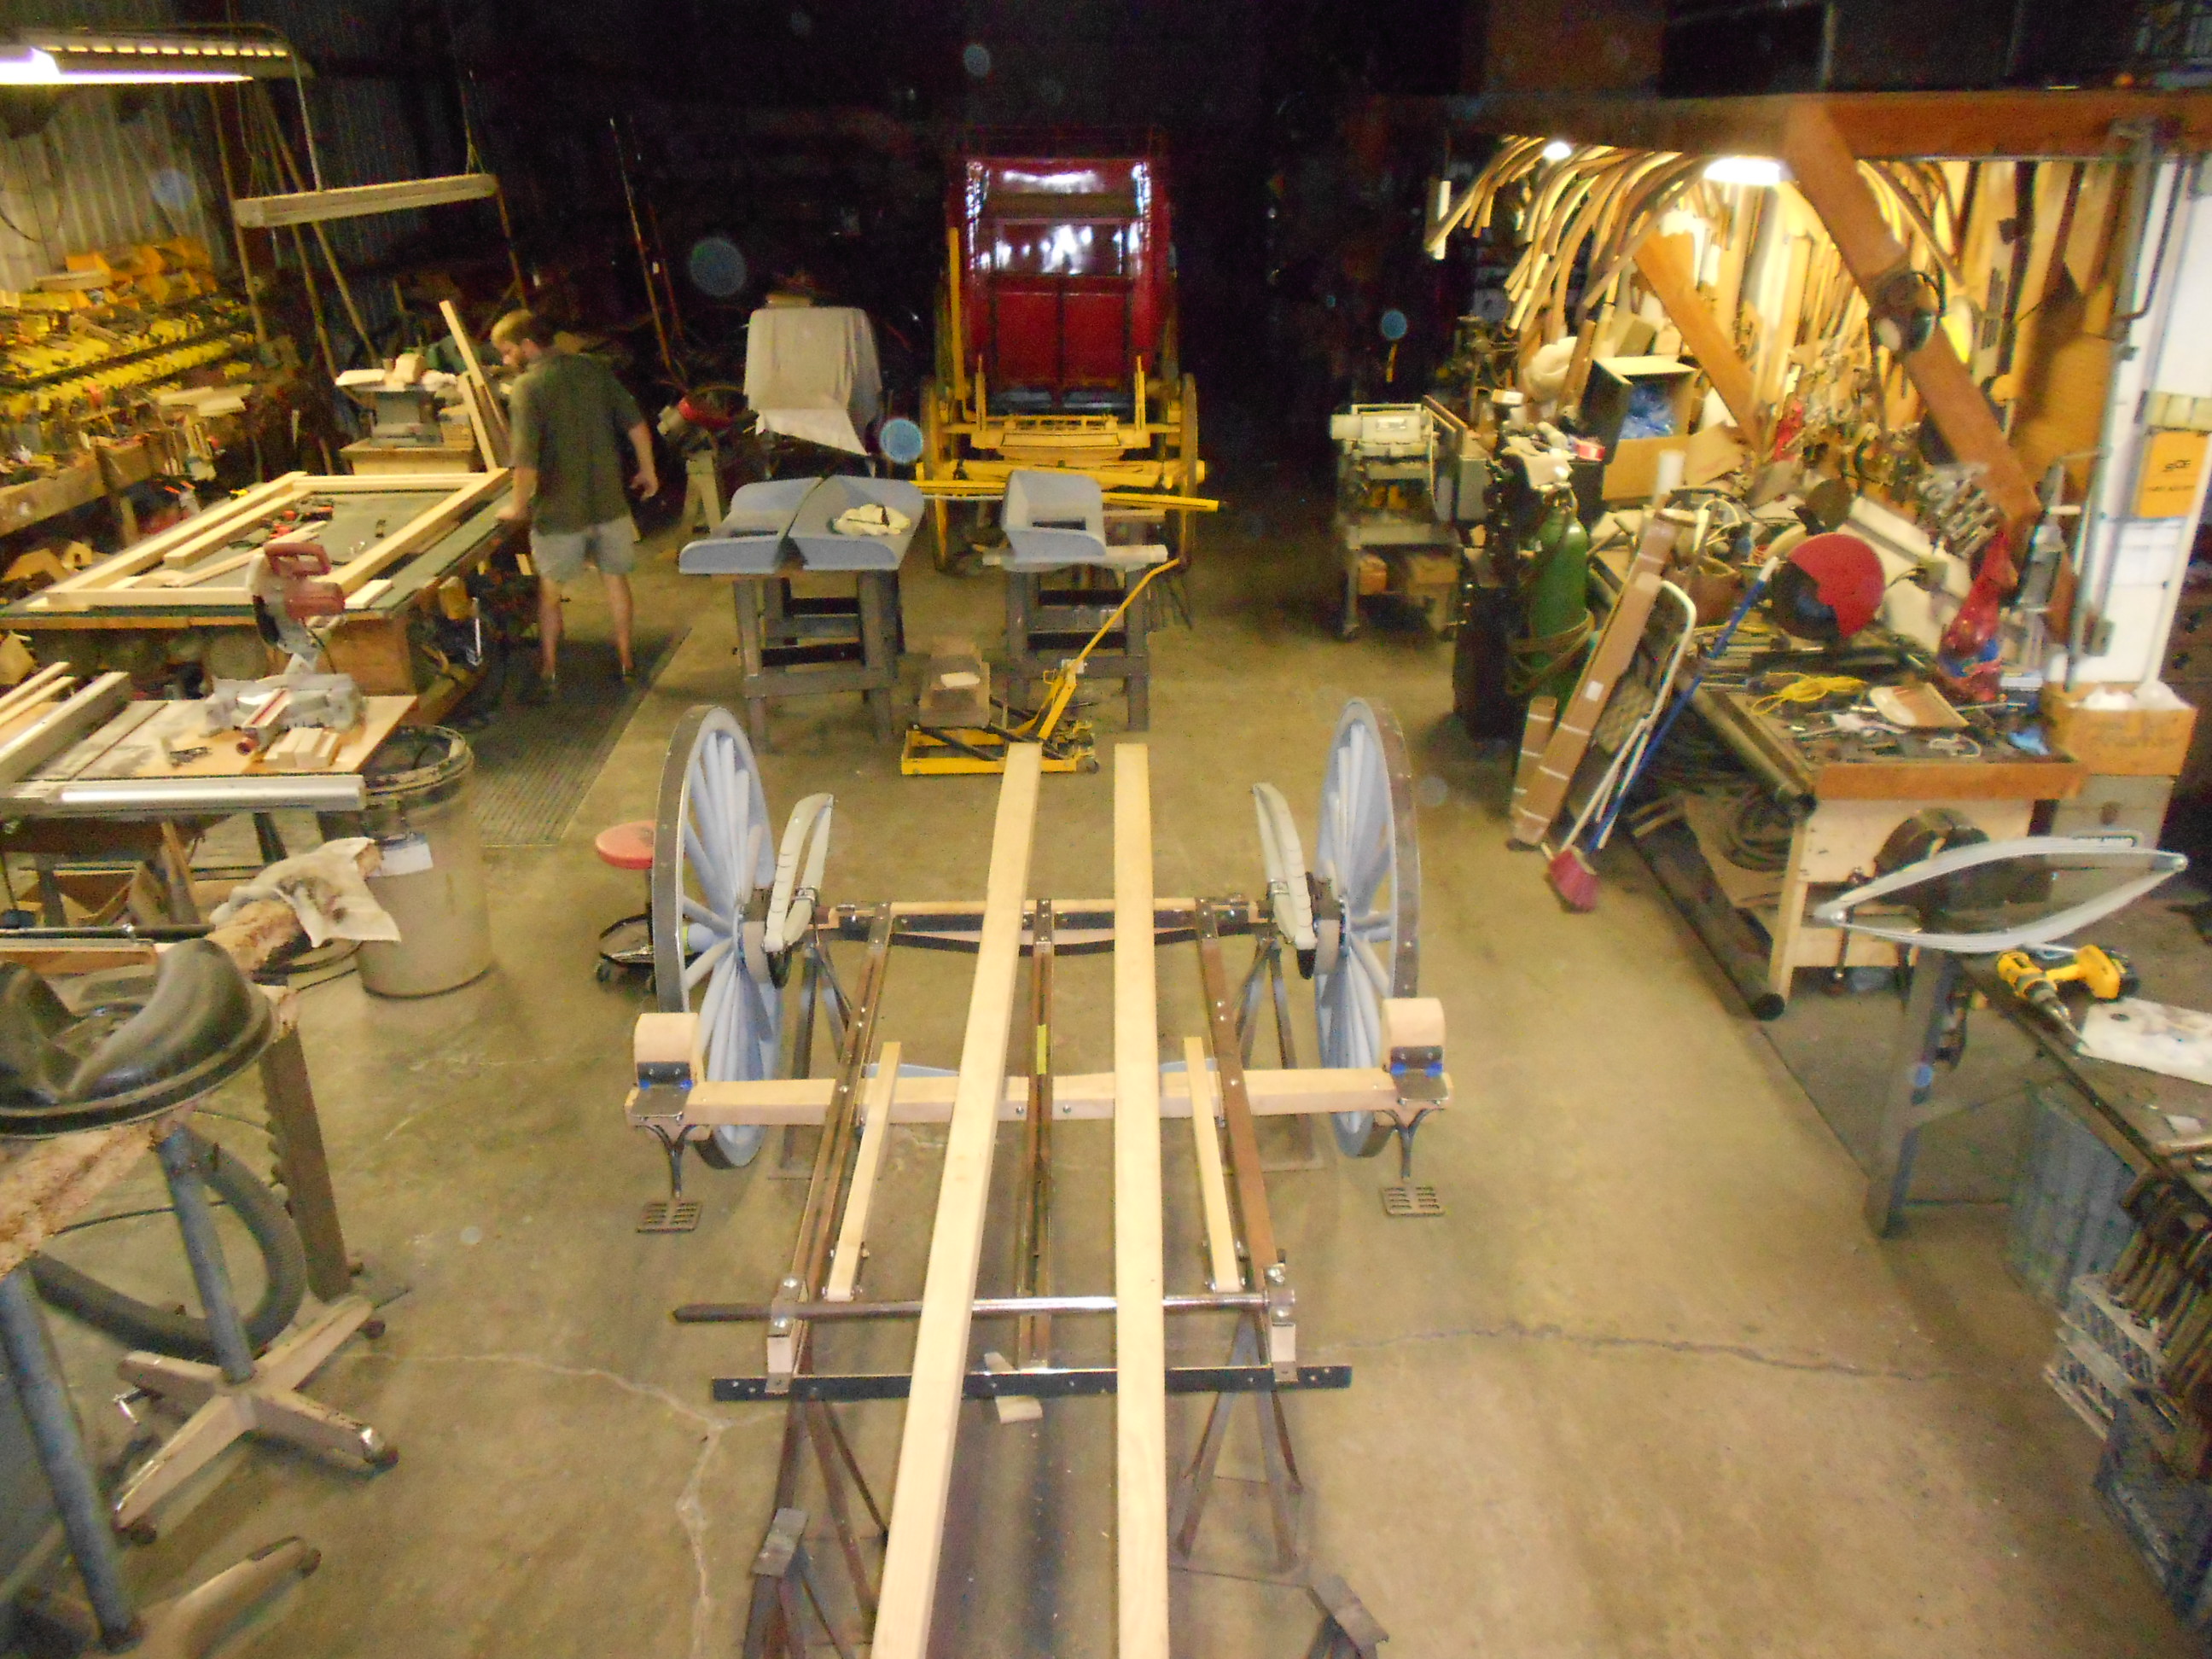
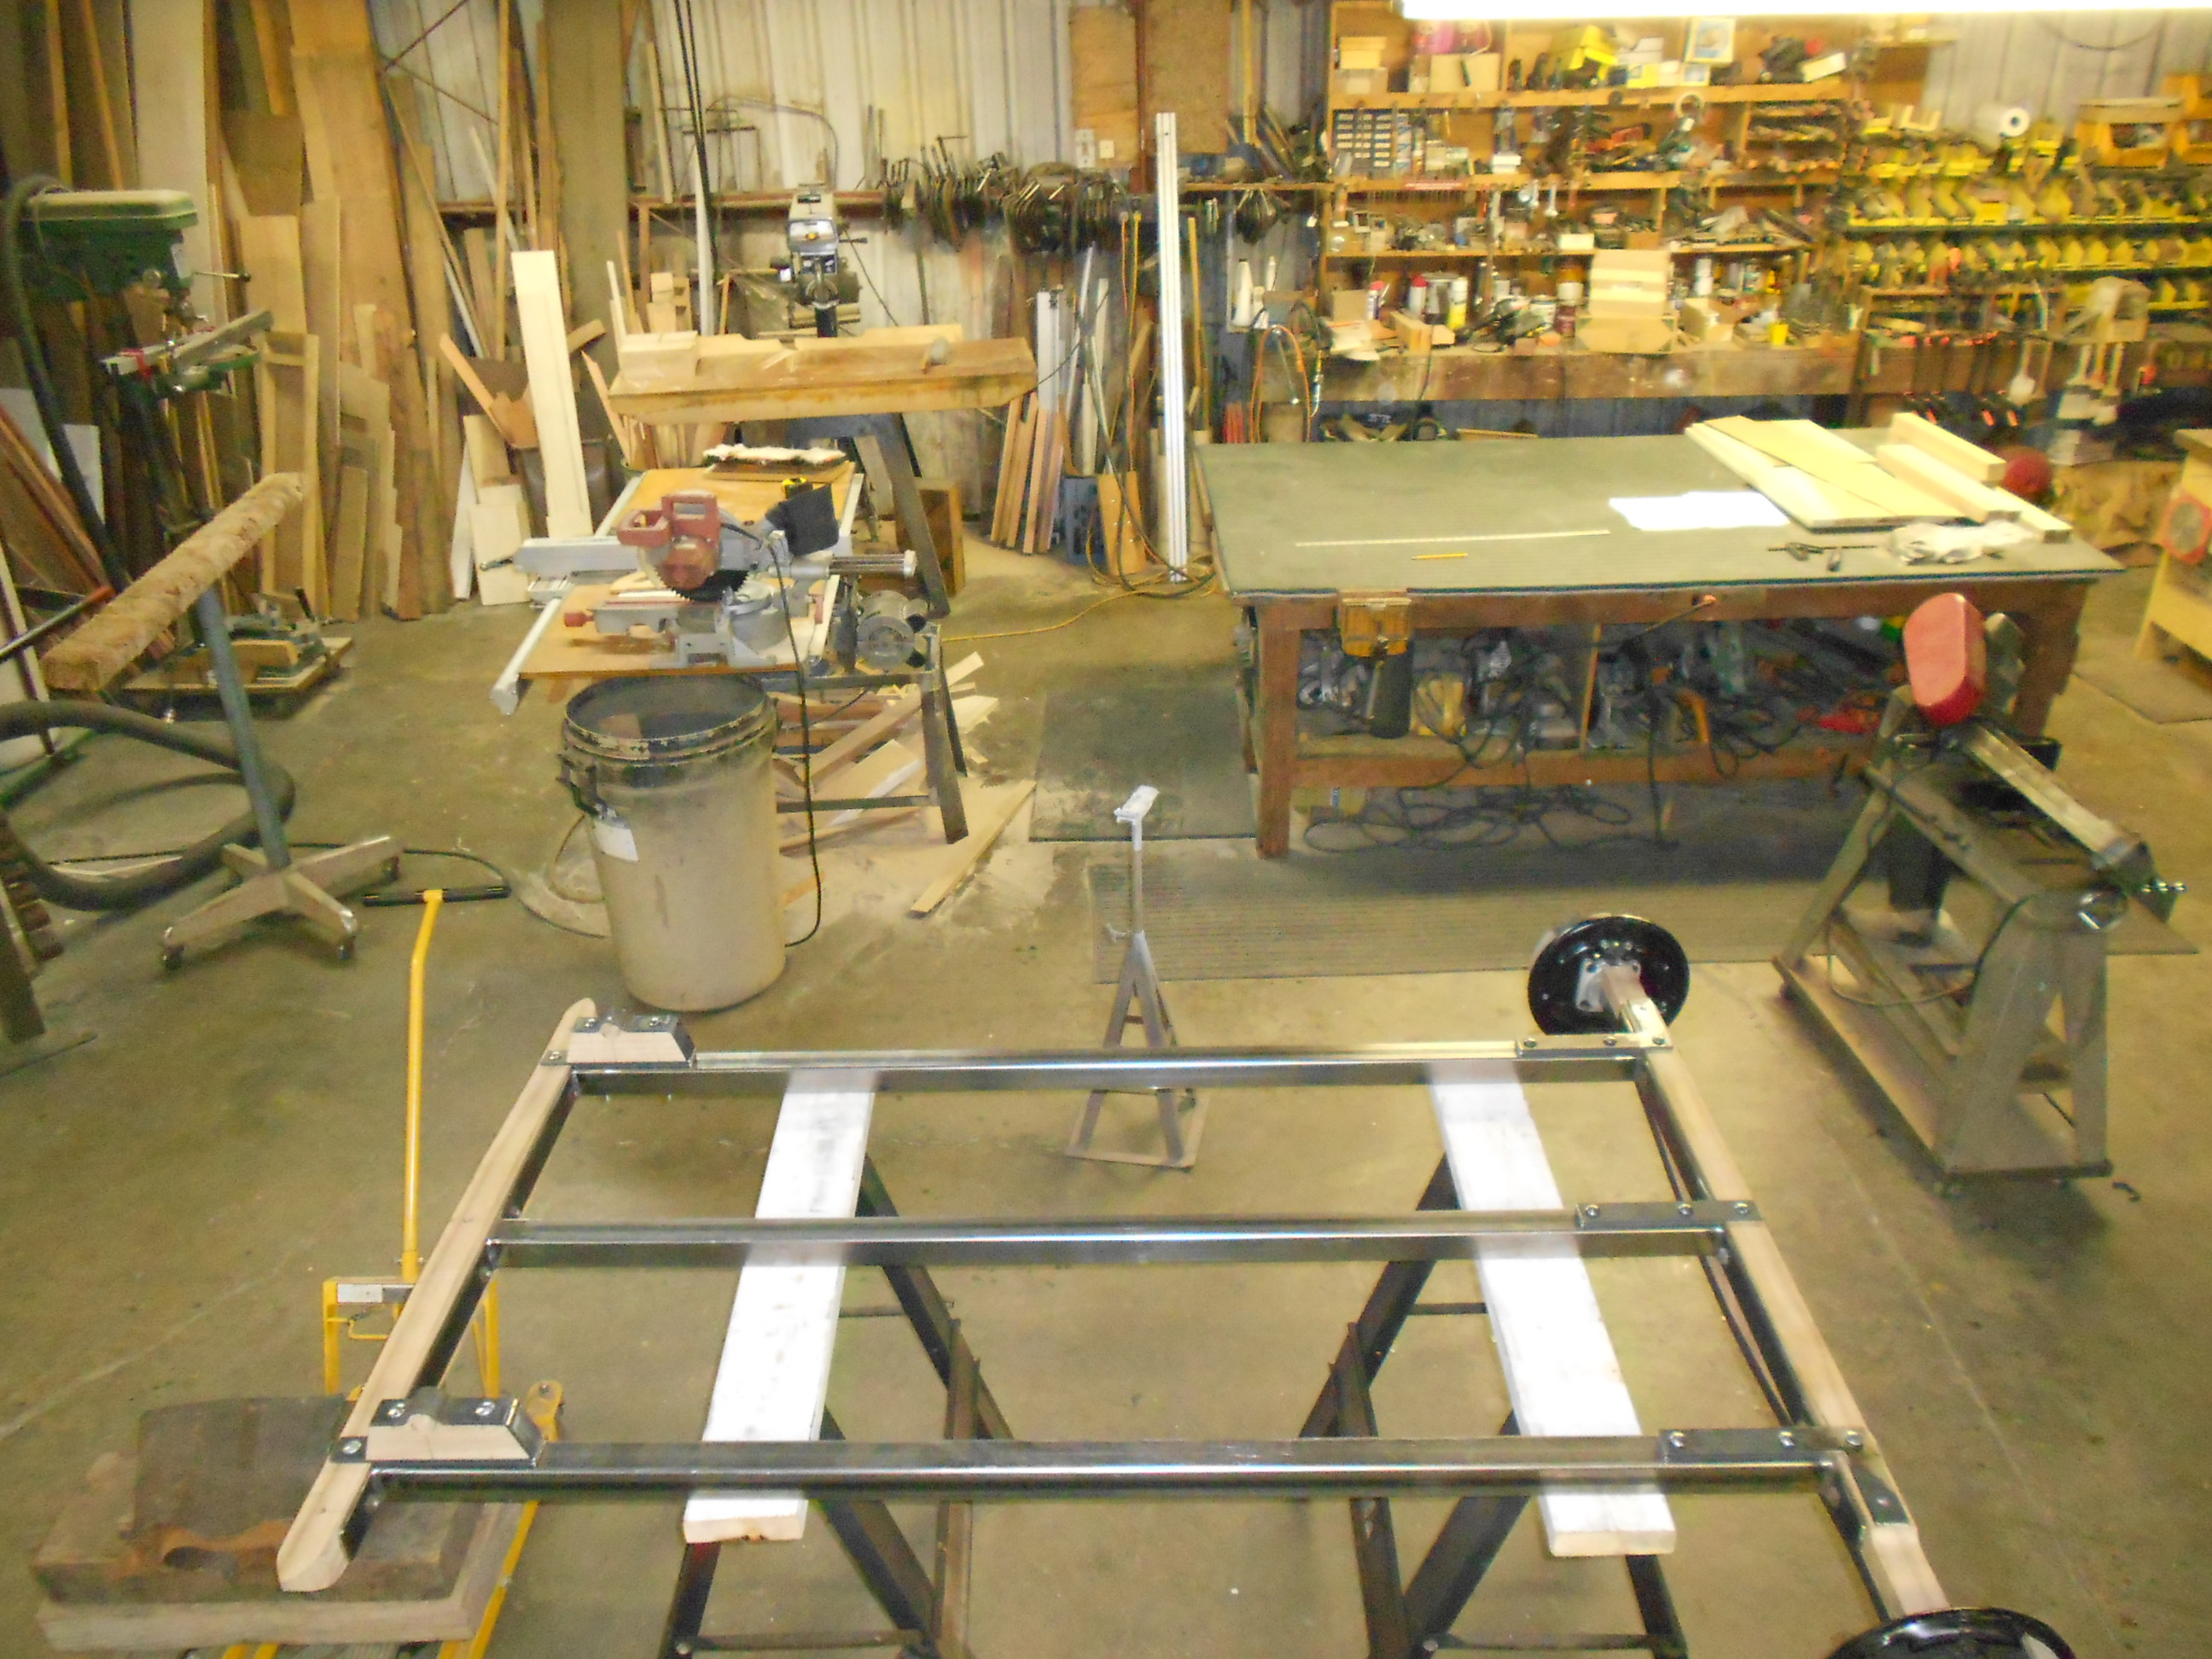
Beginning the construction of the undercarriage |
 |
|
Construction of the front axle |
|
|
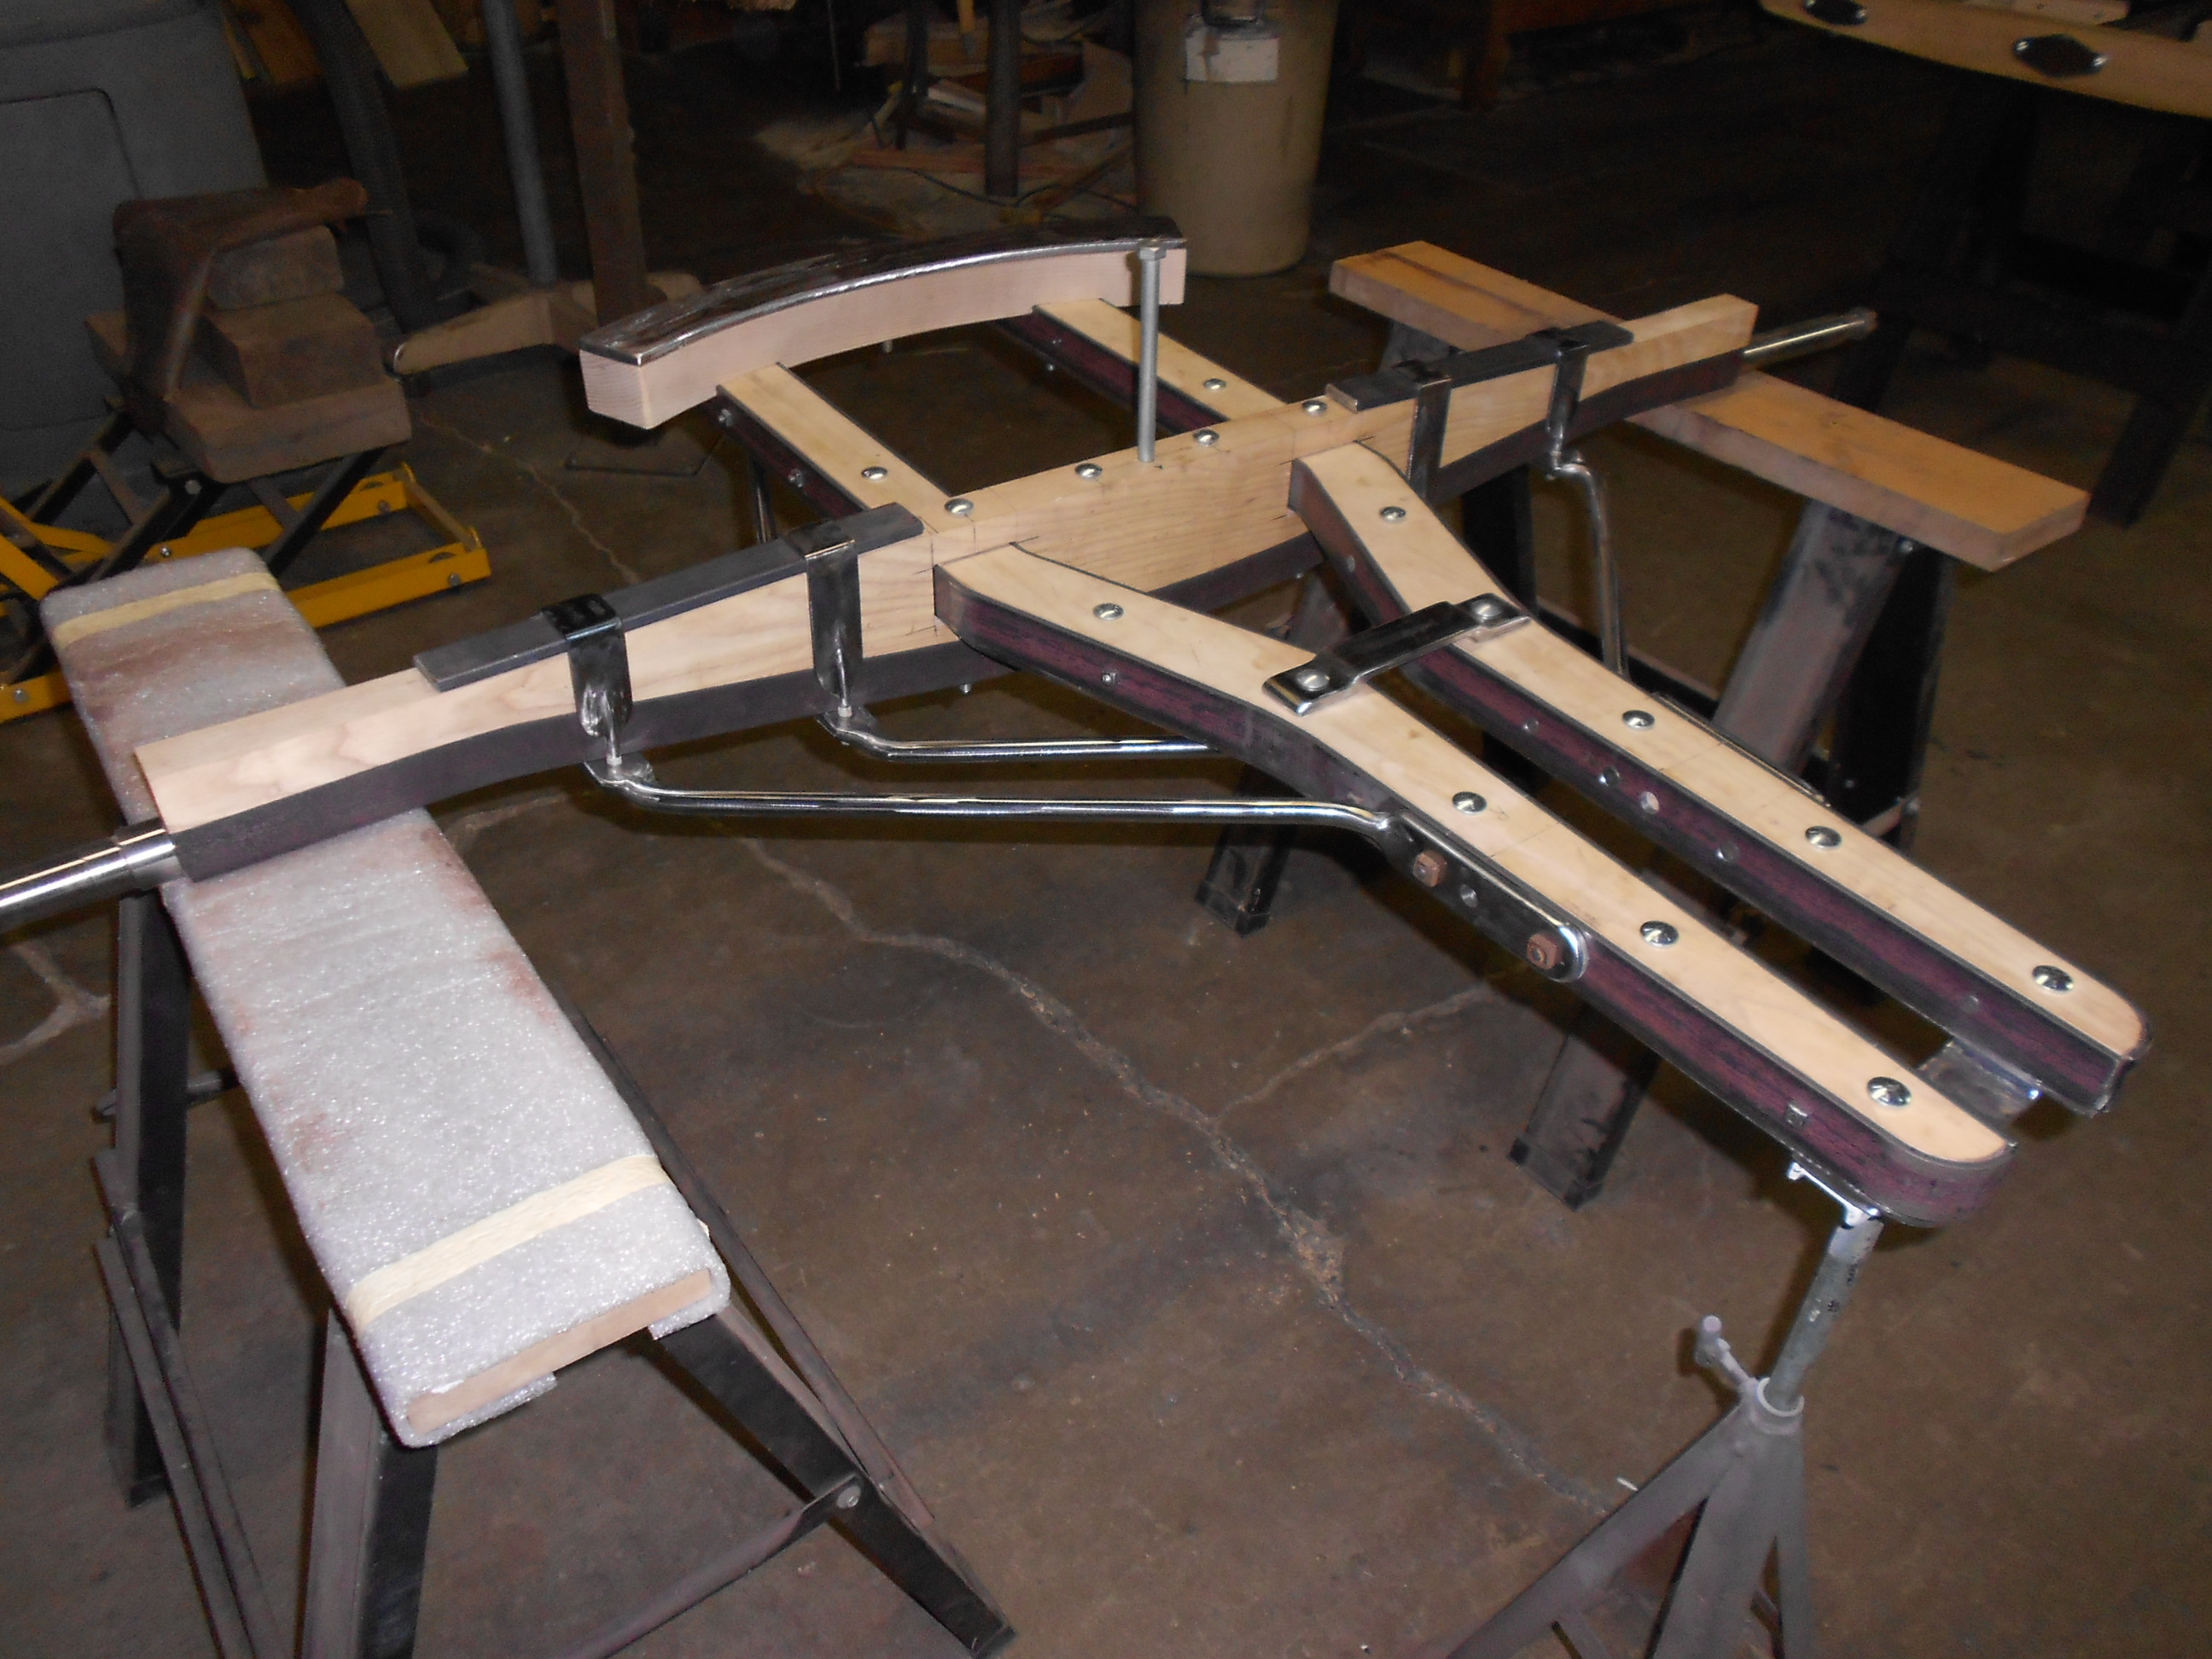
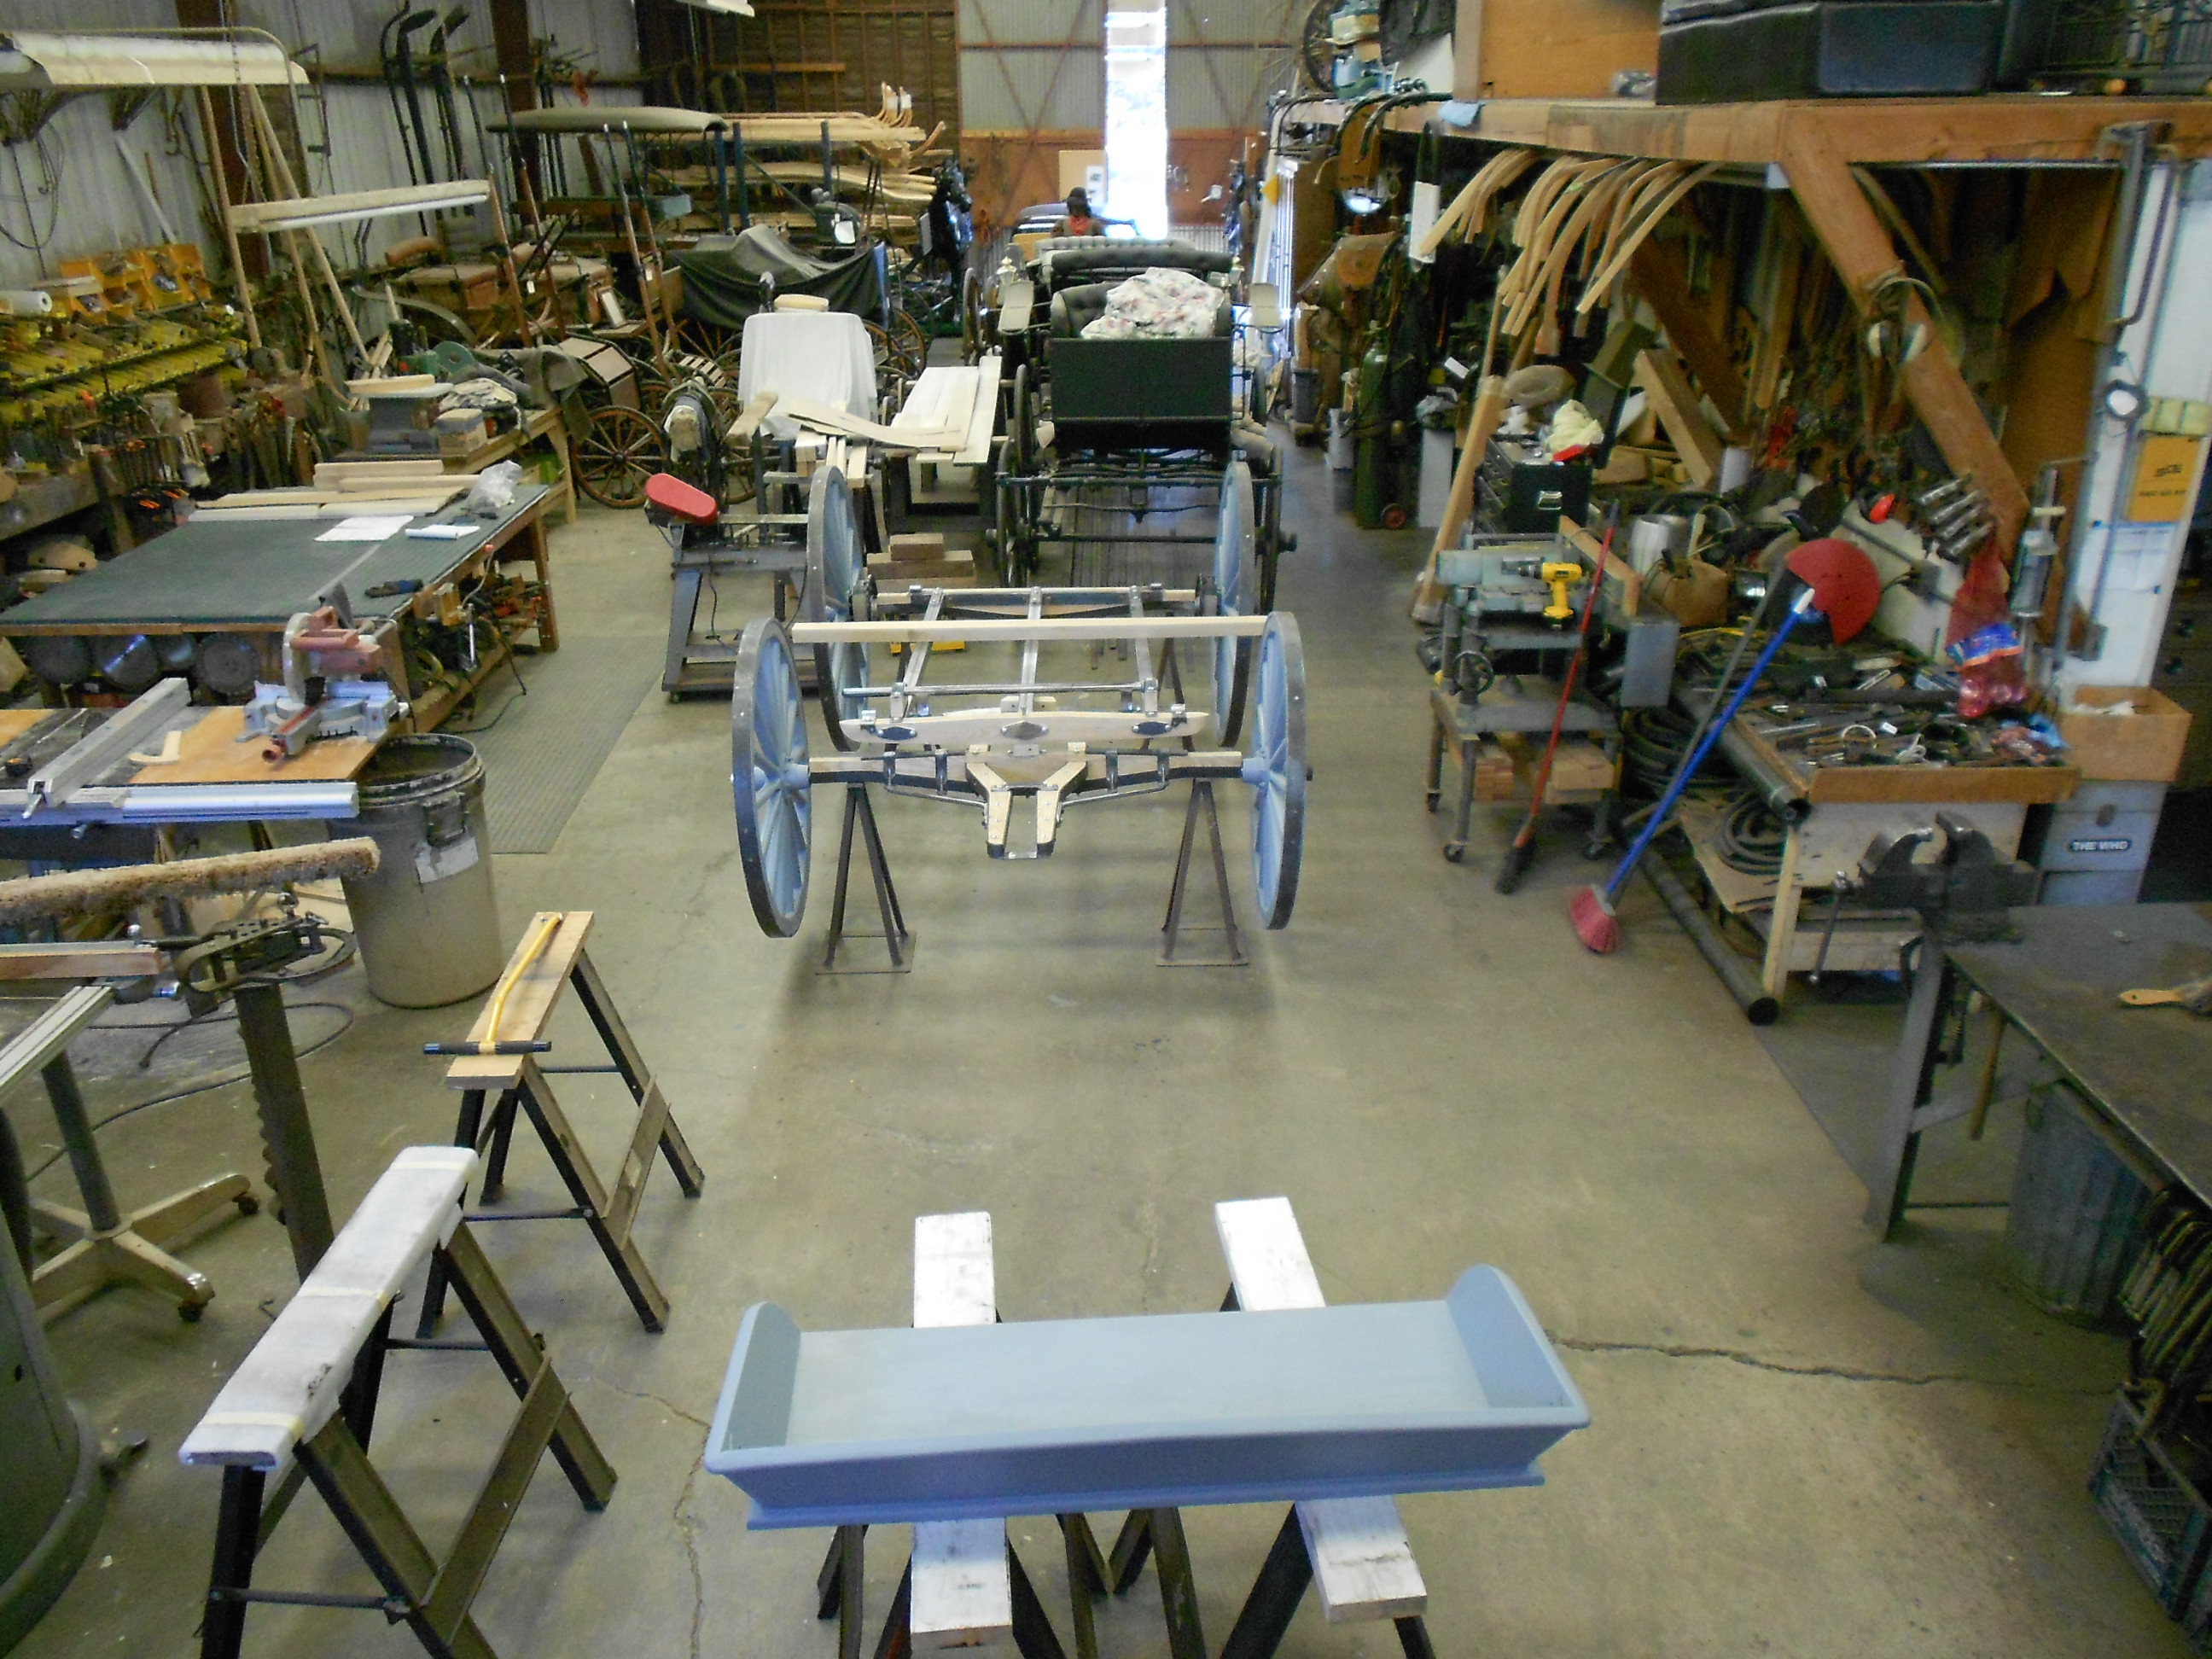
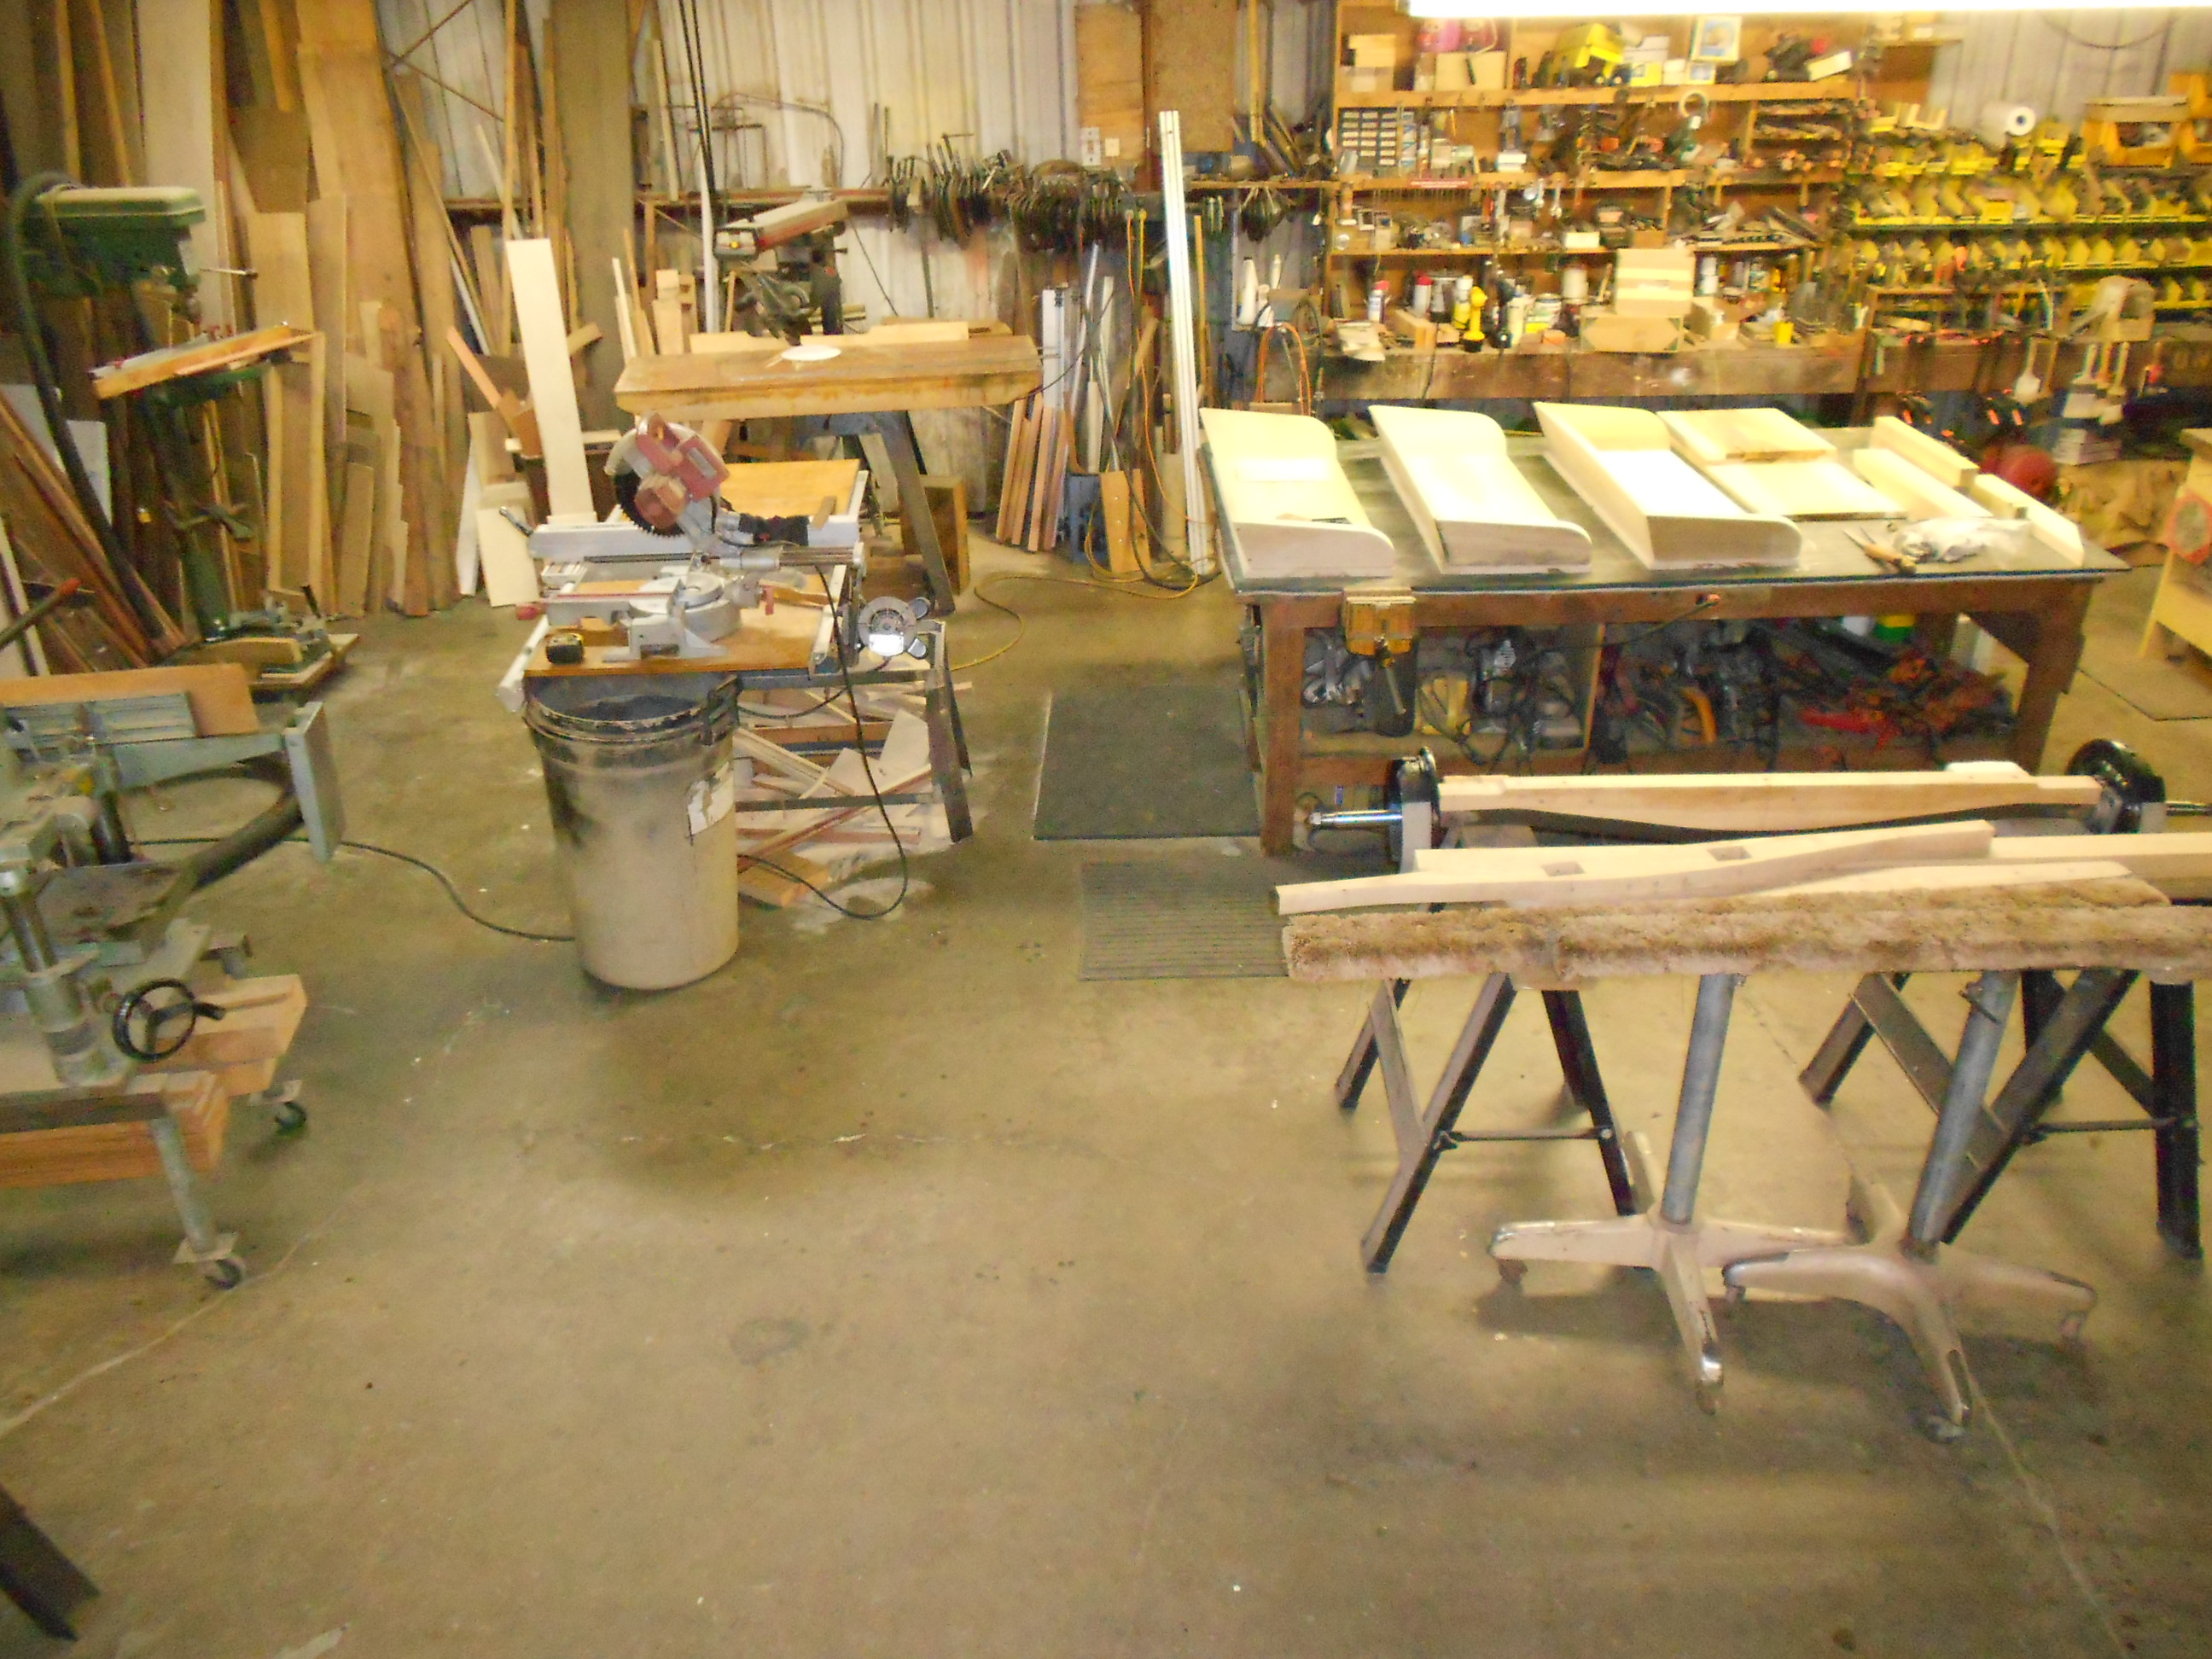
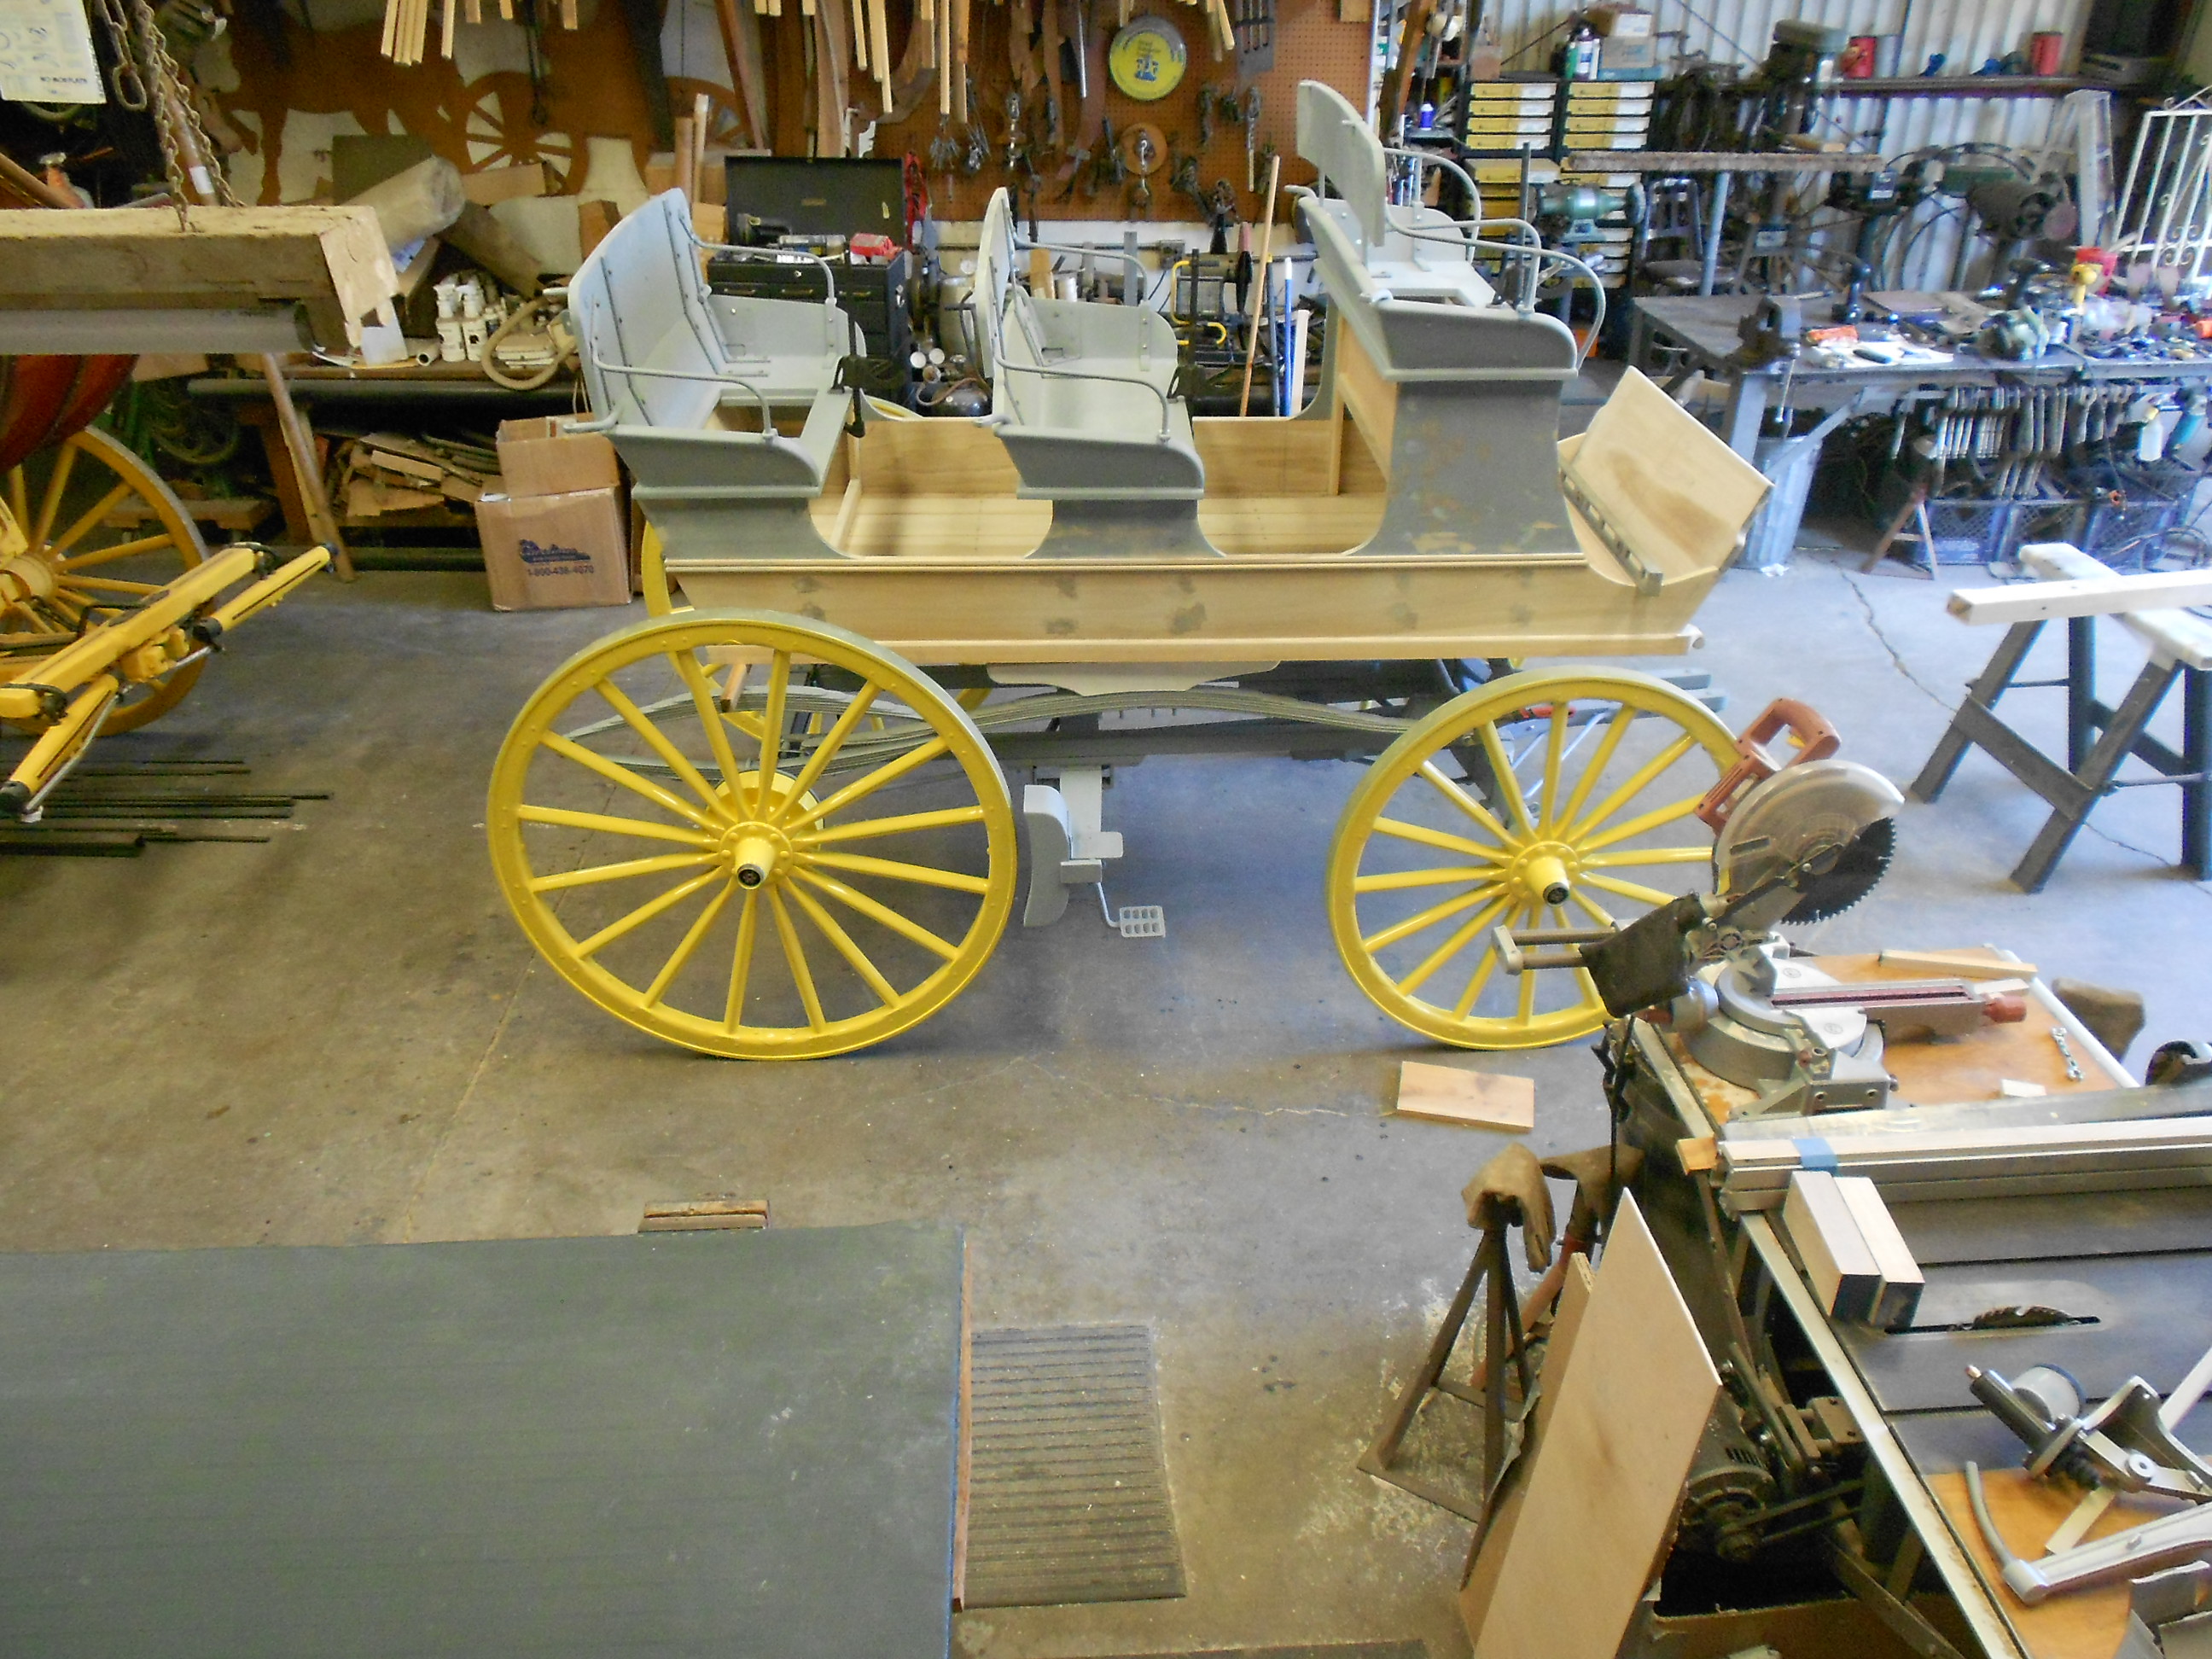
Putting some of the pieces together |
|
|
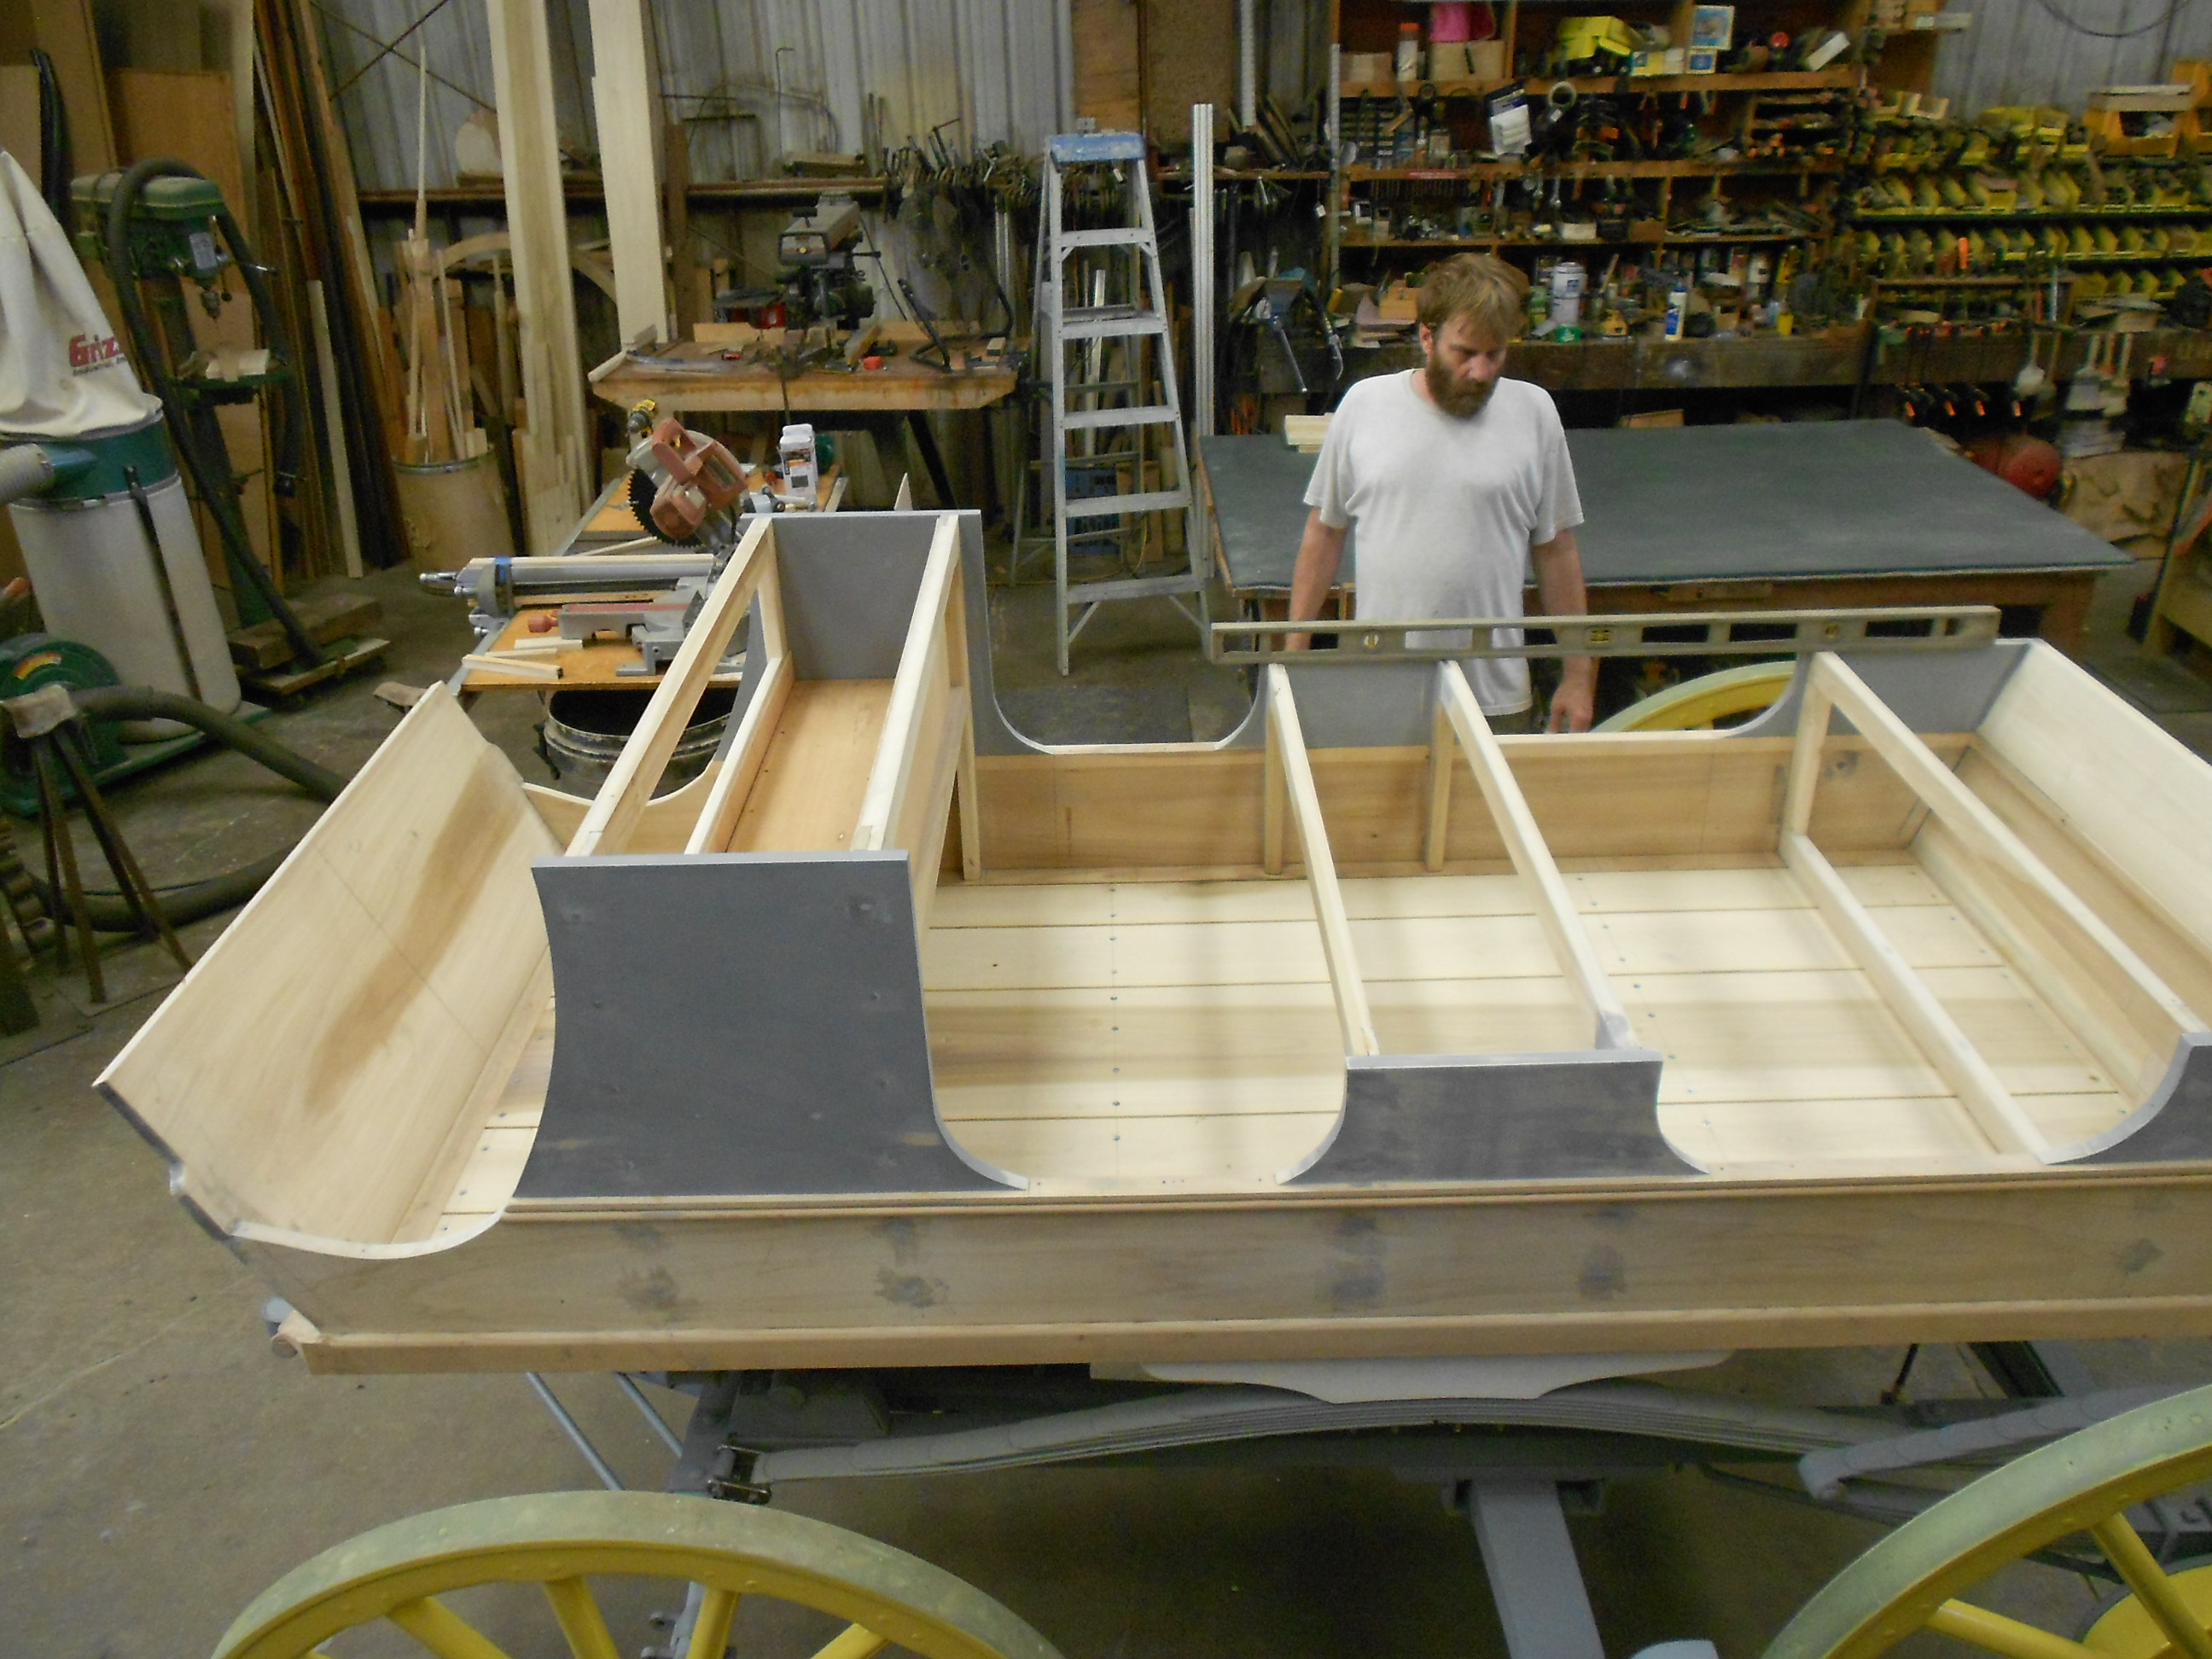
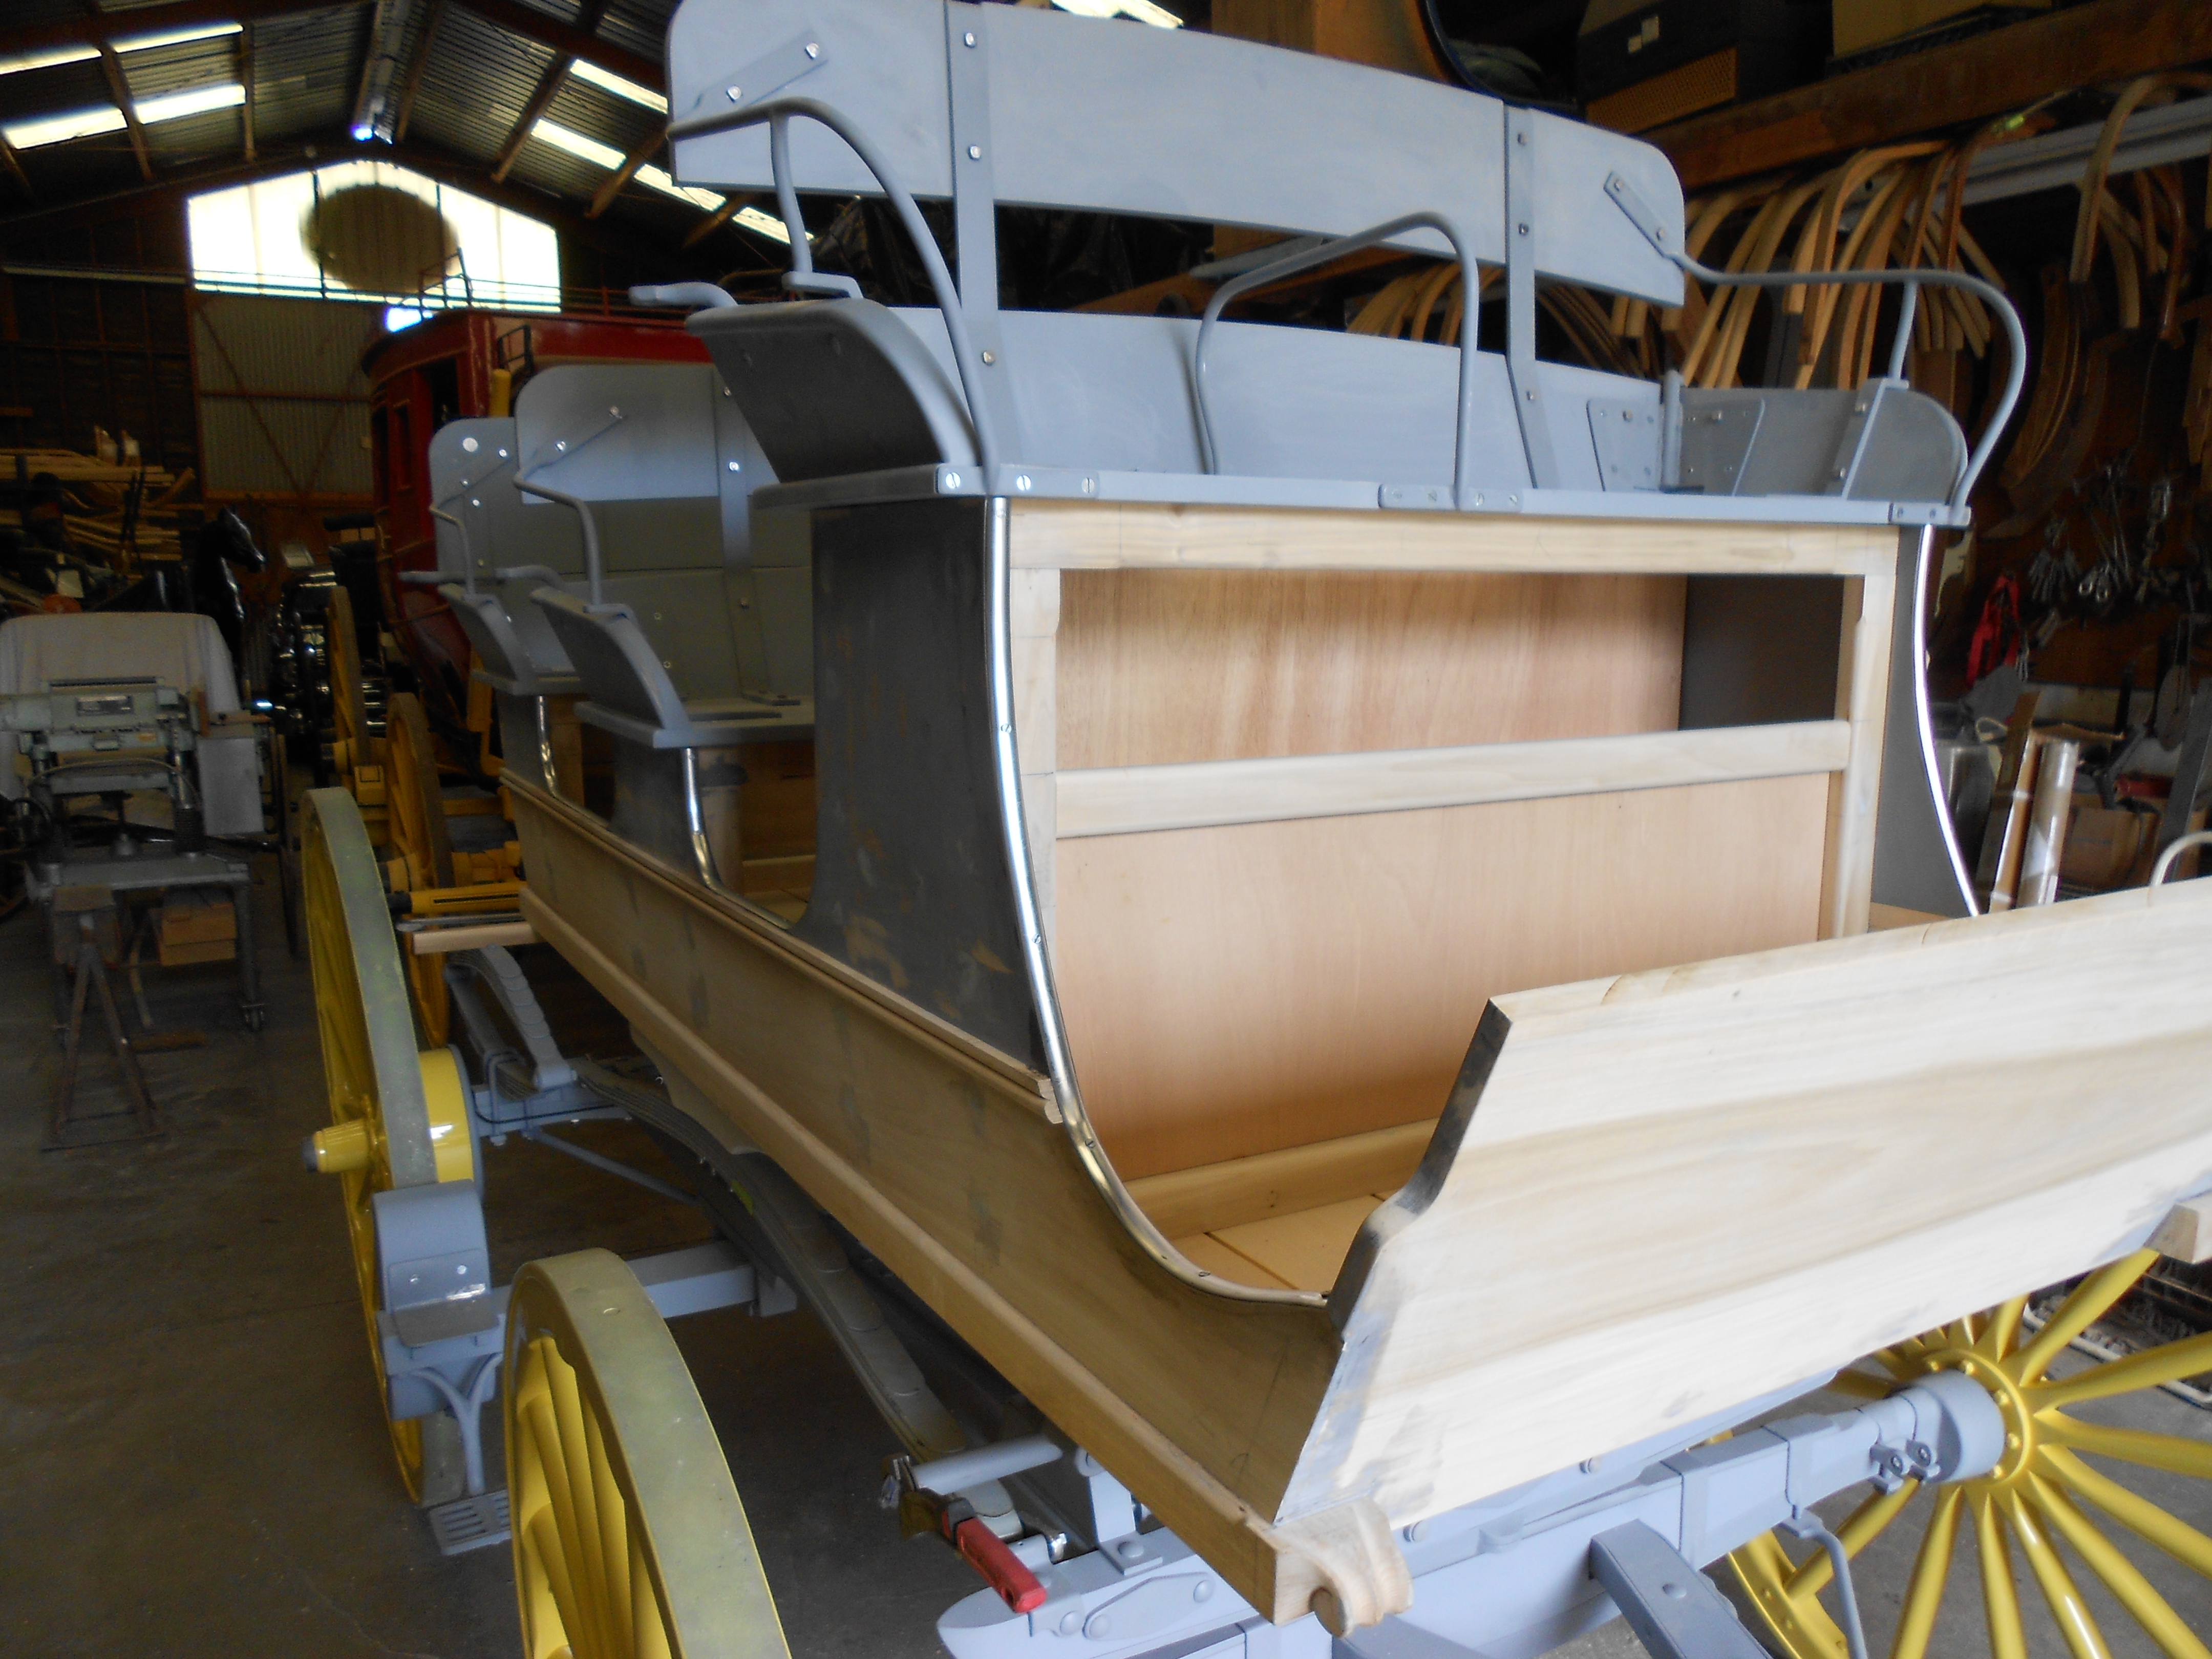
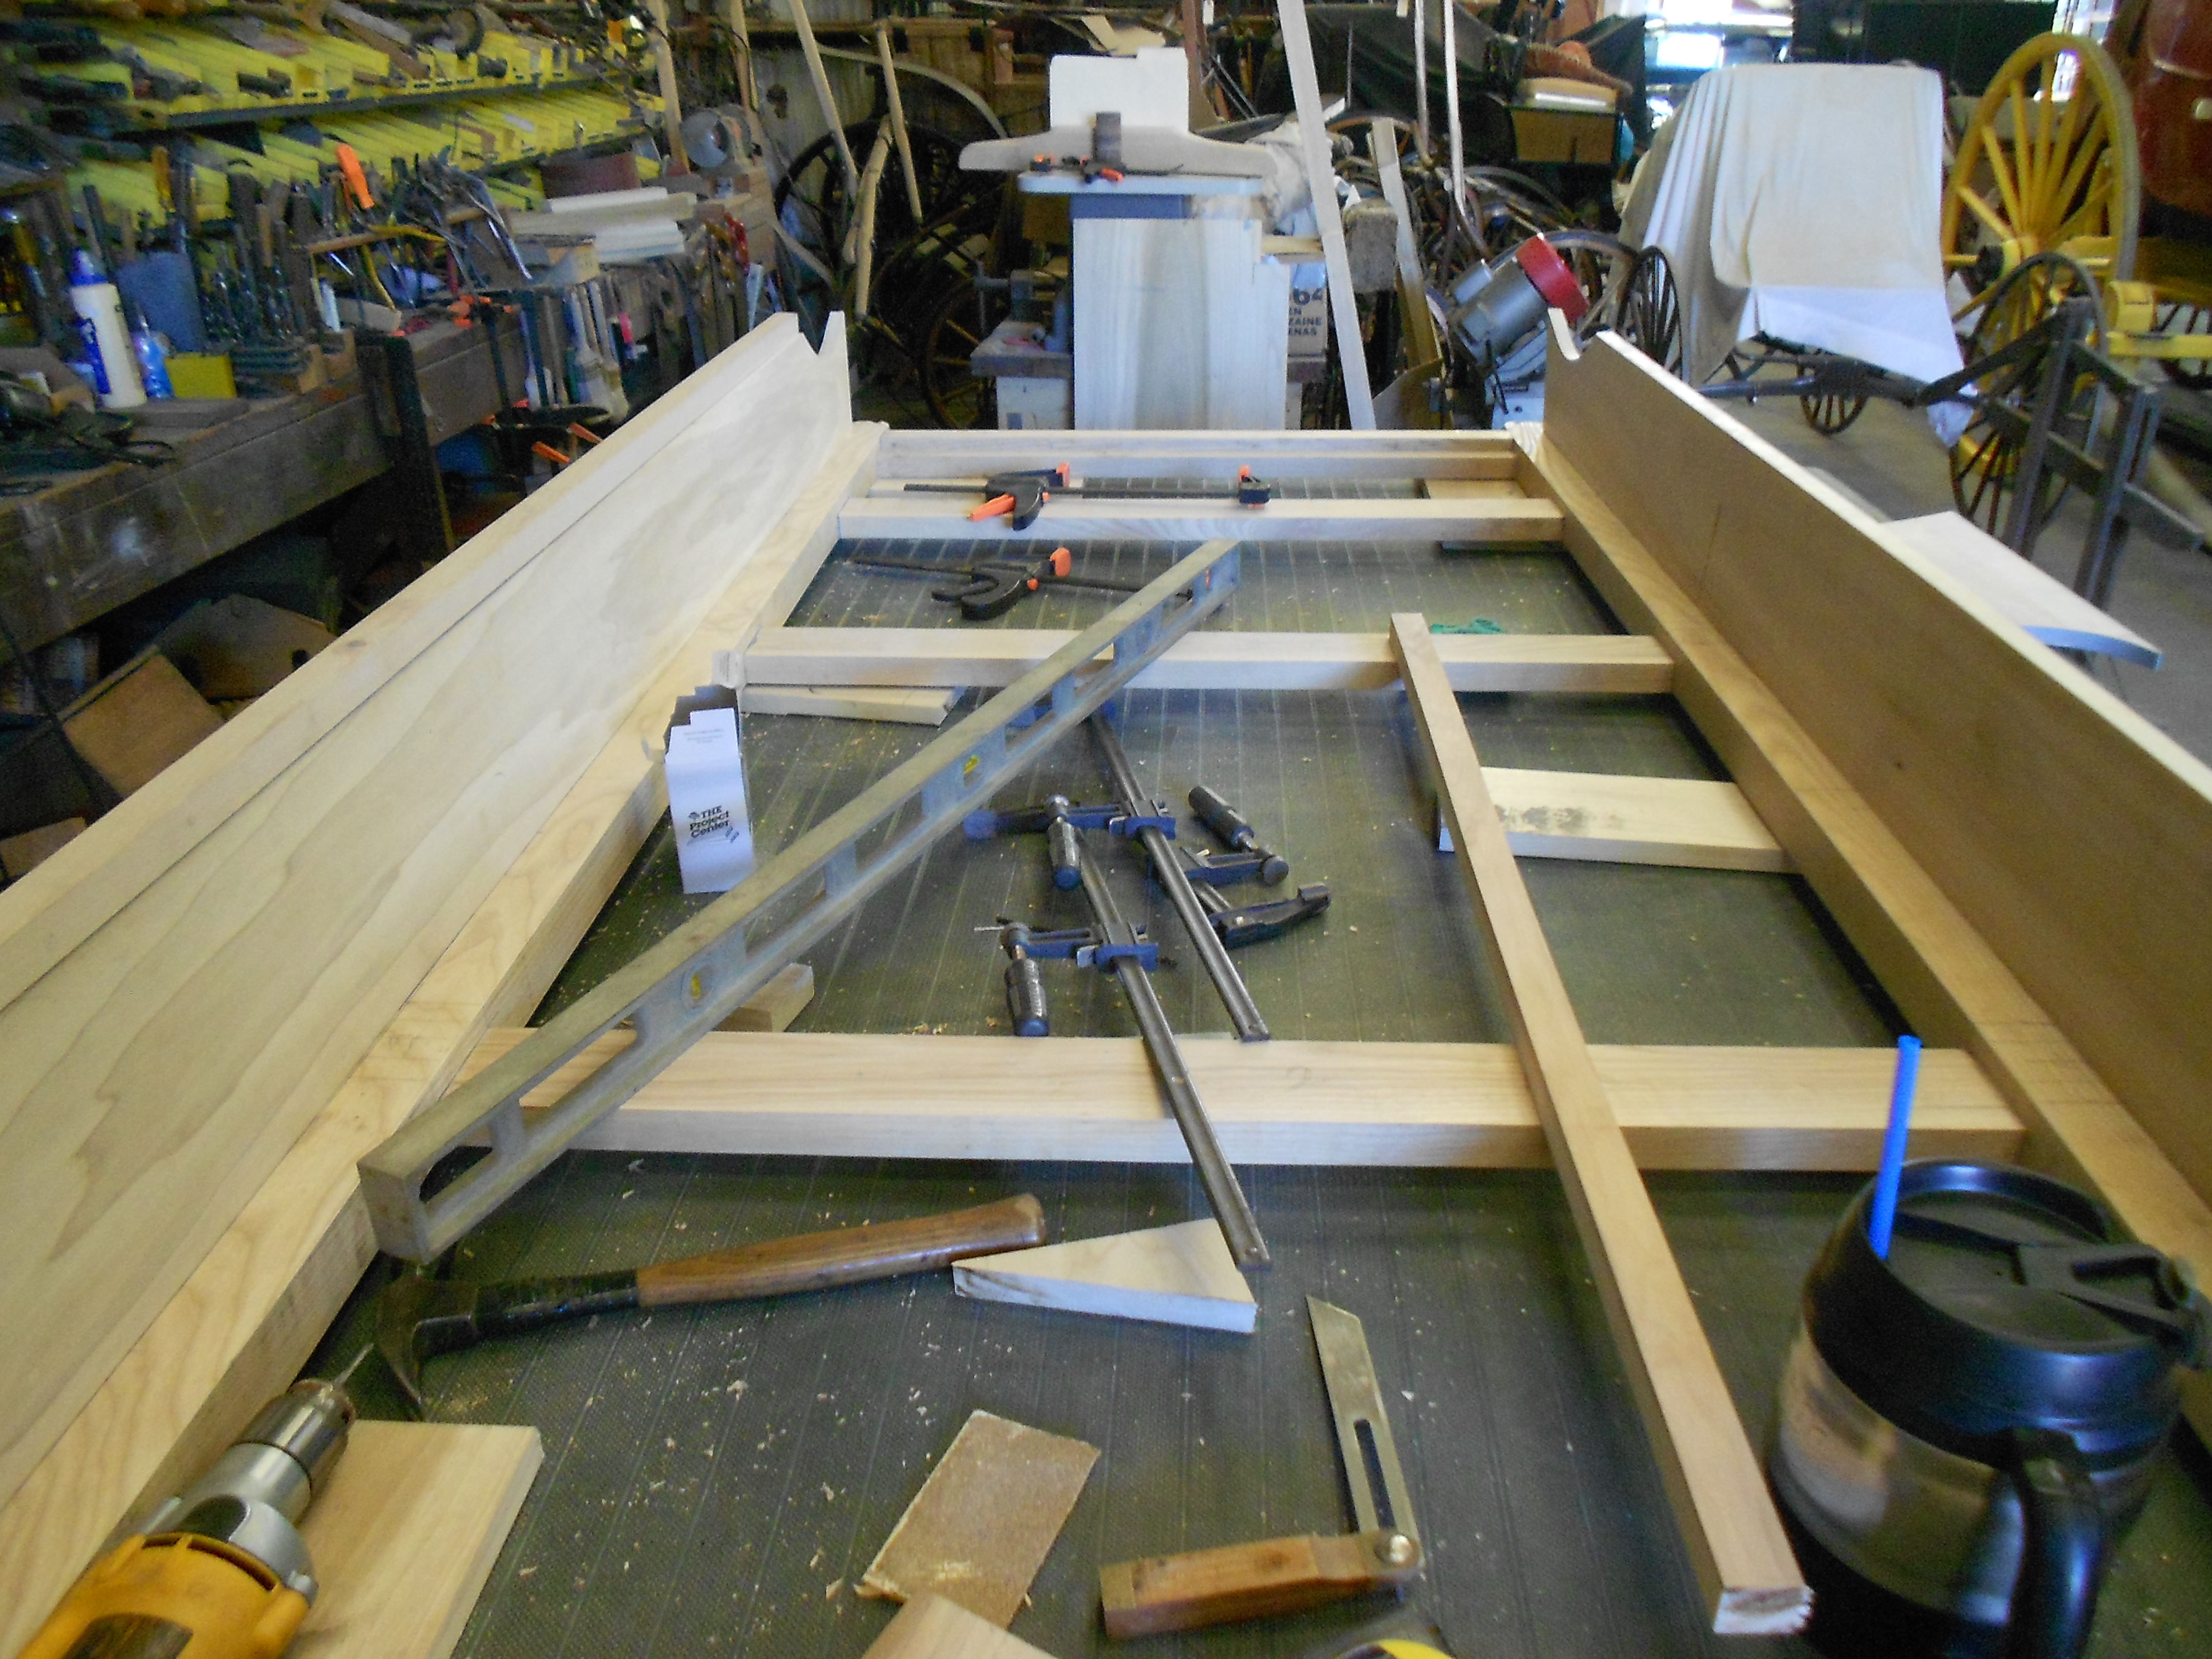
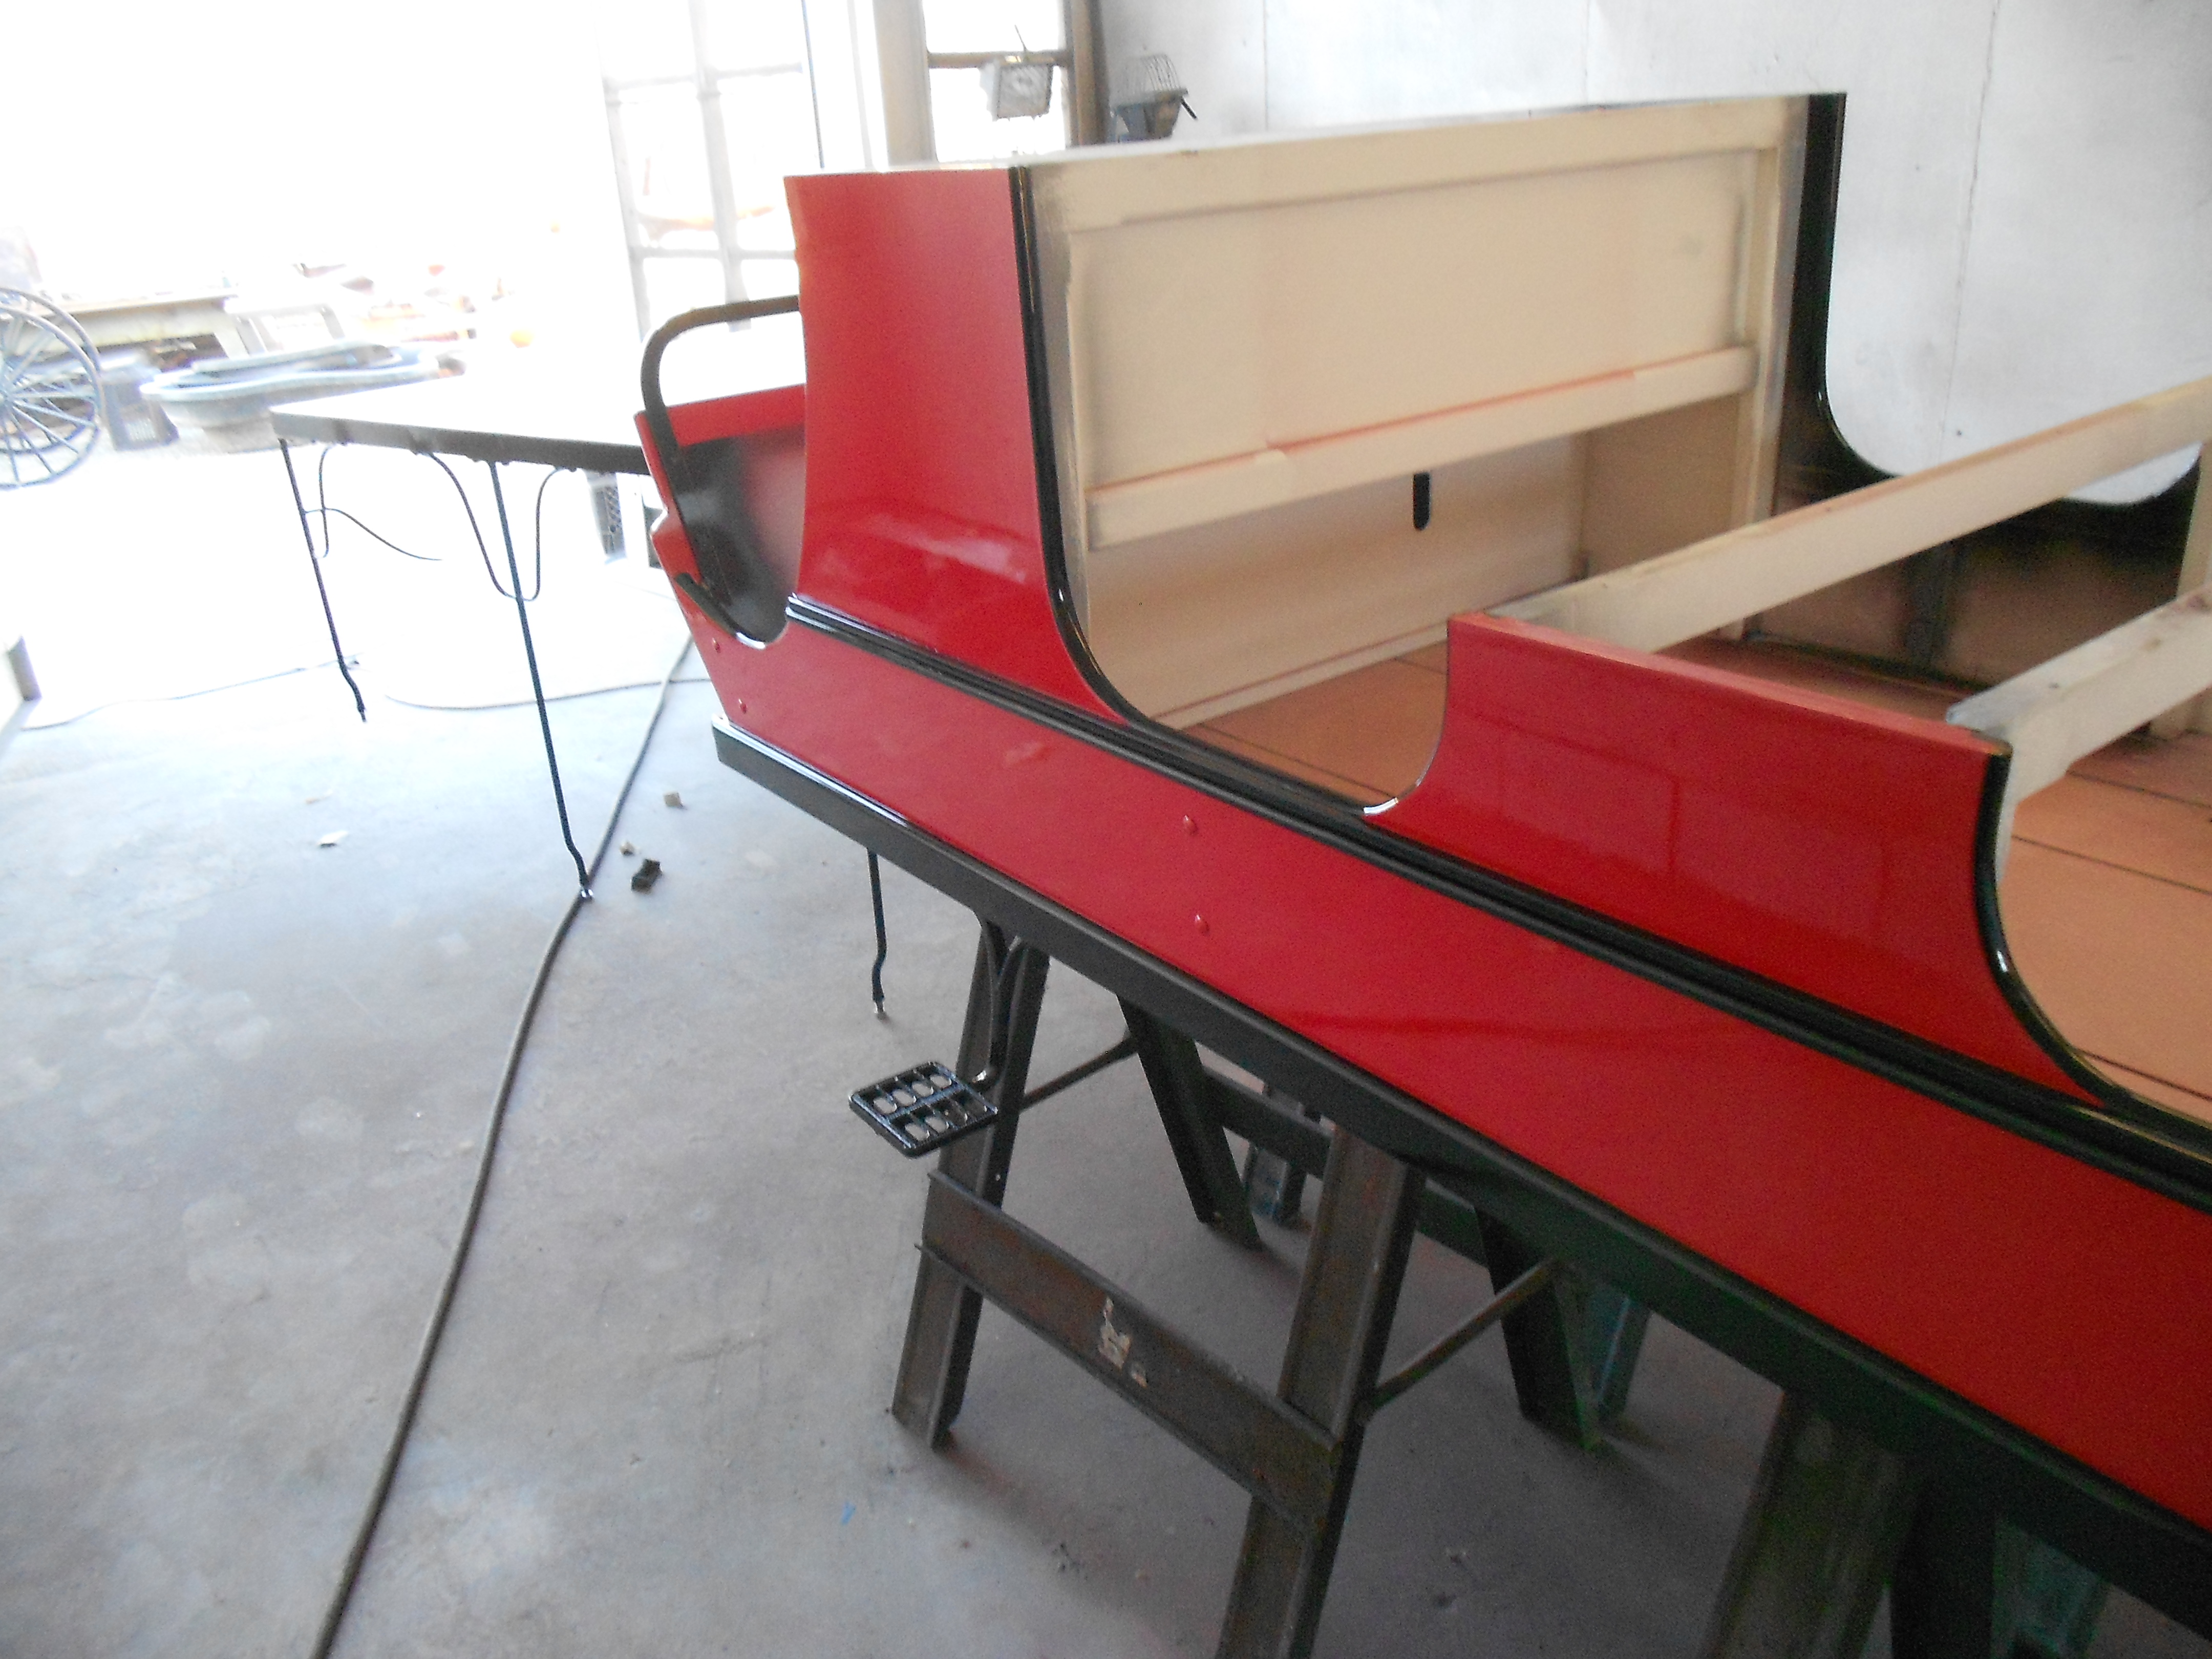
Beginning construction of the main box and seating area |
|
|
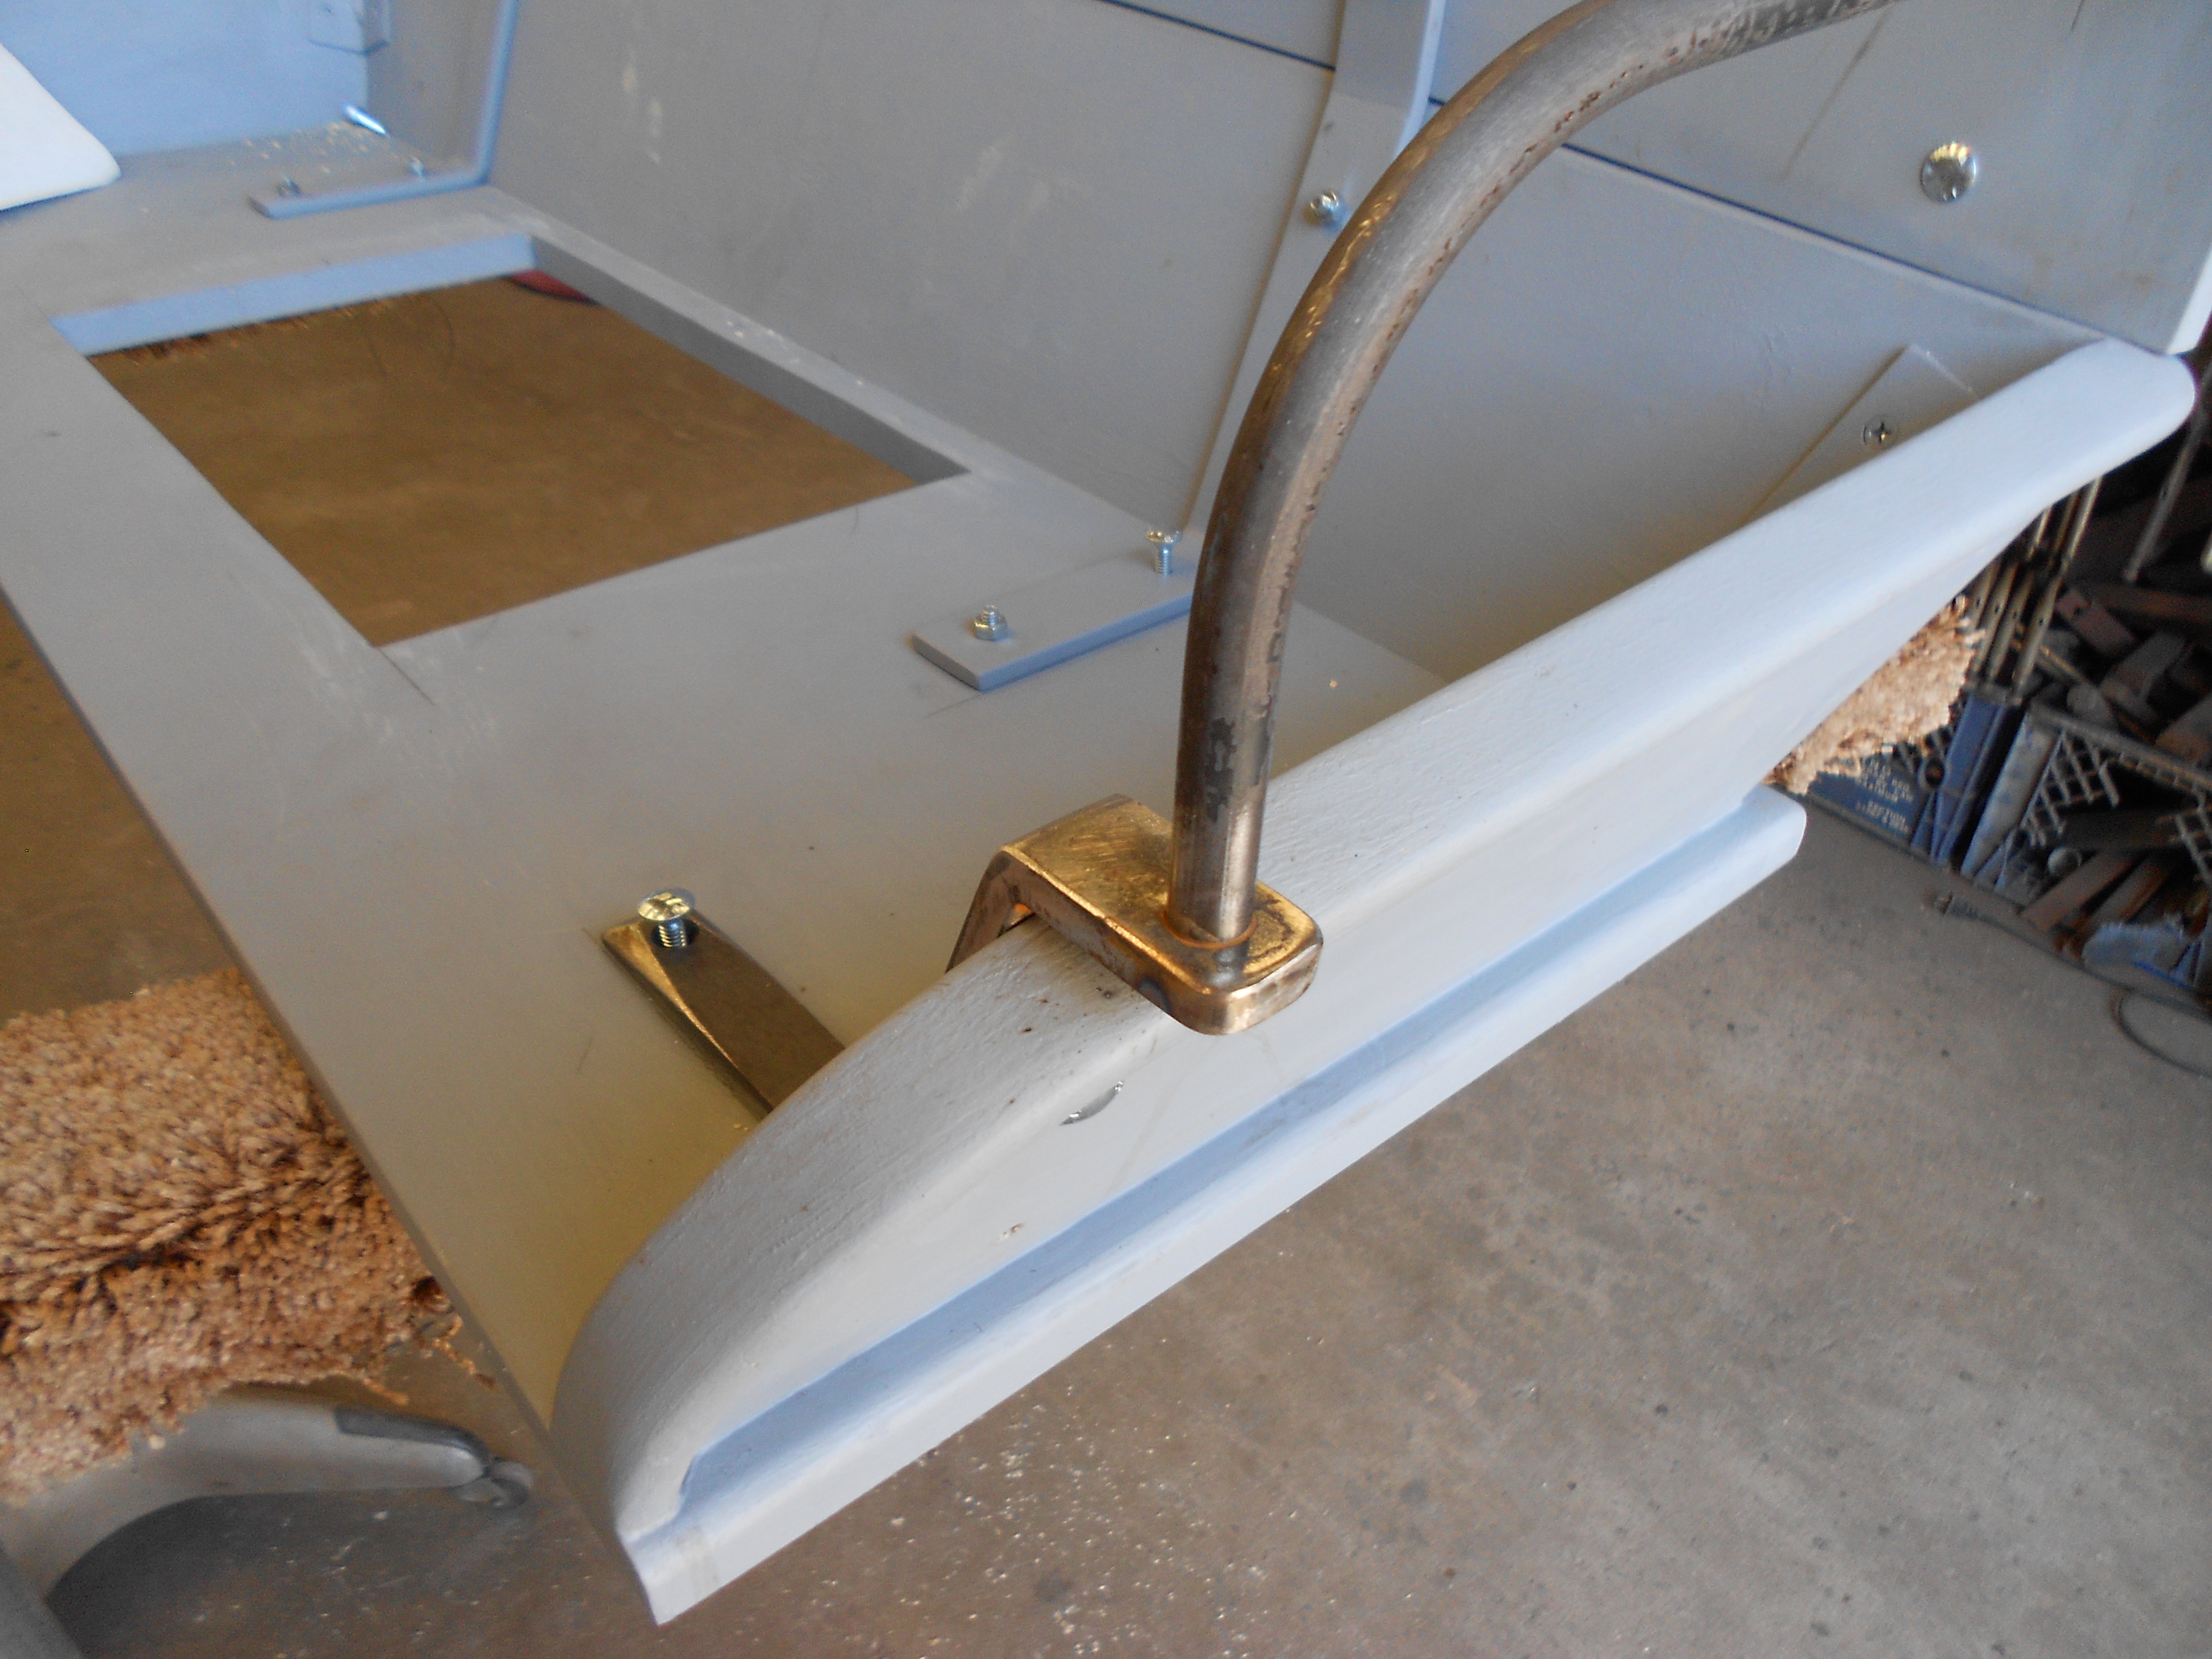
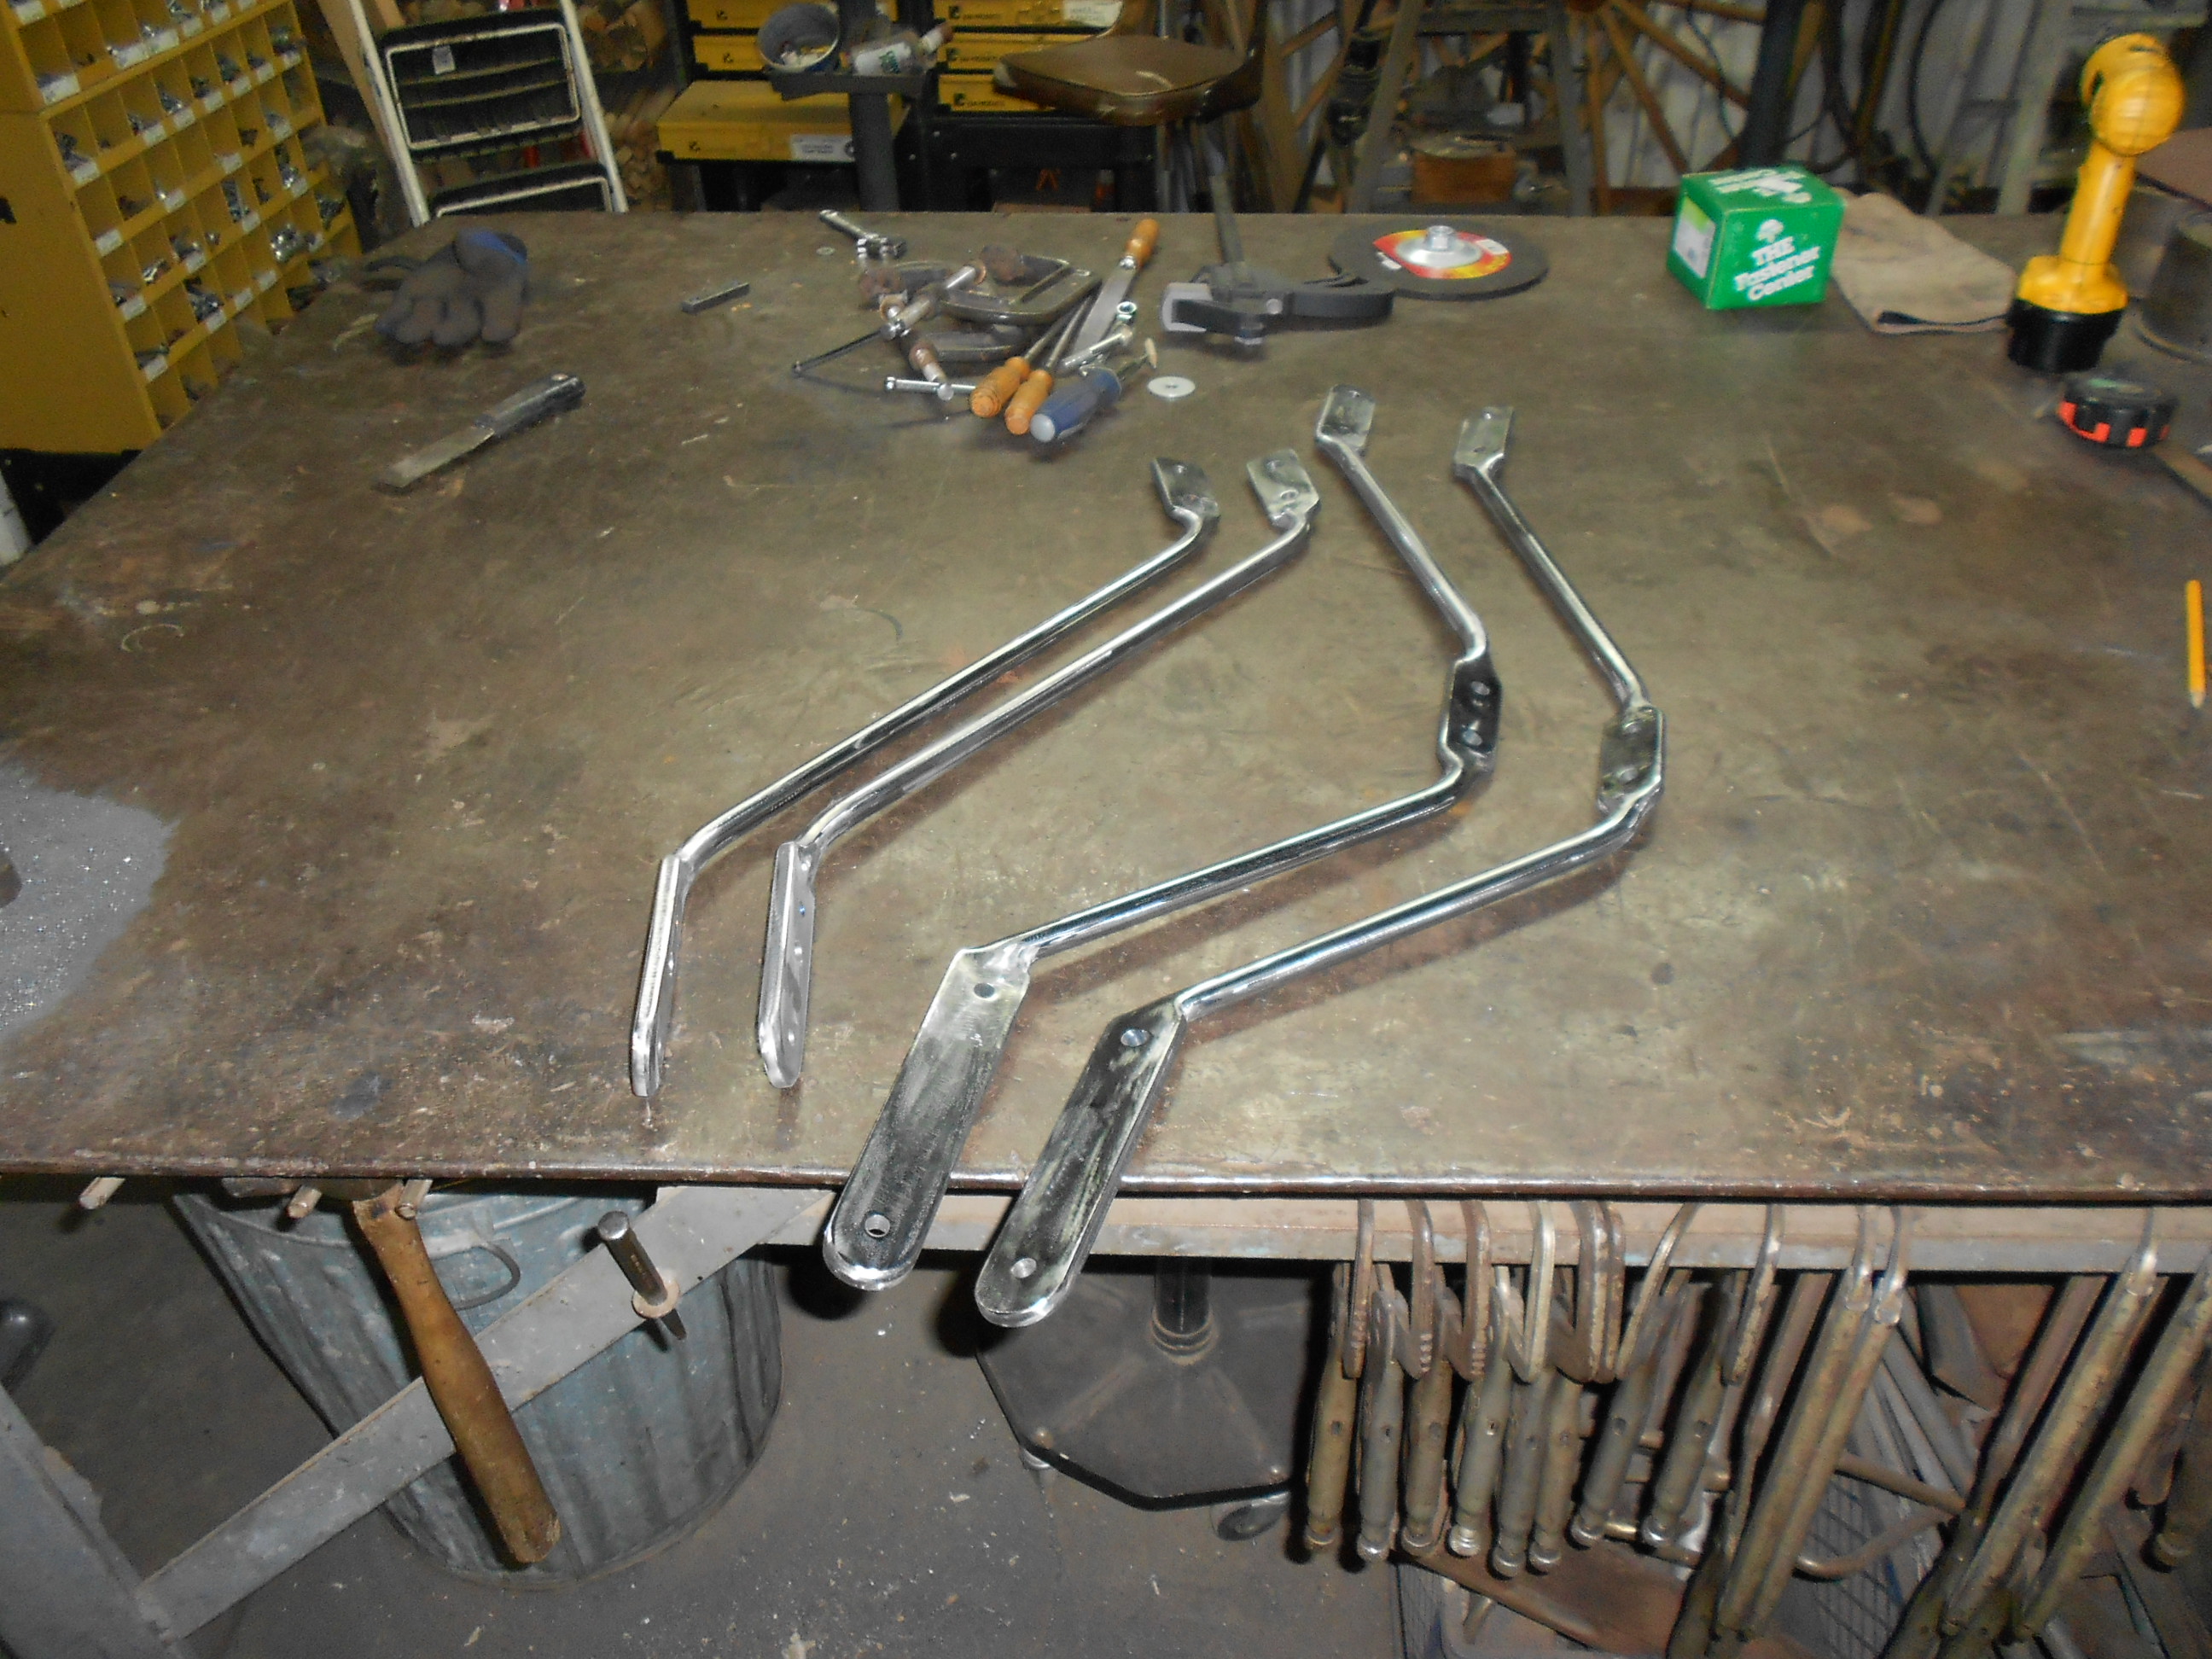
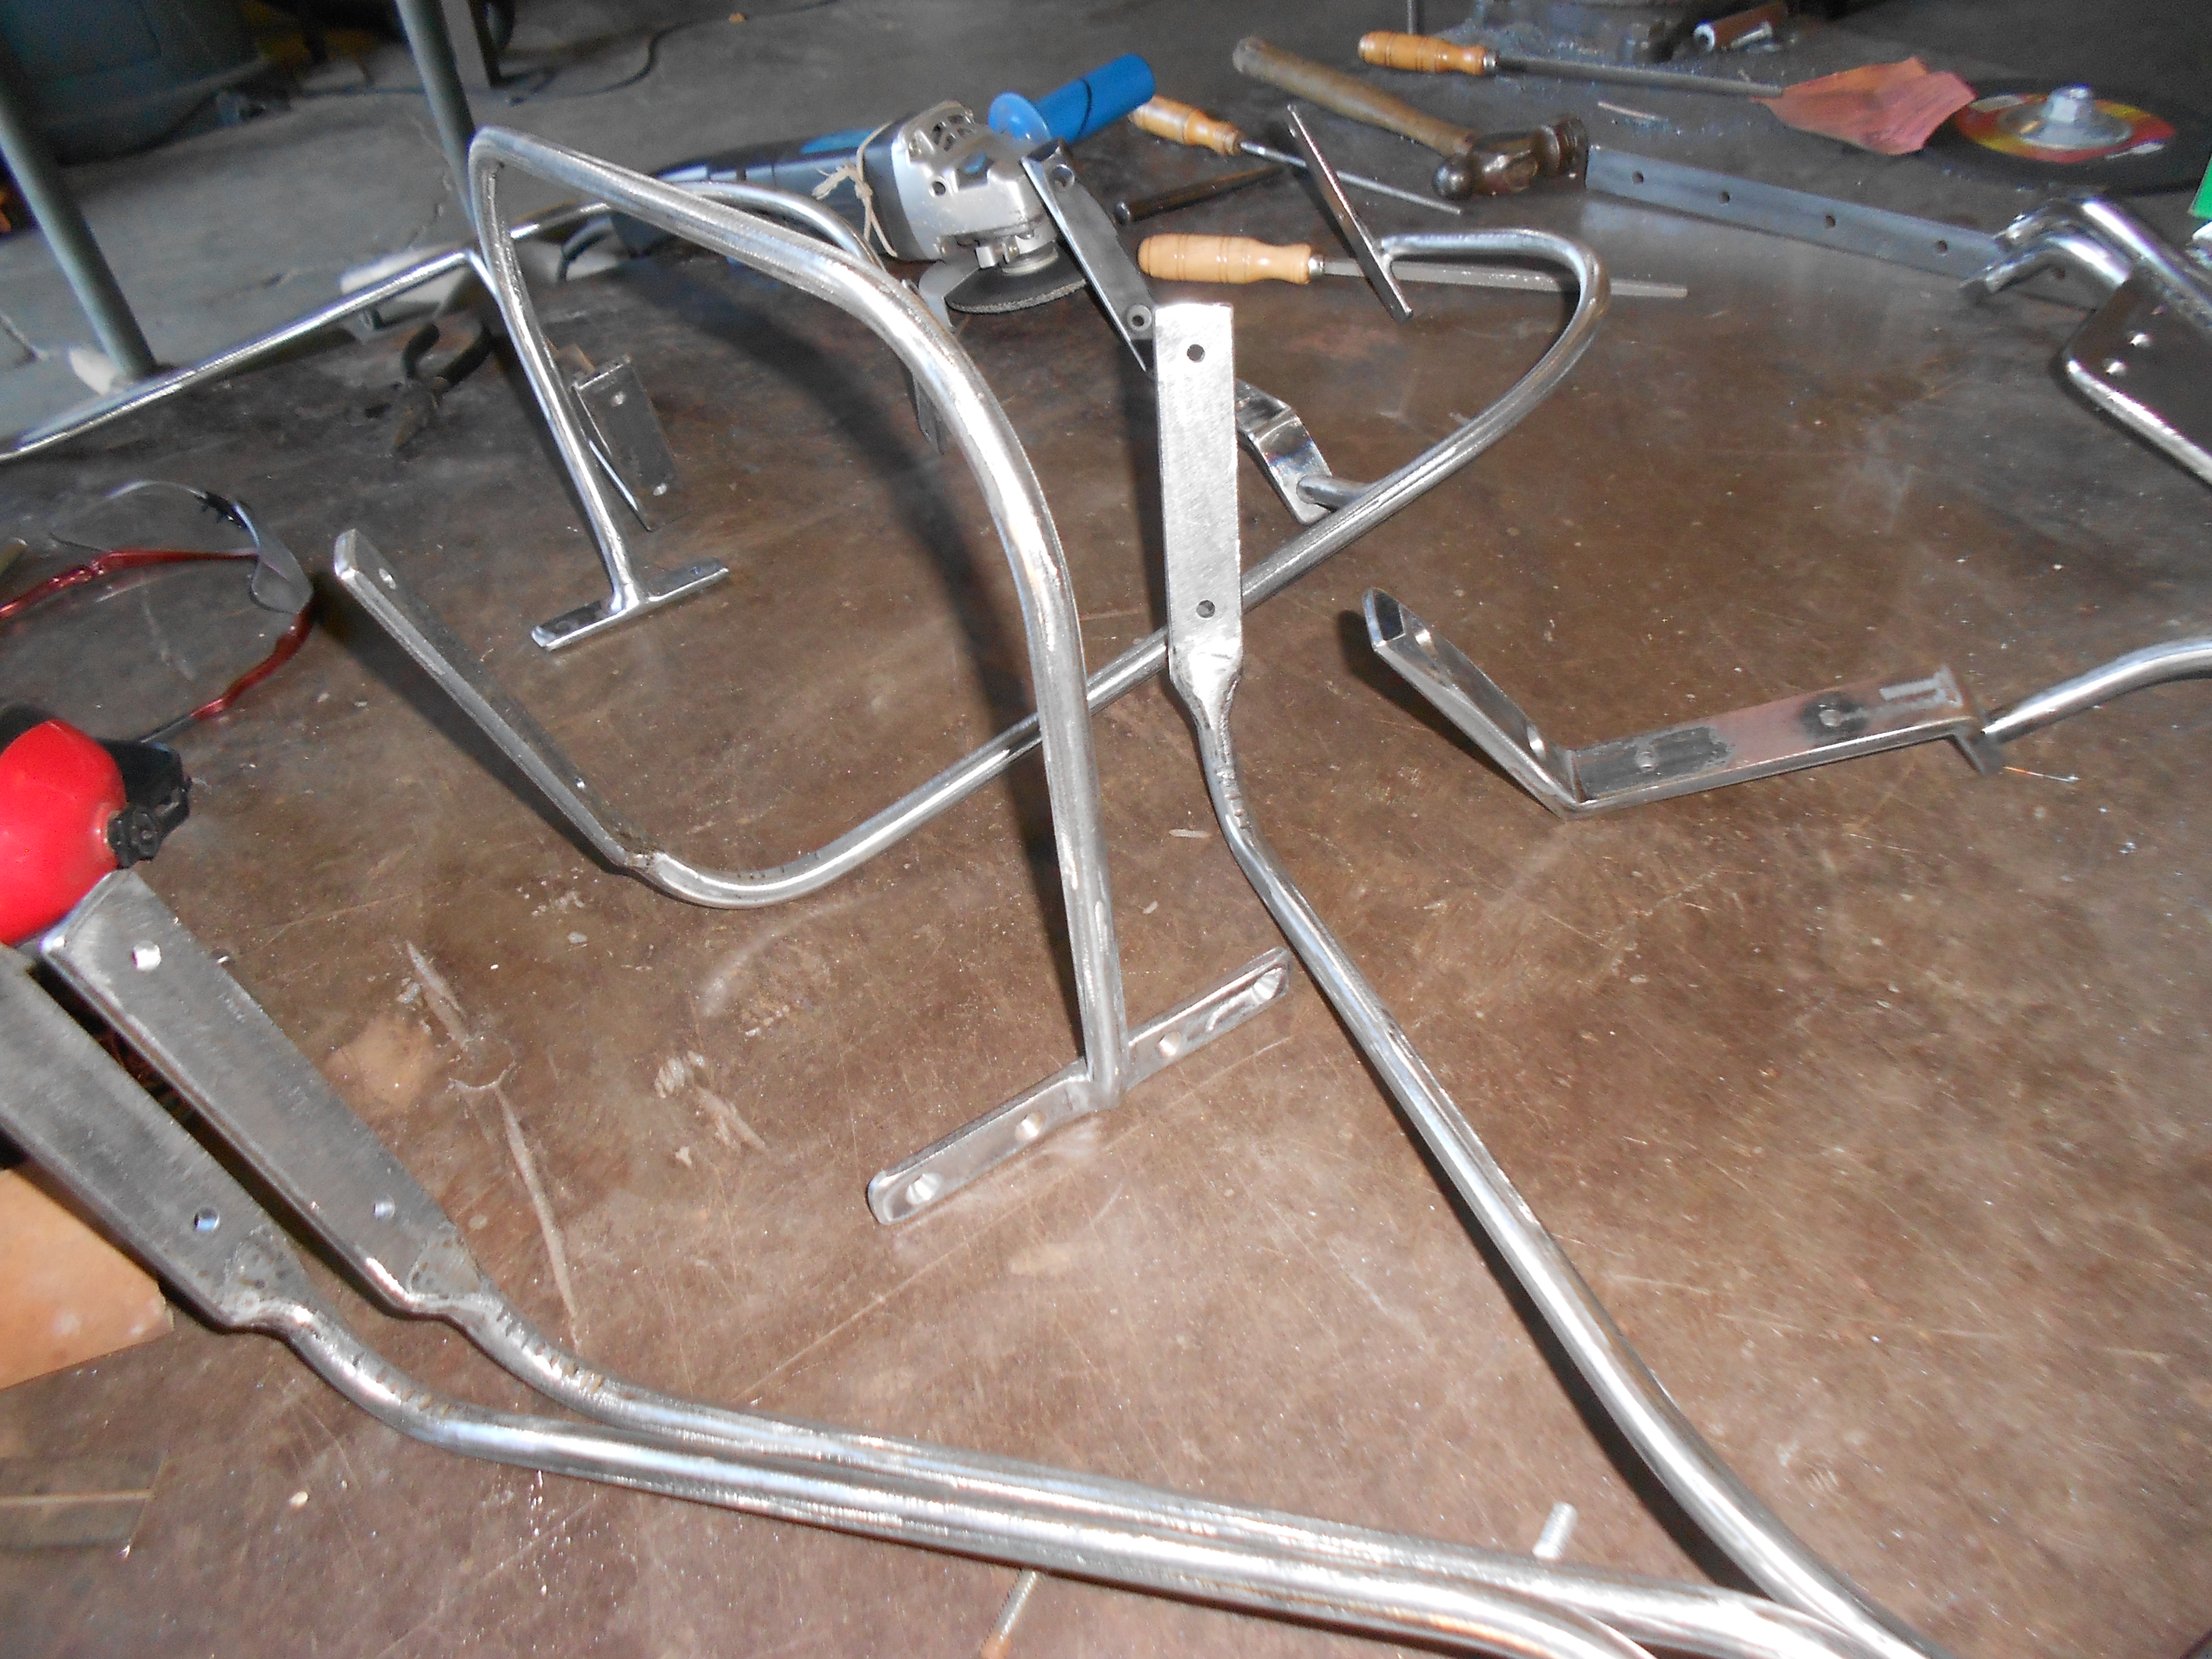
Seat corner reinforcements |
|
|
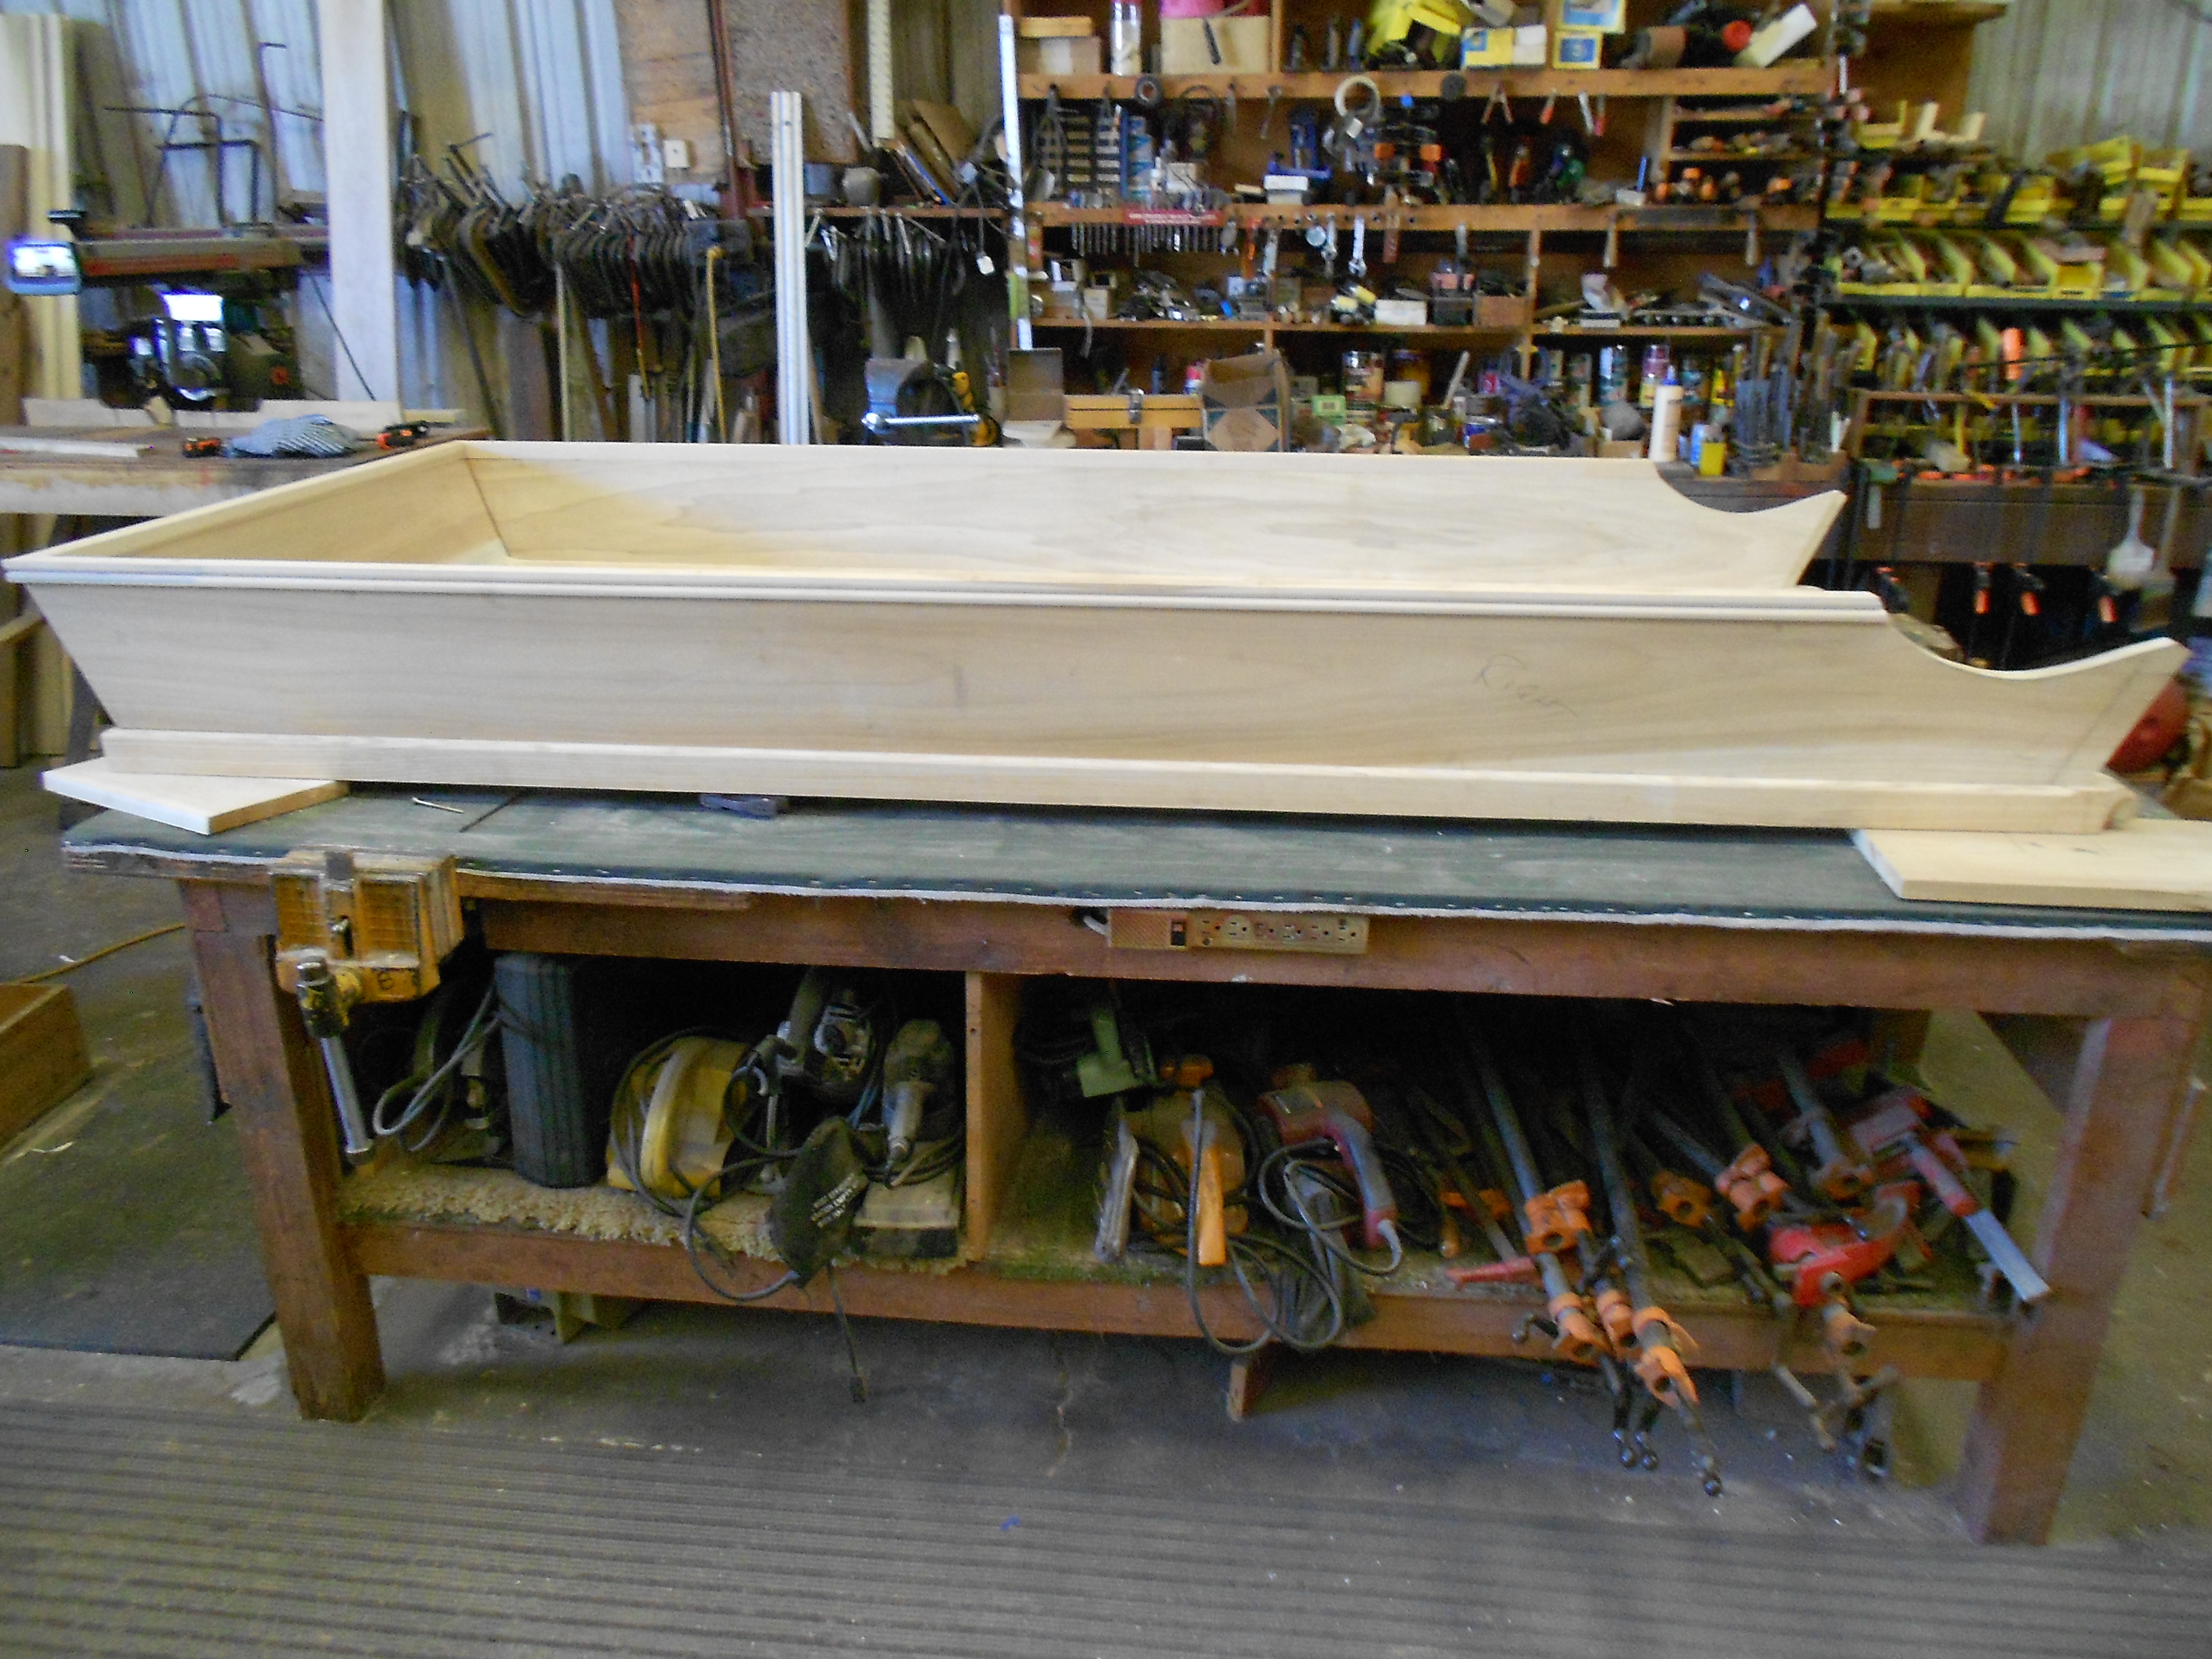
Building the seats |
|
|
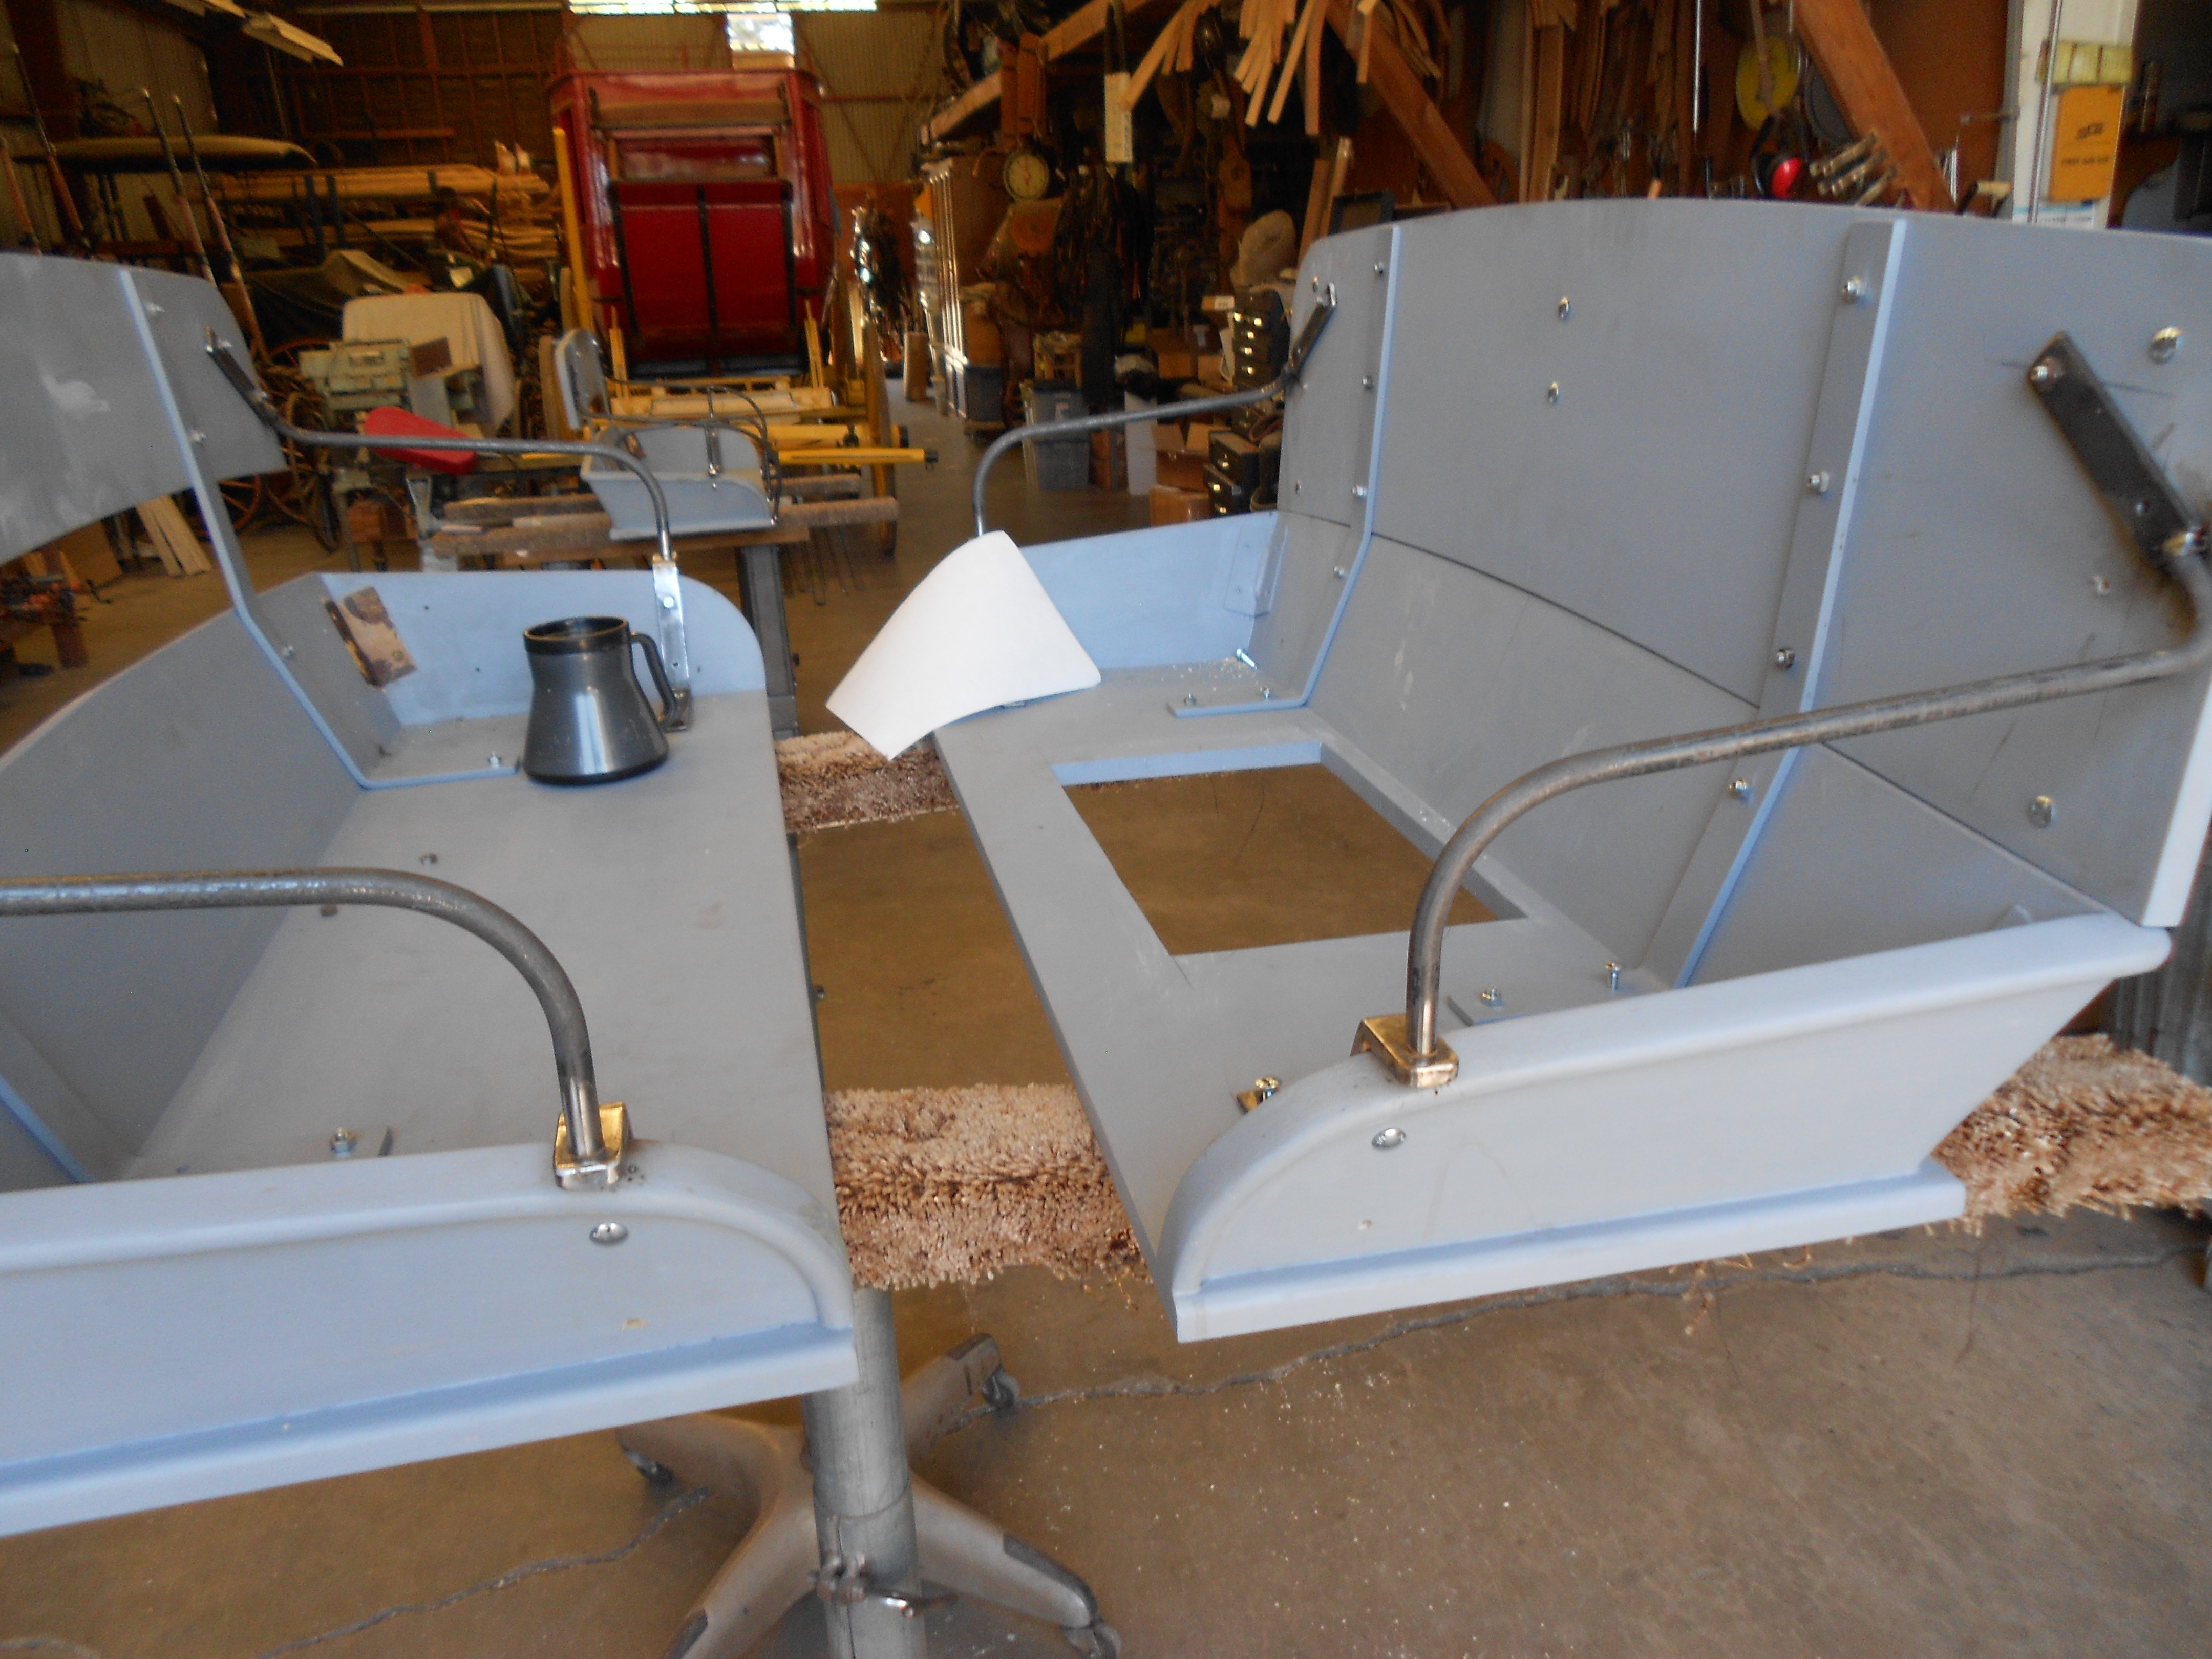
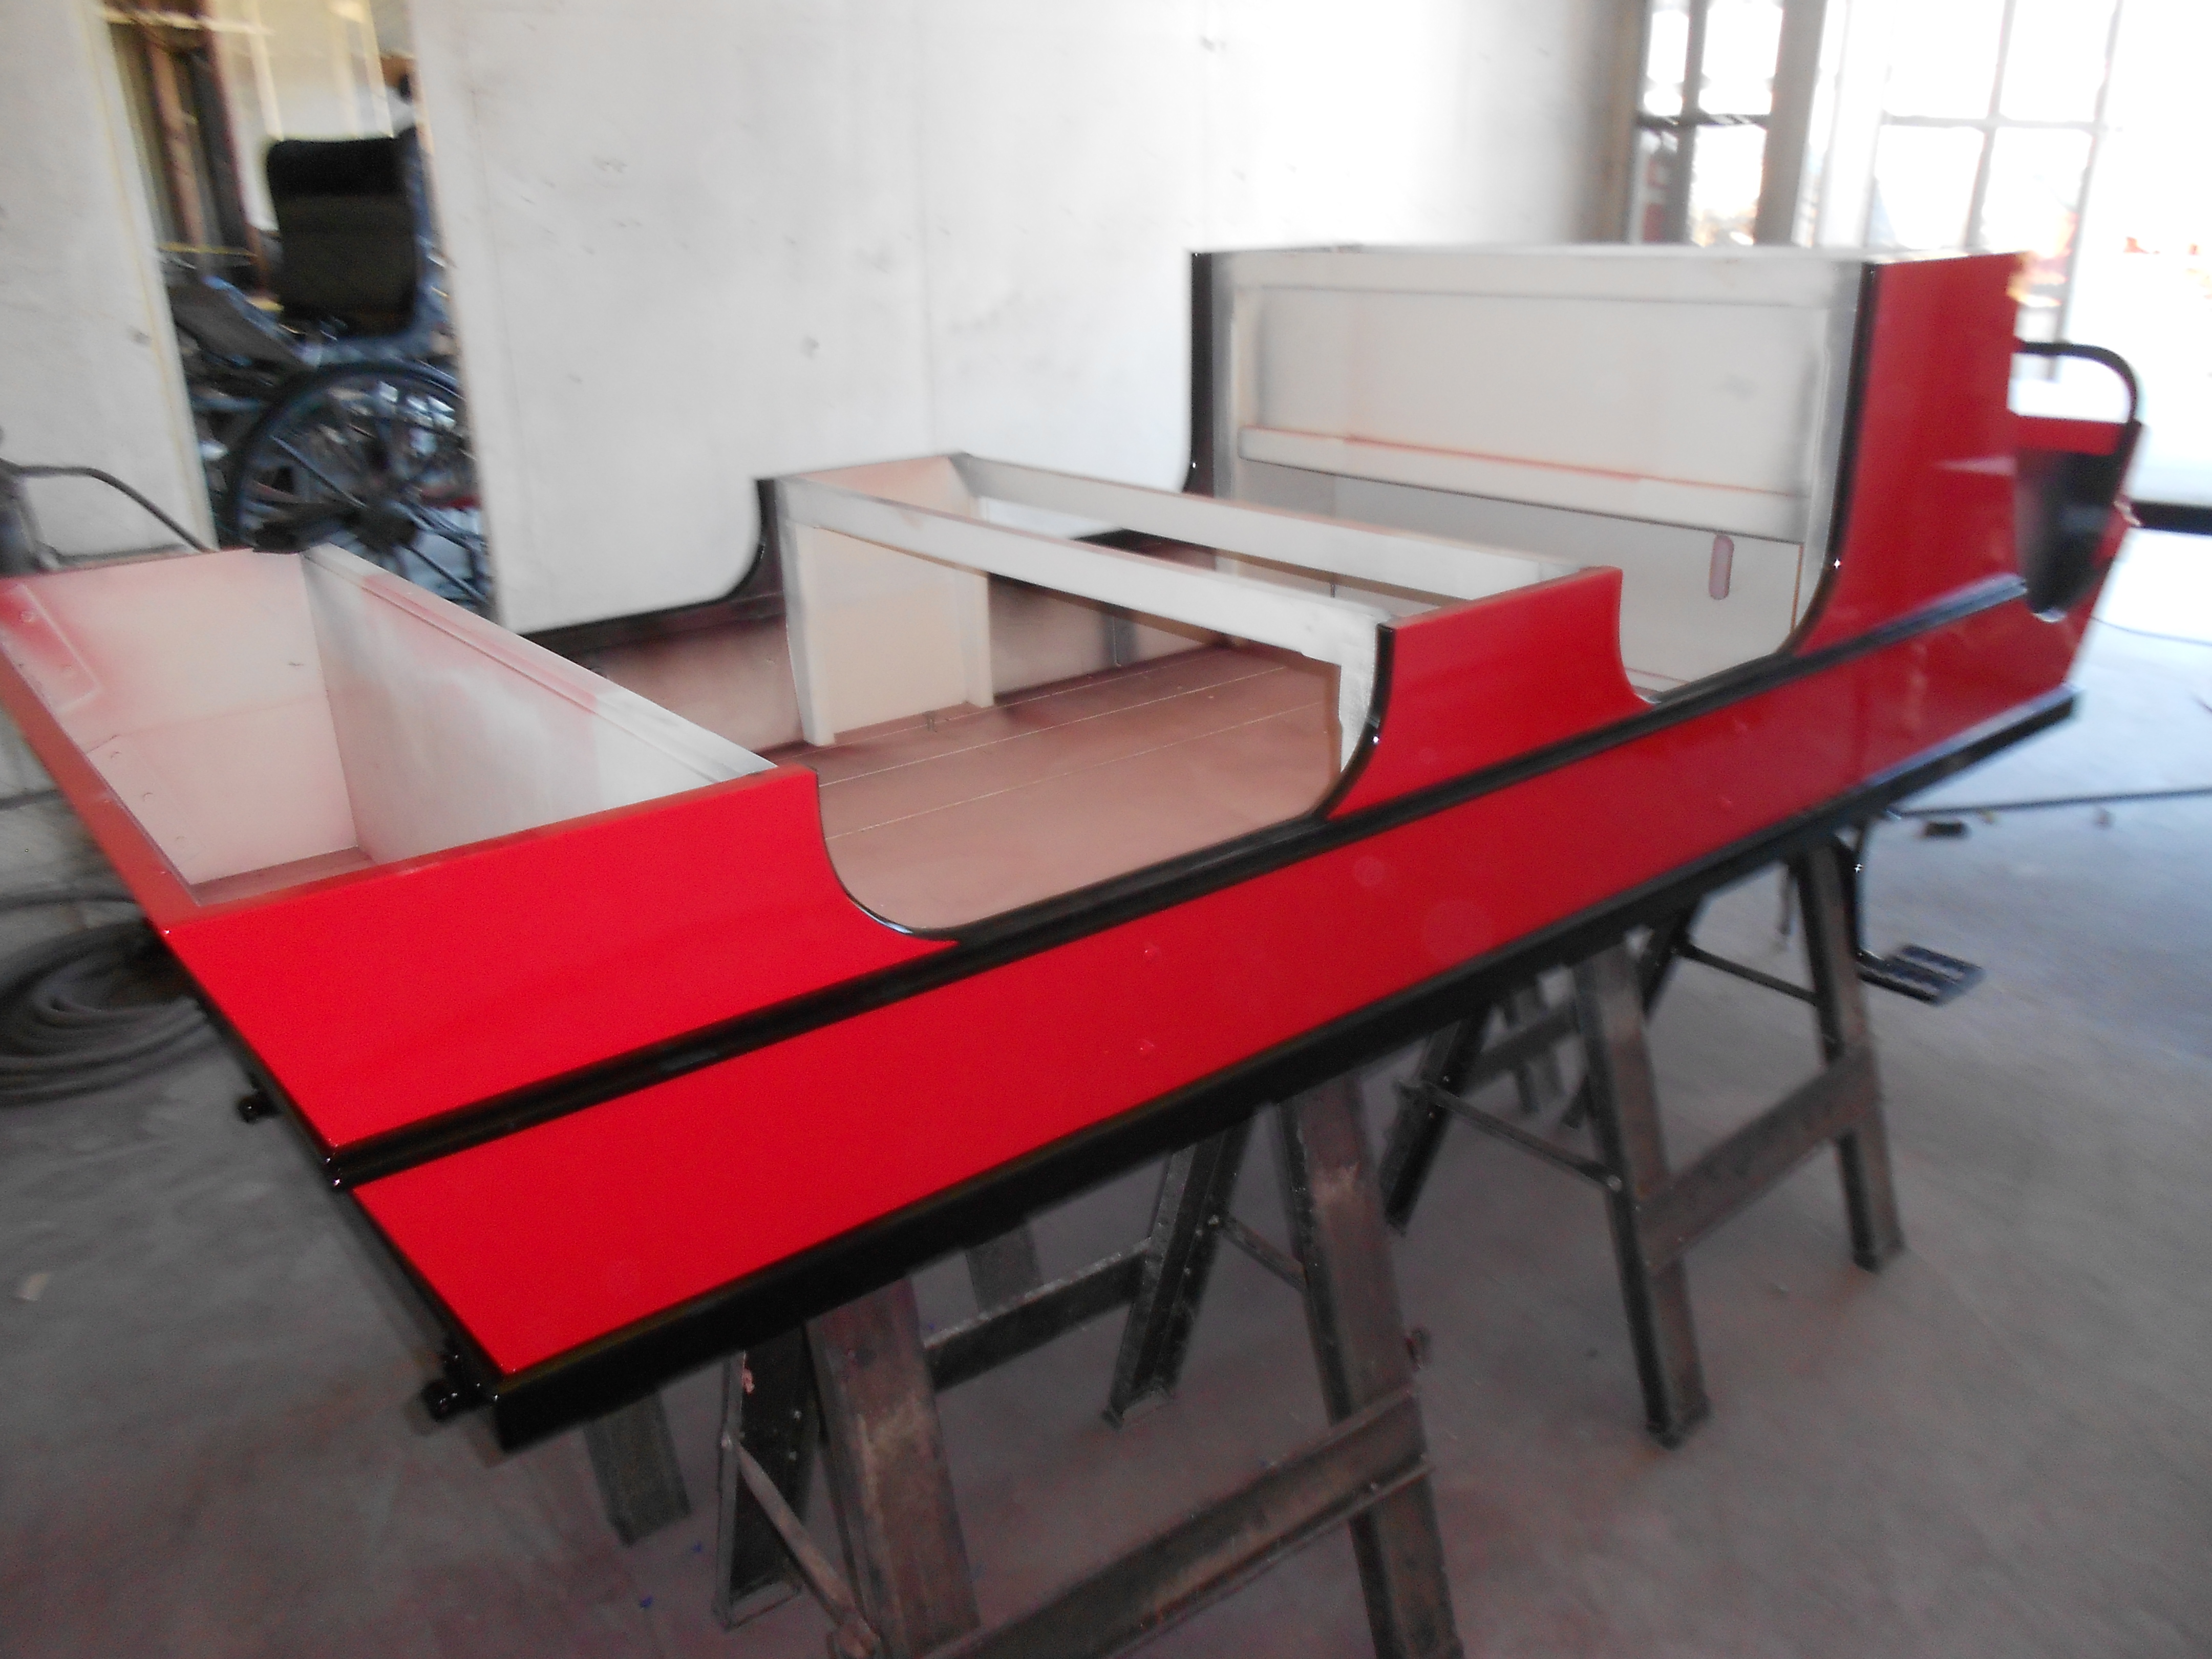
After ensuring everything fits properly, it’s time to take it back apart and paint everything. First, |
|
|
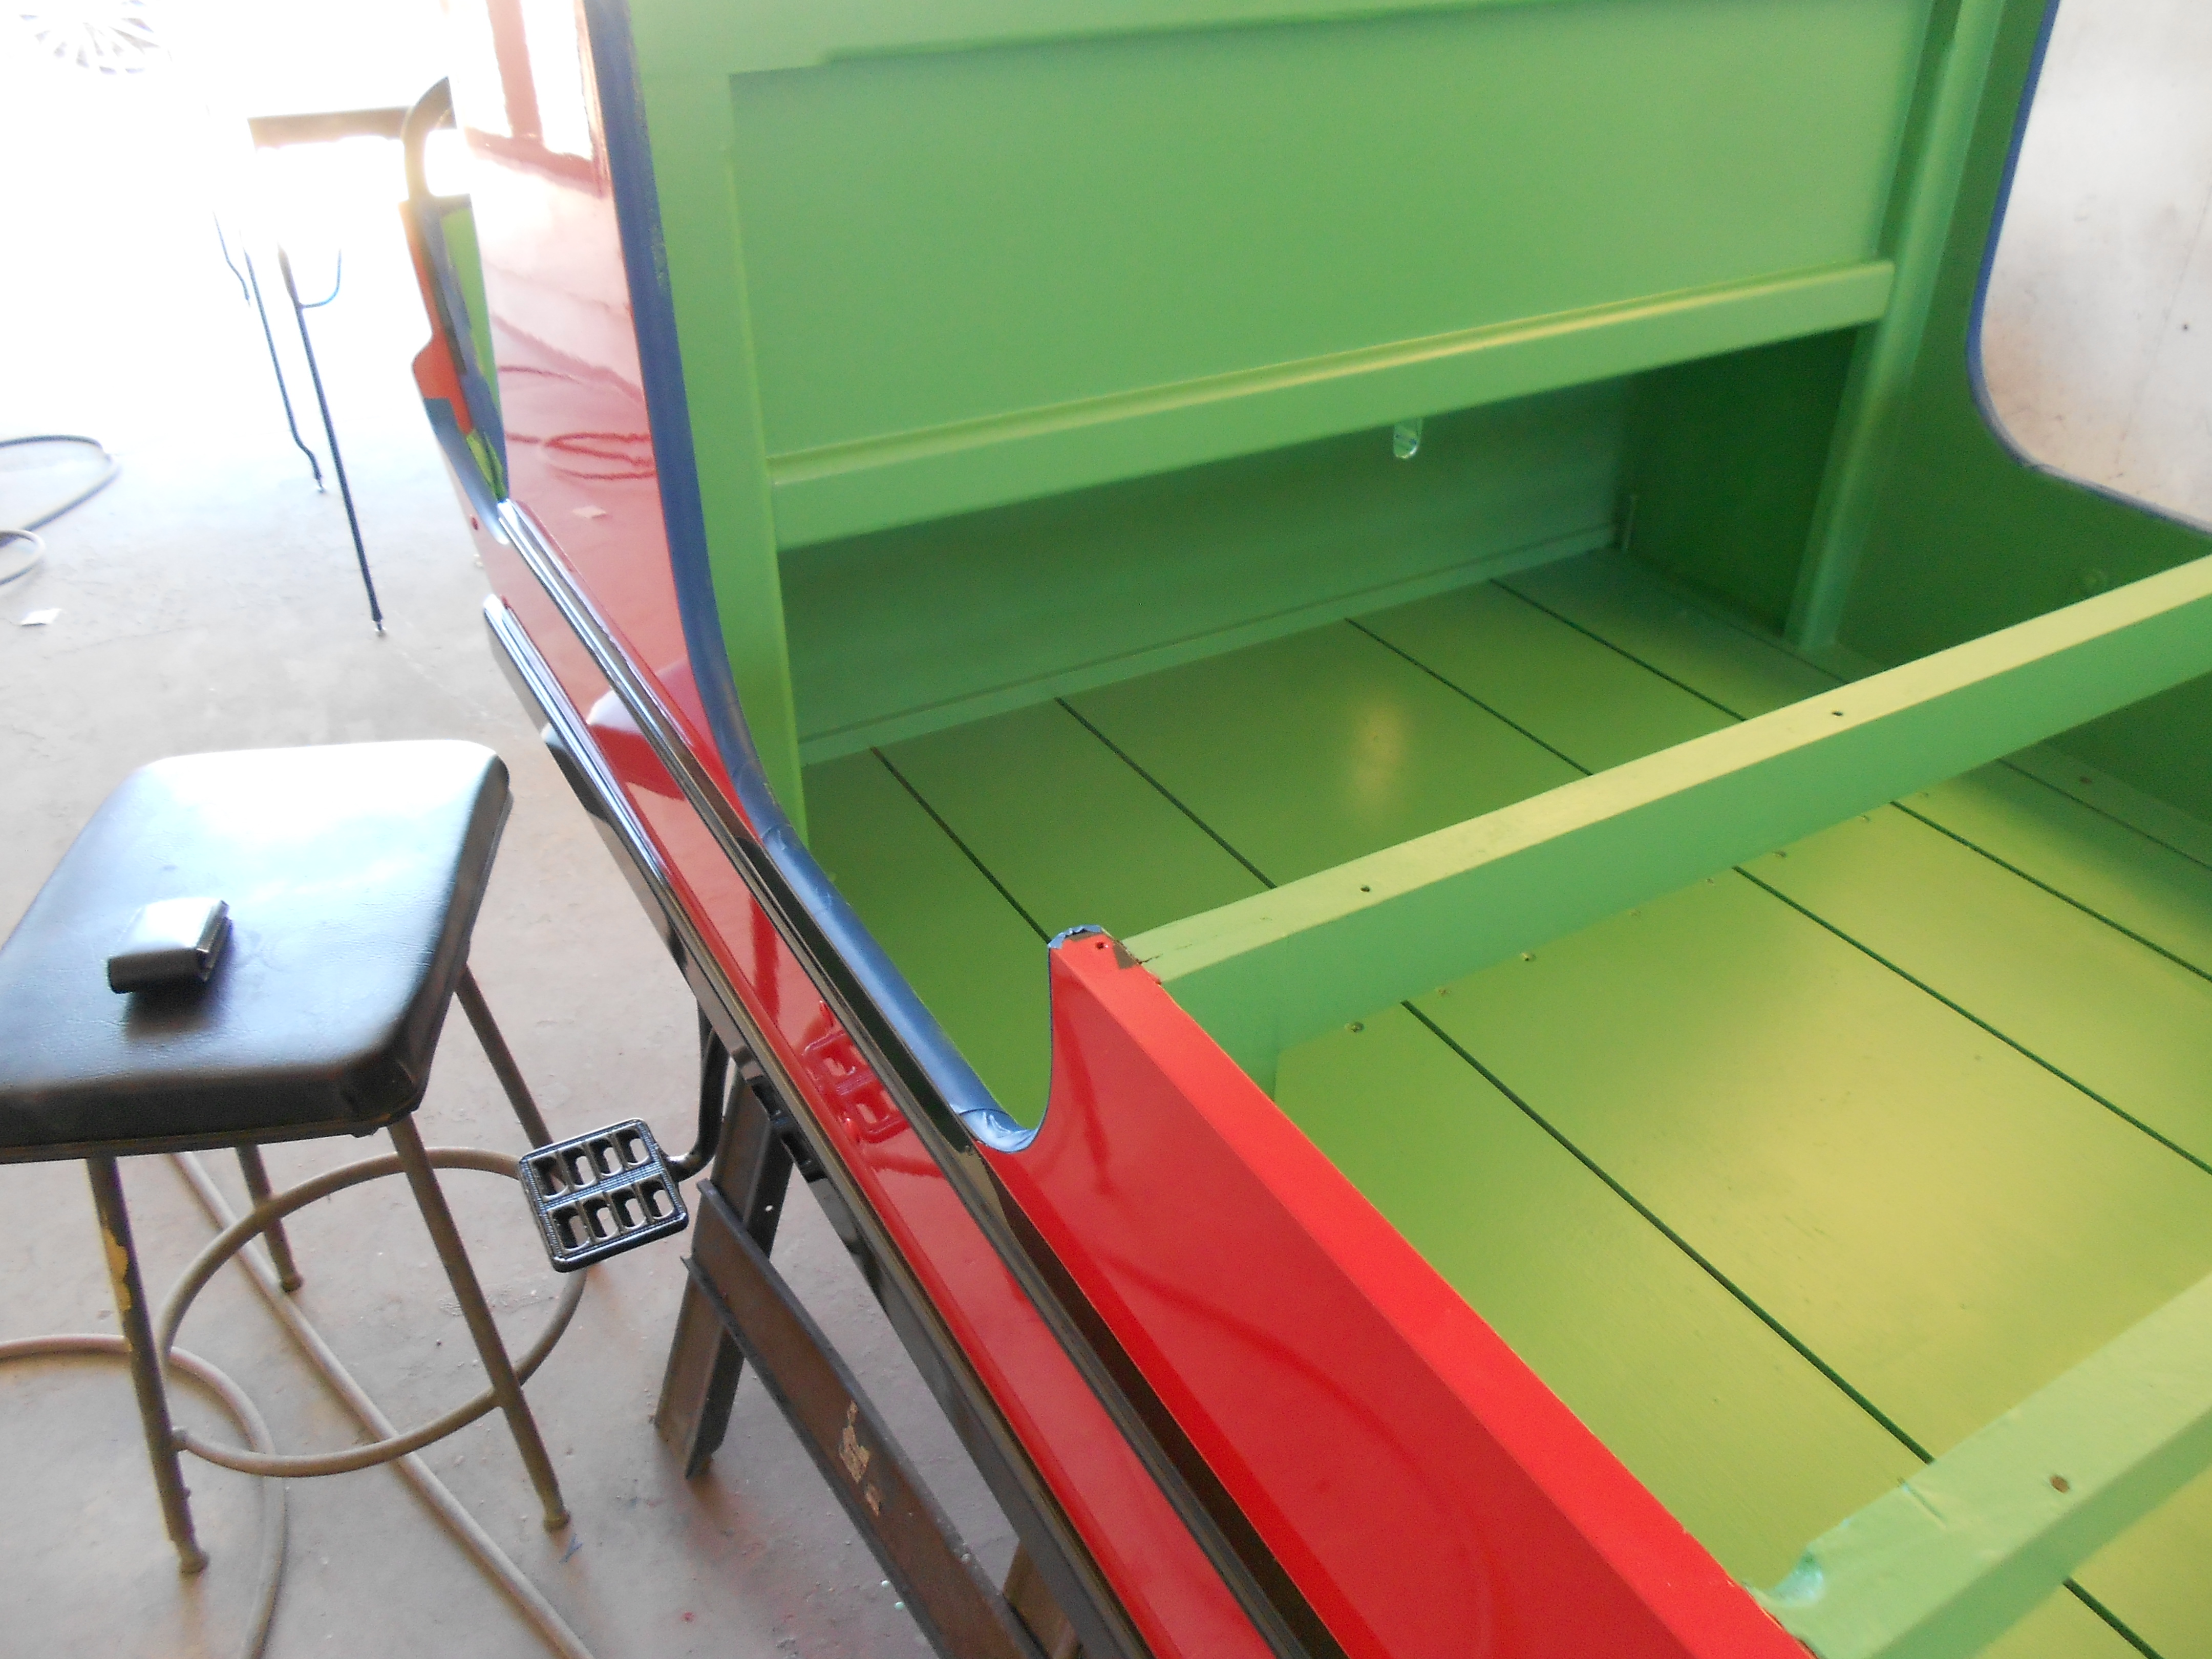
Next, the seating area. |
|